RED ONE OPERATION GUIDE User Manual
Page 117
Build 31 v31.6.16
© 2007-2011 RED.COM INC.
NOVEMBER 28, 2011
116
116
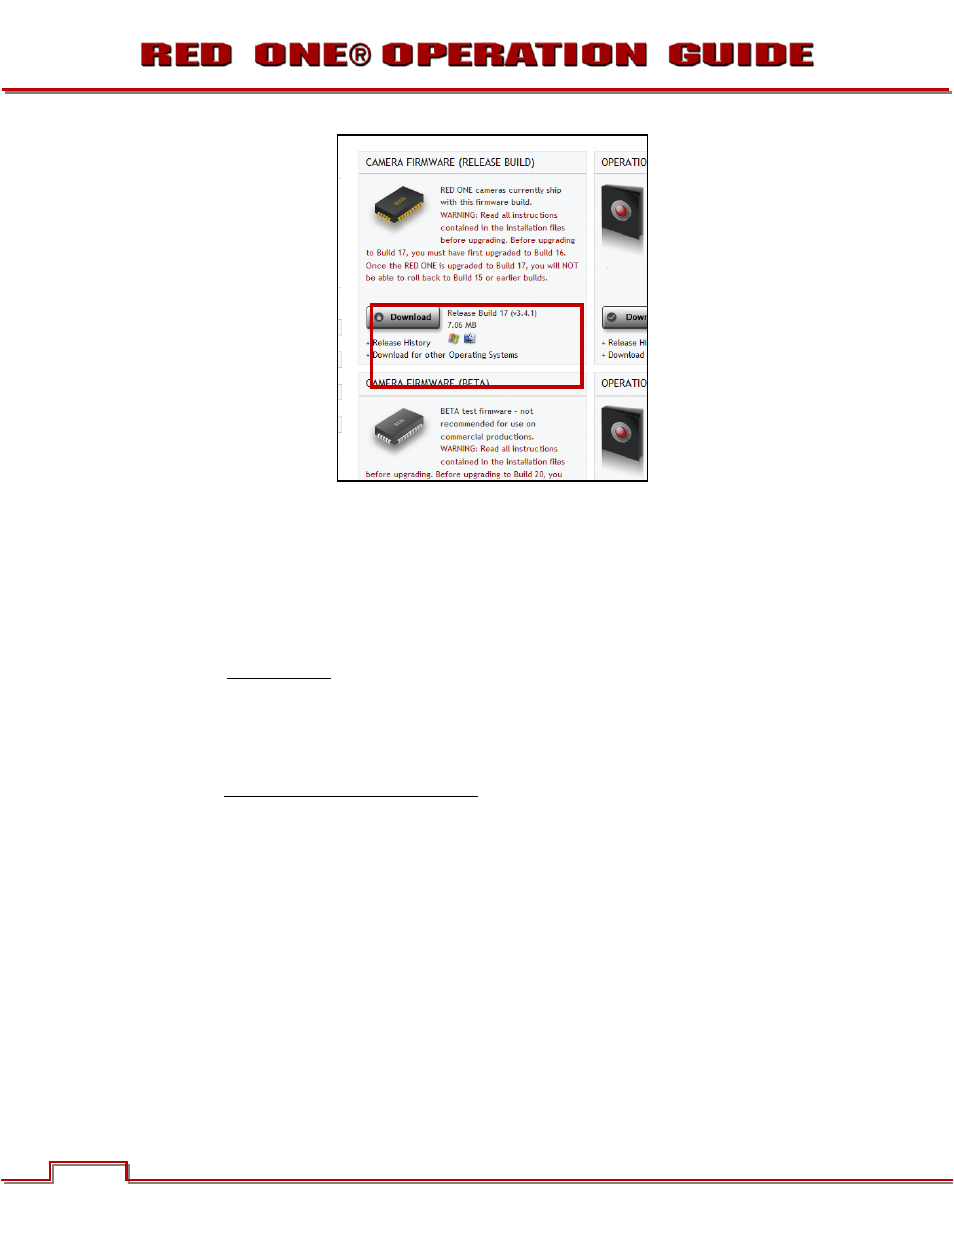
3. After downloading the build, you will see the new compressed (zipped) folder on your desktop.
4. Open the new compressed folder and note 2 folders, one for Windows (it will be the same name as
the compressed folder) and one for Macintosh OS X (_MACOSX).
5. Open the folder for your operating system (for Macintosh OS X you will have to open a second folder
with the same as the compressed folder) and verify there is a .txt read me file (containing installation
instructions), and a “UPGRADE” folder.
NOTE: If multiple cameras are to be upgraded, it is necessary to perform STEPS 6 through 17 of
this procedure for each camera
6. Connect an SD/REDMAG/Compact Flash (CF) card or USB memory device to the computer. If using a
CF card or REDMAG, ensure it has been formatted by the camera. For detailed instructions on format-
.
APPENDIX B: MANAGING DIGITAL MEDIA
7. Open the SD/REDMAG/CF card or USB memory device on the computer and copy ONLY the “UP-
GRADE” folder for your specific operating system from the compressed folder onto the card.
8. Remove the SD/REDMAG/CF card or USB memory device from the computer.
9. There are 2 different ways to upgrade camera firmware. One while the camera is already on, the se-
cond requires turning the camera off.
• To upgrade the camera firmware with the camera ON, go to next step.
• To upgrade the camera by turning off, go to STEP 12.
10. With the camera on, insert the SD/REDMAG/CF card into its corresponding slot on the camera. Con-
nect the USB memory device to the USB port on the side of the camera
11. Go to SYSTEM > SETUP > MAINTENANCE and click on
. Go to STEP 14.
12. With the camera OFF, insert the SD/REDMAG/CF card into its corresponding slot on the camera.
Connect the USB memory device to the USB port on the side of the camera.
13. Turn the camera ON.