Copy, Insert, For more information, see “copy” on – KORG Electronic Keyboard User Manual
Page 634: For more information, see “insert” on, For more information, see “mix” on
Sampling mode
624
3. The range to be edited is shown by Range “Start”
and “End.”
4. In “Save to No.,” specify the save destination
sample number. By default, an unused sample
number will be selected.
The sample number cannot be specified if
“Overwrite” is checked (page 615).
For stereo samples, use “Save to No.(L)” and
“(R)” to specify the save-destination of the L and R
channels.
5. To execute the Clear command, press the OK
button. To cancel, press the Cancel button.
Copy
This command copies the sample data from the area
between “Start”–“End” into the sample data buffer.
This data can then be used by the “Insert,” “Mix” or
“Paste” commands.
When you execute “Copy,” the data that is copied
into the buffer actually consists only of the copy-
source sample number, the “Start” and “End”
locations and not the data itself. Do not delete the
copy-source sample until you finish executing the
“Insert,” “Mix,” or “Paste” command.
1. Use “Sample Select” (1–1b) to select the sample
that you wish to edit, and use “Start” and “End” to
specify the editing range.
You can press the SAMPLING START/STOP switch
or Play button to hear the portion that will be
copied by the “Copy” command.
2. Select “Copy” to open the dialog box.
3. The range to be copied is shown by Range “Start”
and “End.”
4. To execute the Copy command, press the OK
button. To cancel, press the Cancel button.
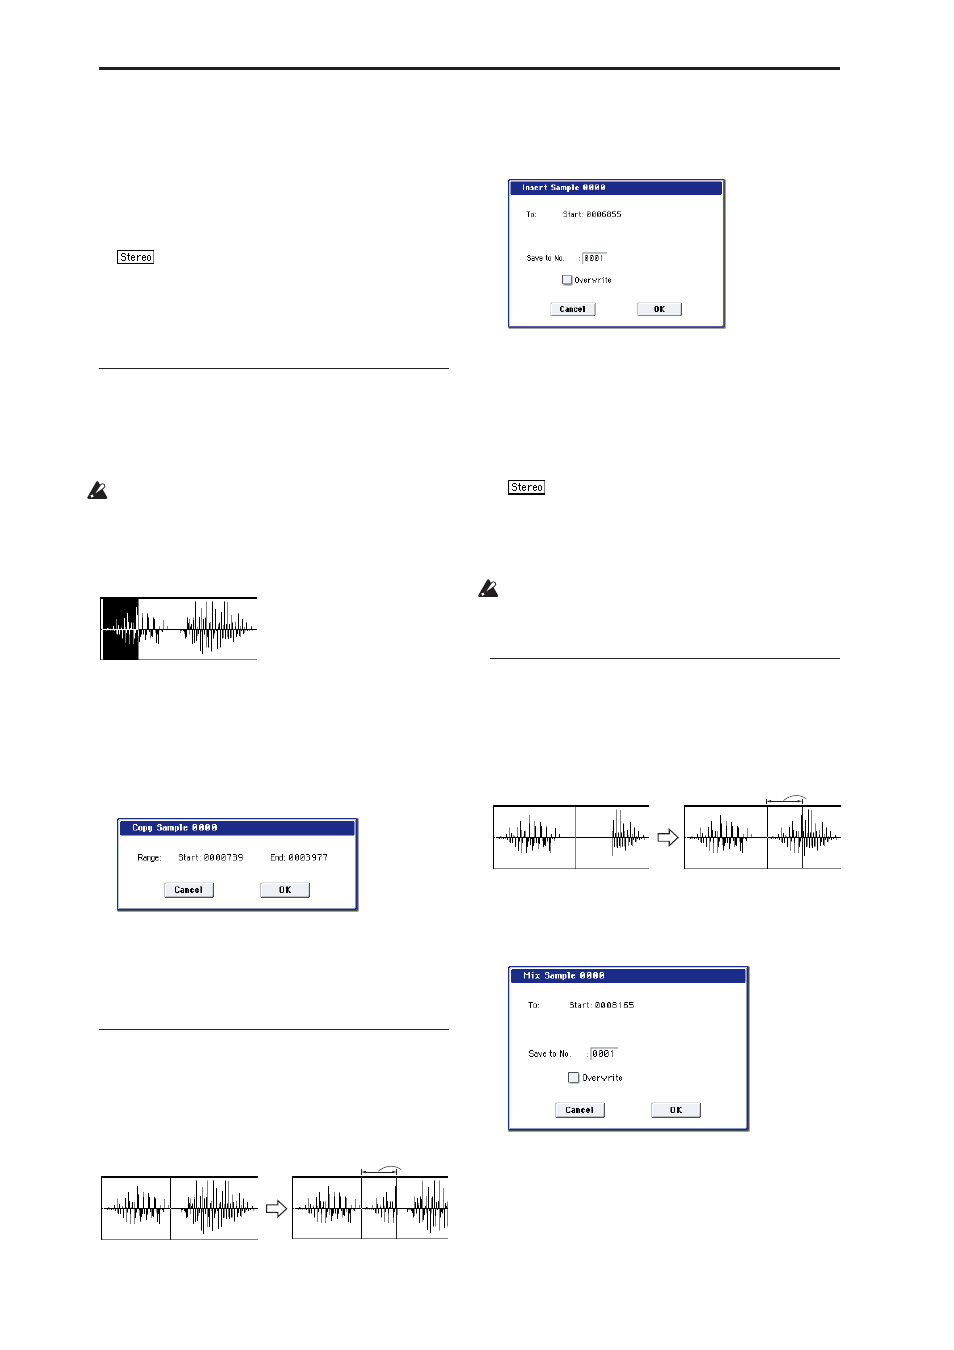
Insert
When you execute this command, the sample data
placed in the buffer by executing “Copy” in the
Sampling mode Sample Edit page will be inserted at
the “Start” address. The data that follows this address
will be moved toward the end of the sample.
1. Use “Sample Select” (1–1b) to select the sample
that you wish to edit, and set “Start” to specify the
starting address. The “End” setting is ignored.
2. Select “Insert” to open the dialog box.
3. To “Start” will indicate the starting address at
which the data will be inserted.
4. In “Save to No.,” specify the save destination
sample number. By default, an unused sample
number will be selected.
The sample number cannot be specified if
“Overwrite” is checked (page 615).
For stereo samples, use “Save to No.(L)” and
“(R)” to specify the save-destination of the L and R
channels.
5. To execute the Insert command, press the OK
button. To cancel, press the Cancel button.
If the buffer into which data was placed by the
“Copy” command contains no data, the display will
indicate “Source sample is empty.”
Mix
When you execute this command, the sample data
placed in the buffer by executing “Copy” in the
Sampling mode Sample Edit page will be mixed with
the selected sample data, starting at the “Start”
address.
1. Use “Sample Select” (1–1b) to select the sample
that you wish to edit, and set “Start” to specify the
starting address. The “End” setting is ignored.
2. Select “Mix” to open the dialog box.
3. To “Start” will indicate the starting address at
which the data will be mixed.
4. In “Save to No.,” specify the save destination
sample number. By default, an unused sample
number will be selected.
The sample number cannot be specified if
“Overwrite” is checked (page 615).
From the buffer
From the buffer