Optimize ram, Select directory, Auto sampling setup – KORG Electronic Keyboard User Manual
Page 630
Sampling mode
620
used in programs, the multisample numbers of the
programs will also be reassigned automatically.
Normally you will leave this checked.
5. To execute the Move Multisample command, click
the OK button. If you decide not to execute, click
the Cancel button.
Example) If data already exists at the move destination
multisample number, the multisample will not be
overwritten; instead, all subsequent multisamples will
be renumbered upward.
Example) If there is no empty multisample number
and forward movement is not possible, multisamples
will be renumbered downward.
Optimize RAM
This command optimizes the RAM memory.
When you execute the optimize command, any
memory areas containing unused data will be
rearranged, allowing you to utilize all of the remaining
memory.
If you run out of memory, try executing “Optimize
RAM.”
The remaining amount of RAM can be checked under
“0–1f: Free Sample Memory/Locations,” as described
on page 572.
1. Select “Optimize RAM” to open the dialog box.
2. Press the OK button to execute the optimize
command, or press the Cancel button to cancel
without executing.
Note: If “Auto Optimize RAM” (Global 0–1d) is
checked, RAM will be optimized automatically.
Select Directory
This command lets you specify the save-destination
disk, directory, and filename for the WAVE file that will
be created by sampling.
You can also use this “Select Directory” command to
listen to audio from a WAVE file that was saved to
disk.
The “Select Directory” command is available when
“Save to” is set to DISK.
Specifying the save-destination for a WAVE file
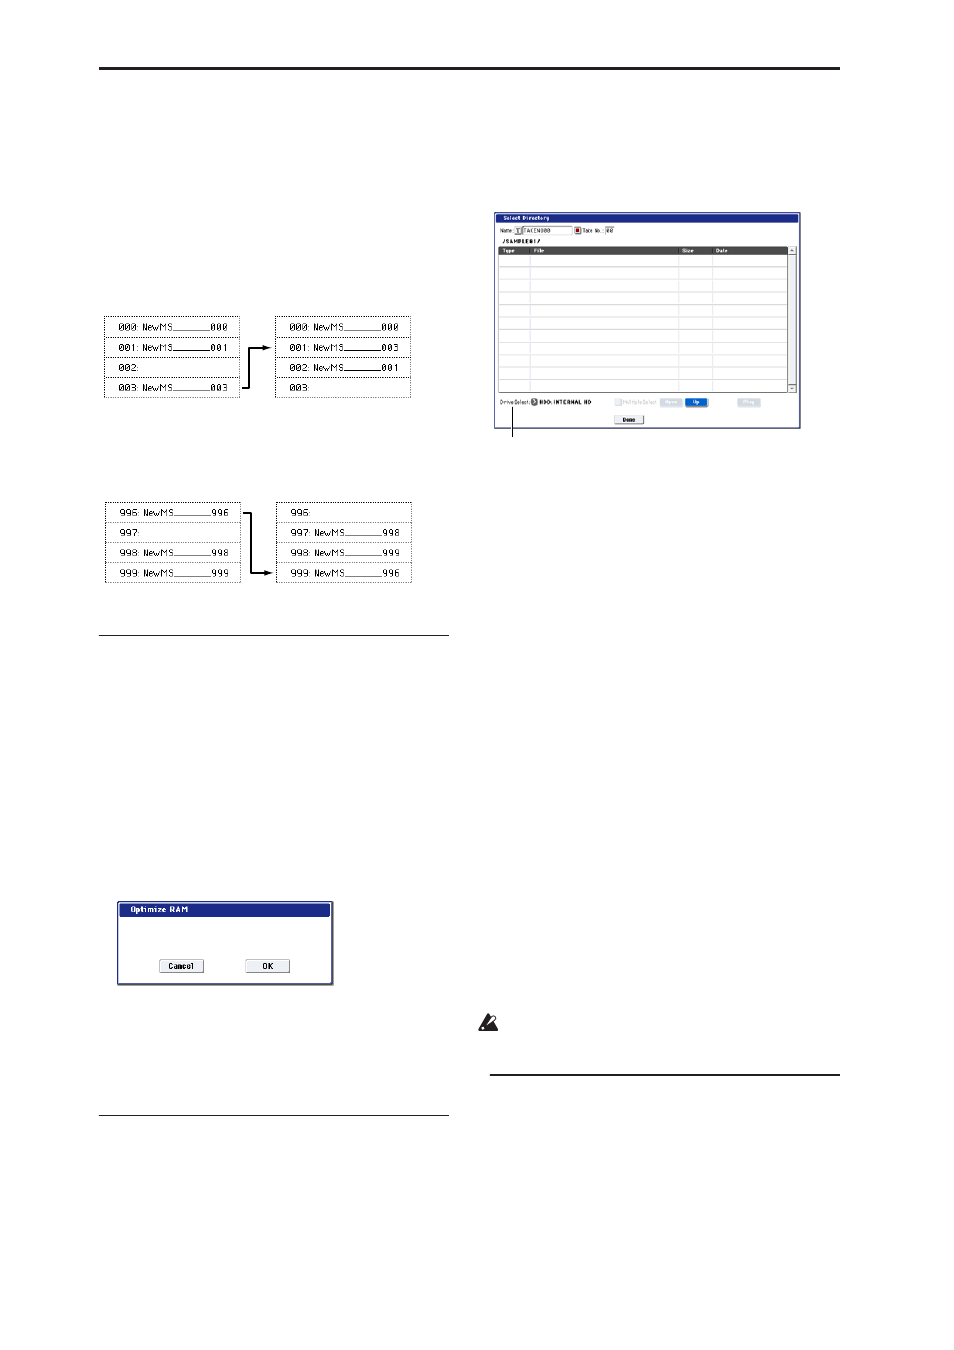
1. Select “Select Directory” to open the dialog box.
2. Use “Drive Select” to select the disk into which
the data will be written during sampling.
3. Use the Open button and Up button to move
between directories.
4. In the “Name” field, specify a name for the WAVE
file that will be written during sampling.
If you check Take No., a two digit “take number”
will be added at the end of the filename when it is
saved. The number will automatically increment
each time you sample. When sampling repeatedly,
this is convenient since it allows each file to be
saved with a different filename.
If Take No. is not checked, up to eight characters
can be entered in the “Name” field. If Take No. is
checked, up to six characters can be entered.
5. Press the Done button to complete the settings.
Playing back a WAVE file
1. Select “Select Directory” to open the dialog box.
2. Use “Drive Select,” the Open button, and the Up
button to select the disk and directory, and select
the WAVE file that you want to play.
Note: you can only play 48kHz WAVE files.
3. Press the SAMPLING START/STOP switch or
Play button.
The selected WAVE file will play.
4. Press the SAMPLING START/STOP switch once
again to Stop button.
If the WAVE file is mono, the same sound will be
output to L and R.
Auto Sampling Setup
This command automatically sets various sampling-
related parameters for Sampling mode operations. You
can use this command when you want to sample an
external audio source, or when you want to apply an
effect to a sample and resample it. You can also use this
command to initialize the settings.
Move 003 to 001
Move 996 to 999
Drive Select