Computer configuration – Wavetronix Click 400 (900 MHz radio) (CLK-400) - User Guide User Manual
Page 234

CHAPTER 28 • CLICK 400 233
flashing. The red LED should be solid and the green and yellow LEDs will flash. Wait for a
few seconds and the device will now have the original factory configuration.
Computer Configuration
The Click 400 can be configured more exactly using the Click Supervisor software. See
Chapters 4 and 5 of this document for instructions on how to download and install Click
Supervisor and how to connect to your device using the software.
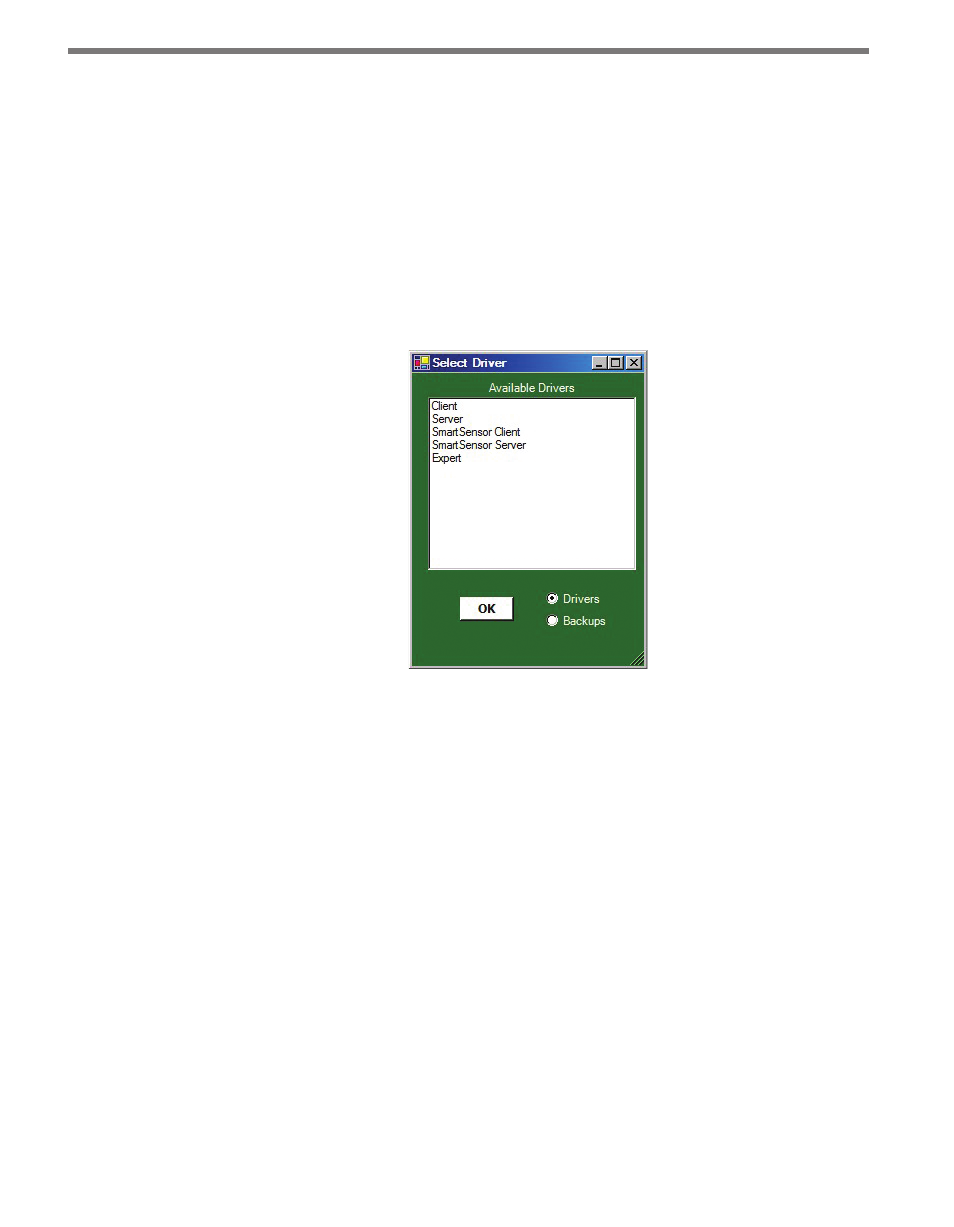
The Click 400 can be configured using one of five drivers (see Figure 27.3).
Figure 27.3 – Selecting a Driver
Which driver you use will depend on what you need to use the device for. The first four
drivers are known as application drivers and are used to set the Click device to work in
specific applications. Use the list below to find the appropriate driver for your application:
˽
Client – If you intend to connect multiple clients to a single server, use the Client driver.
˽
Server – If you intend to connect a single radio to another single radio, use the Server
driver.
˽
SmartSensor Client – If you intend to connect a wireless sensor station to a wireless
base station, use the SmartSensor Client driver.
˽
SmartSensor Server – If you intend to connect a wireless base station to a wireless sen-
sor station, use the SmartSensor Server driver.
To see advanced settings, use the Expert driver. This driver, which exposes every available
field for the Click 400, should only be used under the direction of Wavetronix Technical
Services.
After you have made configuration changes on a driver and saved it to the Click device, the
word “current” will appear after that driver to indicate the driver that is currently loaded
- Click 421 (bluetooth to serial converter) (CLK-421) - User Guide Click 342 (lean managed ethernet switch) (CLK-342) - User Guide Click 341 (lean managed ethernet switch) (CLK-341) - User Guide Click 340 (lean managed ethernet switch) (CLK-340) - User Guide Click 331 (unmanaged ethernet switch) (CLK-331) - User Guide Click 330 (unmanaged ethernet switch) (CLK-330) - User Guide Click 304 (RS-232 to RS-485 converter) (CLK-304) - User Guide Click 305 (RS-232 to RS-485 converter) (CLK-305) - User Guide Click 301 (serial to ethernet converter) (CLK-301) - User Guide Click 100 (16 output contact closure) (CLK-100) - User Guide Click 104 (4-channel DIN rail contact closure) (CLK-104) - User Guide Click 110 (4-channel contact closure eurocard) (CLK-110) - User Guide Click 112 (detector rack card) (CLK-112) - User Guide Click 114 (detector rack card) (CLK-114) - User Guide Click 120 (screw terminal relay) (CLK-120) - User Guide Click 121 (spring cage relay) (CLK-121) - User Guide Click 200 (surge suppression) (CLK-200) - User Guide Click 201 (1 amp AC to DC converter) (CLK-201) - User Guide Click 202 (2 amp AC to DC converter) (CLK-202) - User Guide Click 203 (UPS and battery) (CLK-203) - User Guide Click 204 (4 amp AC to DC converter) (CLK-204) - User Guide Click 210 (AC circuit breaker) (CLK-210) - User Guide Click 211 (AC outlet) (CLK-211) - User Guide Click 221 (DC surge protector) (CLK-221) - User Guide Click 222 (system surge protector) (CLK-222) - User Guide Click 223 (dual-485 surge protector) (CLK-223) - User Guide Click 230 (AC surge protector) (CLK-230) - User Guide Click 250 (wireless surge protector) (CLK-250) - User Guide
