Image matte key effect, Luma key effect – Adobe Premiere Pro CS3 User Manual
Page 343

ADOBE PREMIERE PRO CS3
User Guide
337
See also
Replace a static background with Difference Matte
Difference Matte online training video
Eight-Point, Four-Point, and Sixteen-Point Garbage Matte effects
(High bit-depth) The three Garbage Matte effects aid in cropping out extraneous portions of a shot so that you can
apply and adjust a key effect more effectively. The mattes are applied with either four, eight, or 16 adjustment points
for more detailed keying. Once you apply the effect, click the Transform icon
next to the effect name in the
Effect Controls panel. This displays the garbage matte handles in the Program Monitor. To adjust the matte, drag
the handles in the Program Monitor or drag the controls in the Effect Controls panel.
See also
Mask out objects with garbage mattes
Image Matte Key effect
The Image Matte Key effect keys out areas of a clip’s image based on the luminance values of a still image clip, which
serves as a matte. The transparent areas reveal the image produced by clips in lower tracks. You can specify any still
image clip in the project to serve as the matte; it does not have to be in the sequence. To use a moving image as the
matte, use the Track Matte Key effect instead.
See also
Define transparent areas with Image Matte Key
Luma Key effect
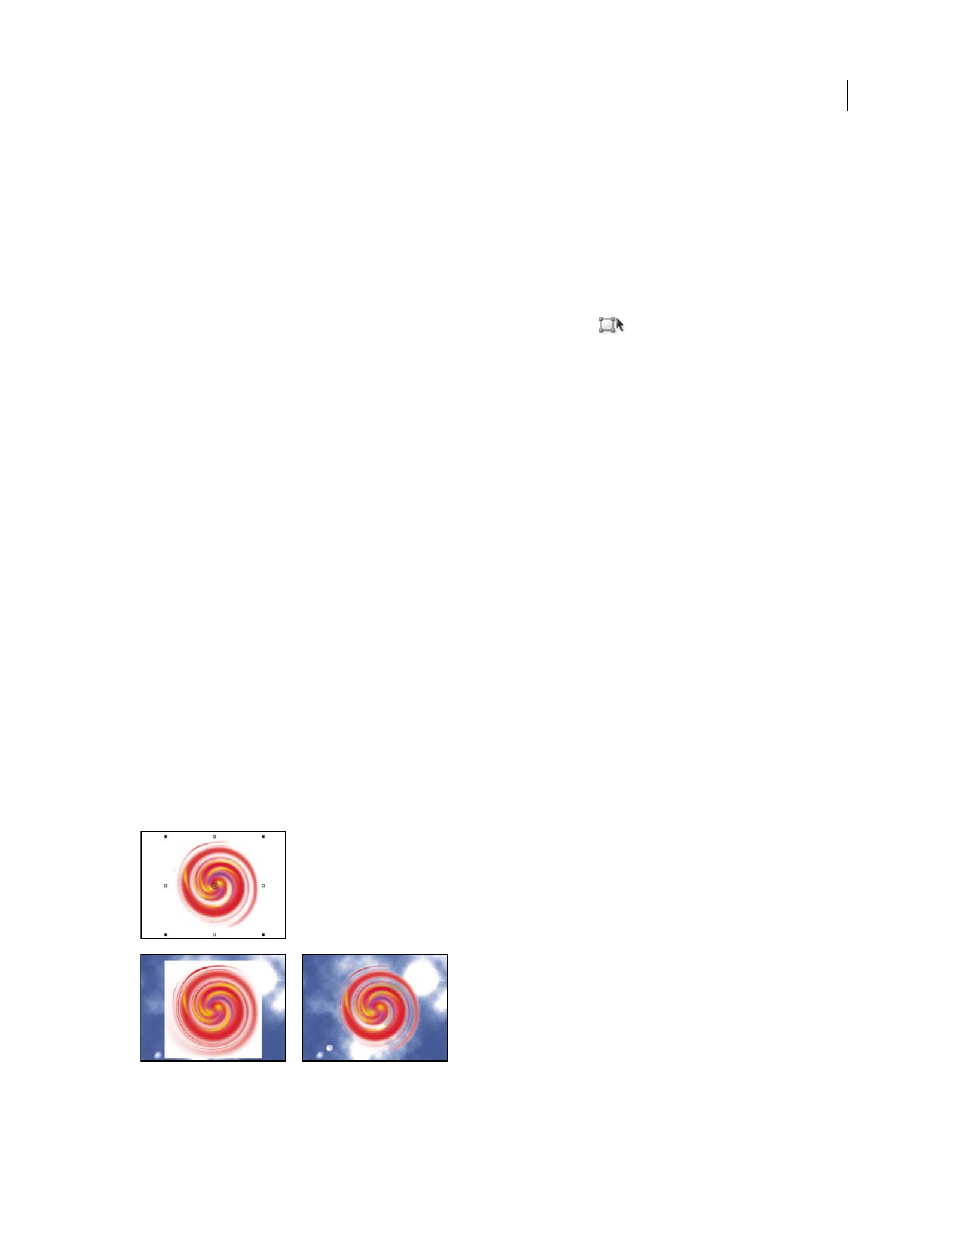
(High bit-depth) The Luma Key effect keys out all the regions of a layer with a specified luminance or brightness.
Use this effect if the object from which you want to create a matte has a greatly different luminance value than its
background. For example, if you want to create a matte for musical notes on a white background, you can key out
the brighter values; the dark musical notes become the only opaque areas.
White background of original (top and left) is removed using Luma Key and composited over underlying layer (right).
April 1, 2008
