Change transition settings, Customizable transitions, Customize a gradient wipe transition – Adobe Premiere Pro CS3 User Manual
Page 186
ADOBE PREMIERE PRO CS3
User Guide
180
Default center (left) and repositioned center (right)
Change transition settings
1
In the Timeline panel, click a transition to select it.
2
In the Effect Controls panel, adjust settings:
Edge selectors
Change the orientation or direction of the transition. Click an Edge selector arrow on the
transition’s thumbnail. For example, the Barn Doors transition can be oriented vertically or horizontally. A
transition doesn’t have Edge selectors if it has one orientation or if orientation isn’t applicable.
Start and End sliders
Set the percentage of the transition that is complete at the start and end of the transition. Hold
down the Shift key to move the start and end sliders together.
Show Actual Sources
Displays the starting and ending frames of the clips.
Border Width
Adjusts the width of the optional border on the transition. The default Border is None. Some transi-
tions do not have borders.
Border Color
Specifies the color of the transition’s border. Double-click the color swatch or use the eyedropper to
choose the color.
Reverse
Plays the transition backward. For example, the Clock Wipe transition plays counterclockwise.
Anti-Aliasing Quality
Adjusts the smoothness of the transition’s edges.
Custom
Changes settings specific to the transition. Most transitions don’t have custom settings.
Customizable transitions
Customize a Gradient Wipe transition
You can use a grayscale image as a gradient wipe. In a gradient wipe, image B fills the black area of the grayscale
image and then shows through each level of gray as the transition progresses until the white area becomes trans-
parent.
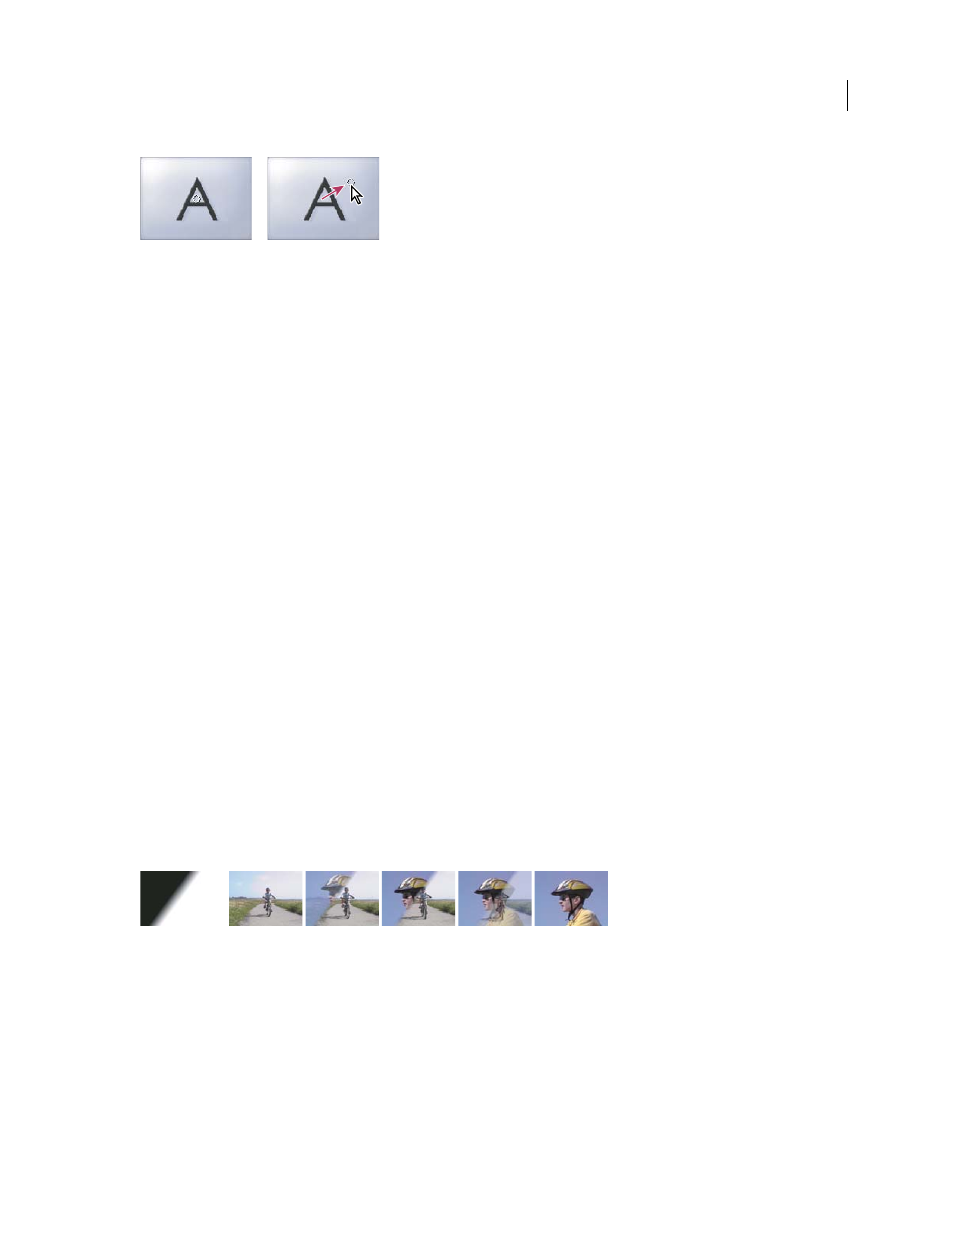
Gradient wipe source image (far left) and resulting transition
1
In the Effects panel, expand the Video Transitions bin and the Wipe bin inside it.
2
Drag the Gradient Wipe transition from the Wipe bin to an edit point between clips in the Timeline panel.
3
Click Select Image, and then double-click the file you want to use as the gradient wipe. The image appears in the
Gradient Wipe Settings dialog box.
4
Adjust the softness of the transition’s edges by dragging the Softness slider. As you drag the slider to the right,
image A increasingly shows through image B. Click
OK.
April 1, 2008