Applying audio effects in the audio mixer, Apply a track effect in the audio mixer – Adobe Premiere Pro CS3 User Manual
Page 209
ADOBE PREMIERE PRO CS3
User Guide
203
Applying audio effects in the Audio Mixer
In the Audio Mixer, track effect options are controlled after an effect is selected in the Effects And Sends panel. If
the Effects And Sends panel isn’t visible, display it by clicking the Show/Hide Effects And Sends triangle on the left
side of the Audio Mixer. The Effects And Sends panel contains Effect Selection pop-up menus to apply up to five
track effects. Adobe Premiere Pro processes effects in the order they are listed and feeds the result of an effect into
the next effect in the list; therefore, changing the order can change the results. The effects list also provides full
control over VST plug-ins you’ve added. Effects applied in the Audio Mixer can also be viewed and edited in the
Timeline panel.
An effect can be applied pre-fader or post-fader. The difference is whether the effect is applied before or after the
application of the track’s fader. Effects are pre-fader by default.
In the Audio Mixer, effect options that change over time can be recorded using the automation options or specified
in the Timeline panel by using keyframes.
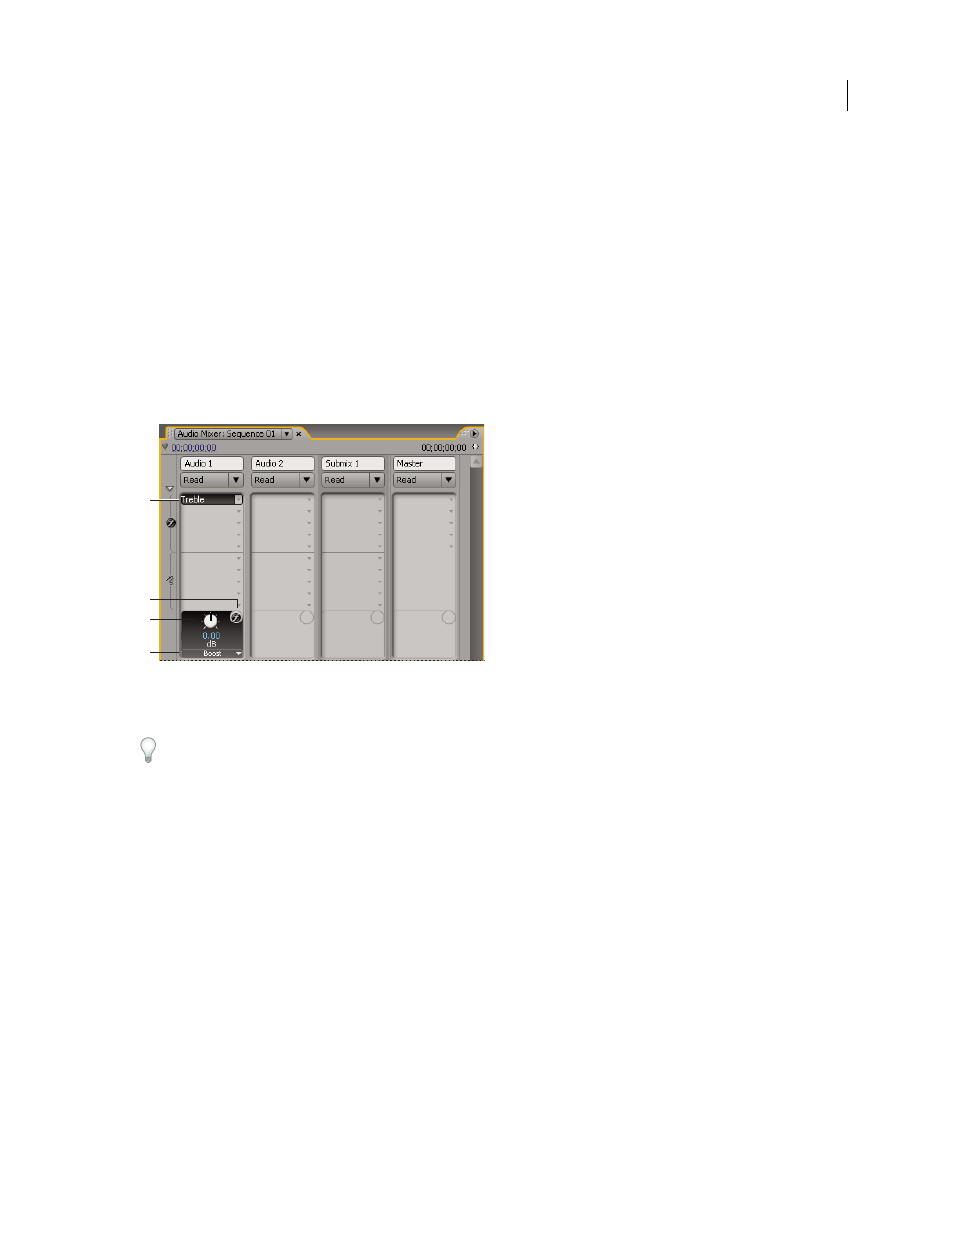
Audio effects
A. Name of applied effect, and effect pop-up menu B. Effect bypass C. Control knob for selected effect property D. Effect properties pop-up
menu
If you plan to use the same effect repeatedly, consider conserving system resources by sharing effects through a
submix. Create a submix, apply the effect to the submix, and use sends to route tracks to the submix for effects
processing.
See also
Apply a track effect in the Audio Mixer
1
(Optional) To display the Effects And Sends panel in the Audio Mixer, click the Show/Hide Effects And Sends
triangle at the left of the Audio Mixer.
2
In the track that you want to apply an effect, click the Effect Selection triangle and choose an effect from the
pop-up menu.
A
C
B
D
April 1, 2008