Editing audio in the timeline panel, Set sample-based audio in and out points – Adobe Premiere Pro CS3 User Manual
Page 156
ADOBE PREMIERE PRO CS3
User Guide
150
Editing audio in the Timeline panel
Set sample-based audio In and Out points
In and Out points are set at timebase divisions—that is, between video frames. Although frame-based edits are
usually adequate for audio as well, some audio edits require greater precision. For example, you may want to place
an In point between two words in a sentence, but the tiny division between words doesn’t conveniently fall between
frames. Fortunately, digital audio isn’t divided into frames, but into audio samples, which occur far more frequently.
By switching the Source Monitor’s or sequence’s time ruler to audio samples, you can set more precise audio In and
Out points.
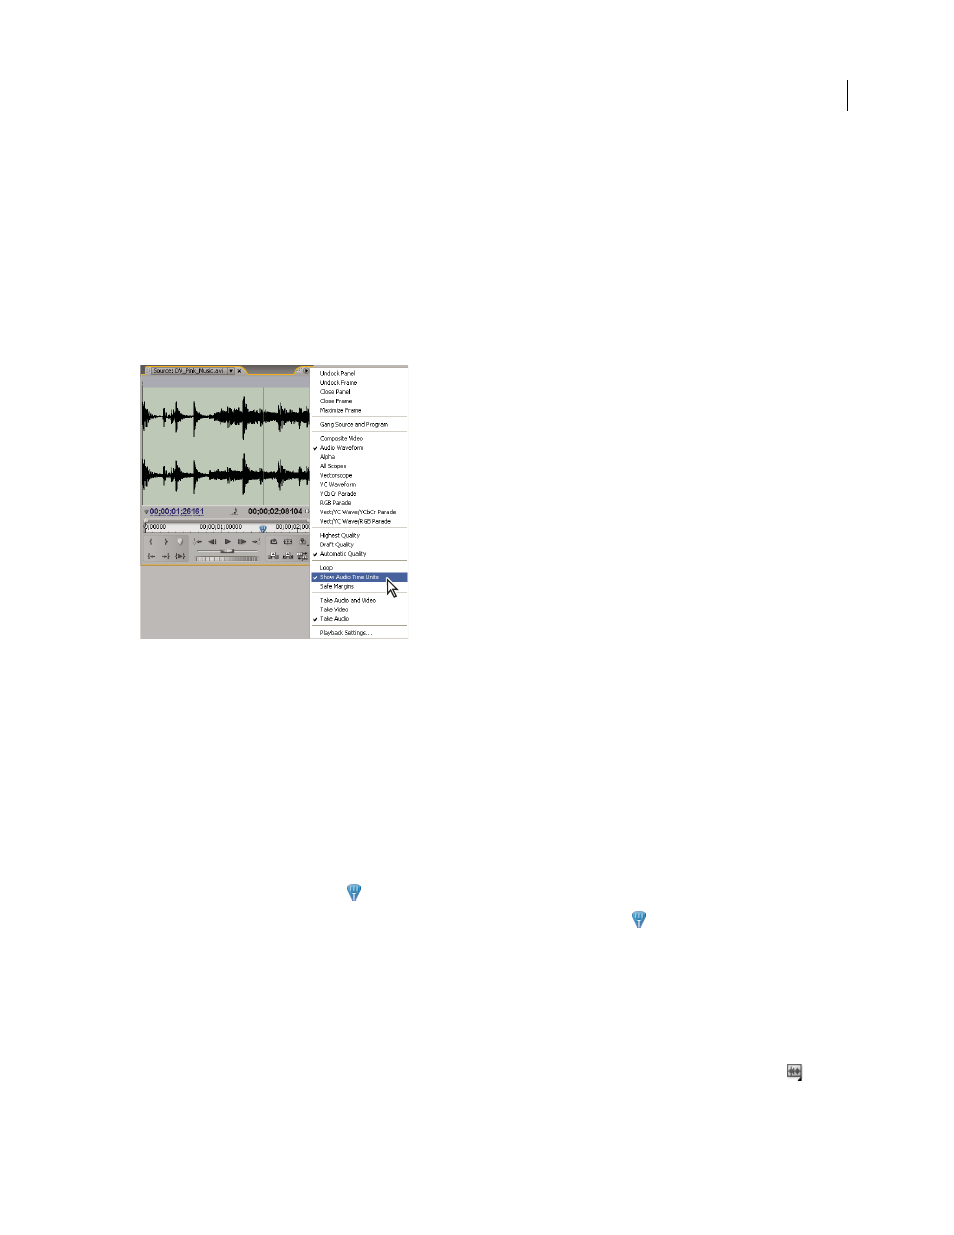
Source Monitor set to display audio units for more precise editing of an audio clip
See also
Trim with Trim-in and Trim-out tools
Switch a time ruler to audio units in the Source or Program Monitor
❖
In the Source or Program Monitor panel menu, choose Show Audio Time Units.
Navigate audio in sample view
1
Switch the time ruler in the Source Monitor or Timeline panel to audio units.
2
To navigate, do one of the following:
•
Drag the current-time indicator
in the time ruler to navigate smoothly through the clip.
•
Click the Step Forward or Step Back buttons to move the current-time indicator
one audio sample at a time.
3
To zoom in or out, drag either end of the viewing area bar in the time ruler of the Source Monitor or Timeline
panel.
Trim audio in sample view in the Timeline panel
1
In the Timeline panel menu, choose Show Audio Time Units. The time rulers in the Timeline panel and Program
Monitor switch to a sample-based scale.
2
If necessary, expand the audio track containing the clip you want to edit, click the Set Display Style button
,
and choose Show Waveform.
April 1, 2008