Activating and selecting keyframes, Activate keyframing – Adobe Premiere Pro CS3 User Manual
Page 292

ADOBE PREMIERE PRO CS3
User Guide
286
6
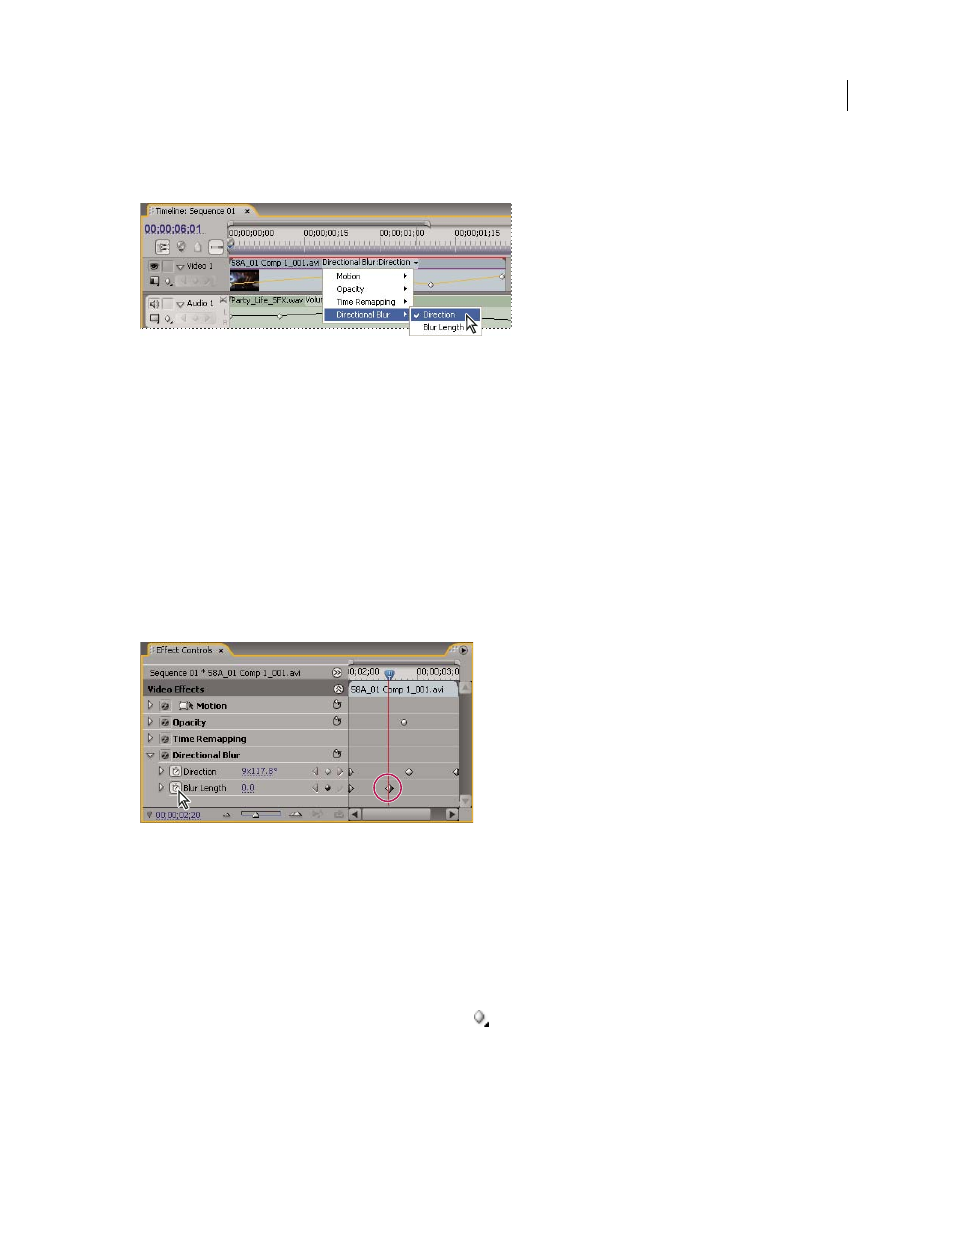
(Optional) If you chose Show Keyframes, Show Clip Keyframes, or Show Track Keyframes in steps 2 and 3, click
the effect menu and choose the effect that contains keyframes.
Choosing from the effects pop-up menu
7
Place the pointer directly over a keyframe to view its property in a tool tip.
The tool tip displays the keyframe’s location, as well as the property and options you set for it in the Effect Controls
panel. This information is useful for making precise keyframe placements, quickly noting the value you’ve set for a
keyframe, and quickly comparing the location and change in value of two or more keyframes.
Activating and selecting keyframes
Activate keyframing
To animate an effect property, you must activate keyframing for that property in the Effect Controls panel. Once
keyframes are activated, you can add and adjust as many keyframes as you need for animating the effect’s property.
Clicking the Toggle Animation button activates keyframing for an effect property at the current time.
1
Make sure you have a sequence with clips in the Timeline panel. By default, the Fixed effects (Motion, Opacity,
and Volume) are applied to clips in the video and audio tracks.
2
(Optional) Add Standard effects to clips.
3
Do any of the following:
•
In the Effect Controls panel, first select the clip in the Timeline panel that contains the effect you want to animate,
and then in the Effect Controls panel, click the triangle to expand the controls of the effect you want to animate.
•
In the Timeline panel, click the Show Keyframes icon
and choose any option from the menu except Hide
Keyframes. The Add/Delete Keyframes button is activated for keyframing. You can immediately start adding and
adjusting keyframes only for Fixed Effects in the Timeline panel. Keyframing for Standard effects must be first
activated in the Effect Controls panel.
April 1, 2008
