Adding shapes and images, Create shapes – Adobe Premiere Pro CS3 User Manual
Page 230

ADOBE PREMIERE PRO CS3
User Guide
224
See also
Create titles that roll or crawl
Align and distribute objects in titles
Set and adjust a tab stop
1
Select a text box.
2
Choose Title
> Tab Stops.
•
To create a tab stop with left-justified text, click the Left Justify tab marker
.
•
To create a tab stop with center-justified text, click the Center tab marker
.
•
To create a tab stop with right-justified text, click the Right Justify tab marker
.
3
Click the tab ruler above the numbers to create a tab. Drag the tab stop to adjust its position. As you drag, a yellow
vertical line, or tab marker, indicates the tab’s position in the selected text box.
4
Click
OK to close the Tab Stops dialog box. The selected text box contains the tab stops you specified.
Note: To make tab markers visible whenever selected (rather than only when the Tab Stops dialog box is open), choose
Title > View
> Tab Markers.
Delete a tab stop
❖
In the Tab Stops dialog box, drag the tab up, down, or off the tab ruler.
Adding shapes and images
Create shapes
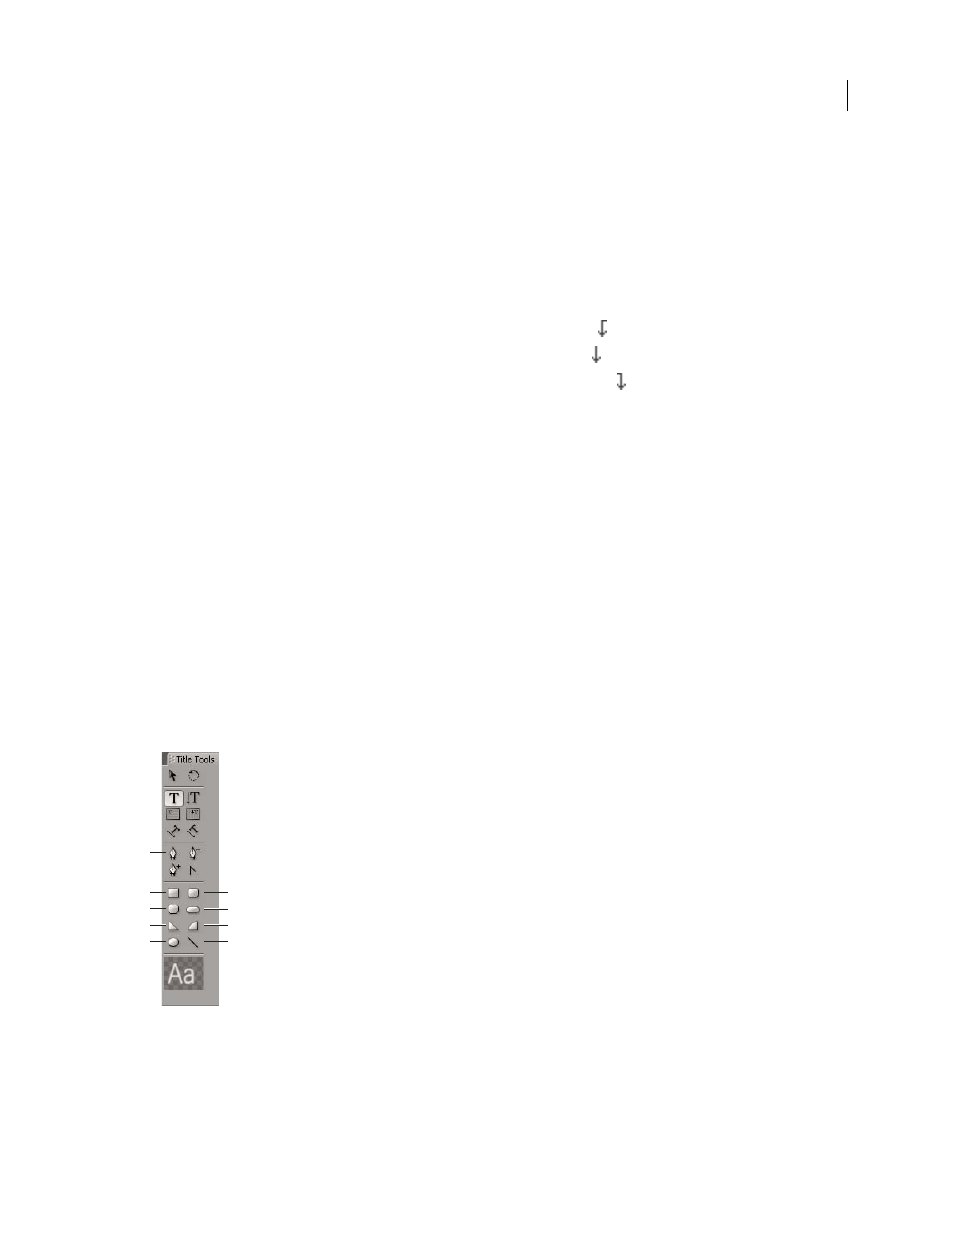
You can use the drawing tools in the Titler to create a variety of shapes, such as rectangles, ellipses, and lines. The
Titler includes standard pen tools that resemble those used in Adobe Illustrator and Adobe Photoshop.
Titler tools panel
A. Pen B. Rectangle C. Clipped Corner Rectangle D. Wedge E. Ellipse F. Rounded Corner Rectangle G. Rounded Rectangle H. Arc I. Line
❖
Select a shape tool.
•
Shift-drag to constrain the shape’s aspect ratio.
B
A
C
D
E
F
G
H
I
April 1, 2008
