Move the current-time indicator to a keyframe, Select keyframes – Adobe Premiere Pro CS3 User Manual
Page 293

ADOBE PREMIERE PRO CS3
User Guide
287
4
In the Effect Controls panel, click the triangle next to the effect property you want to animate.
5
Click the Toggle Animation button
next to the property name. A keyframe appears at the current time.
Keyframing is now activated for an effect’s property.
See also
Move the current-time indicator to a keyframe
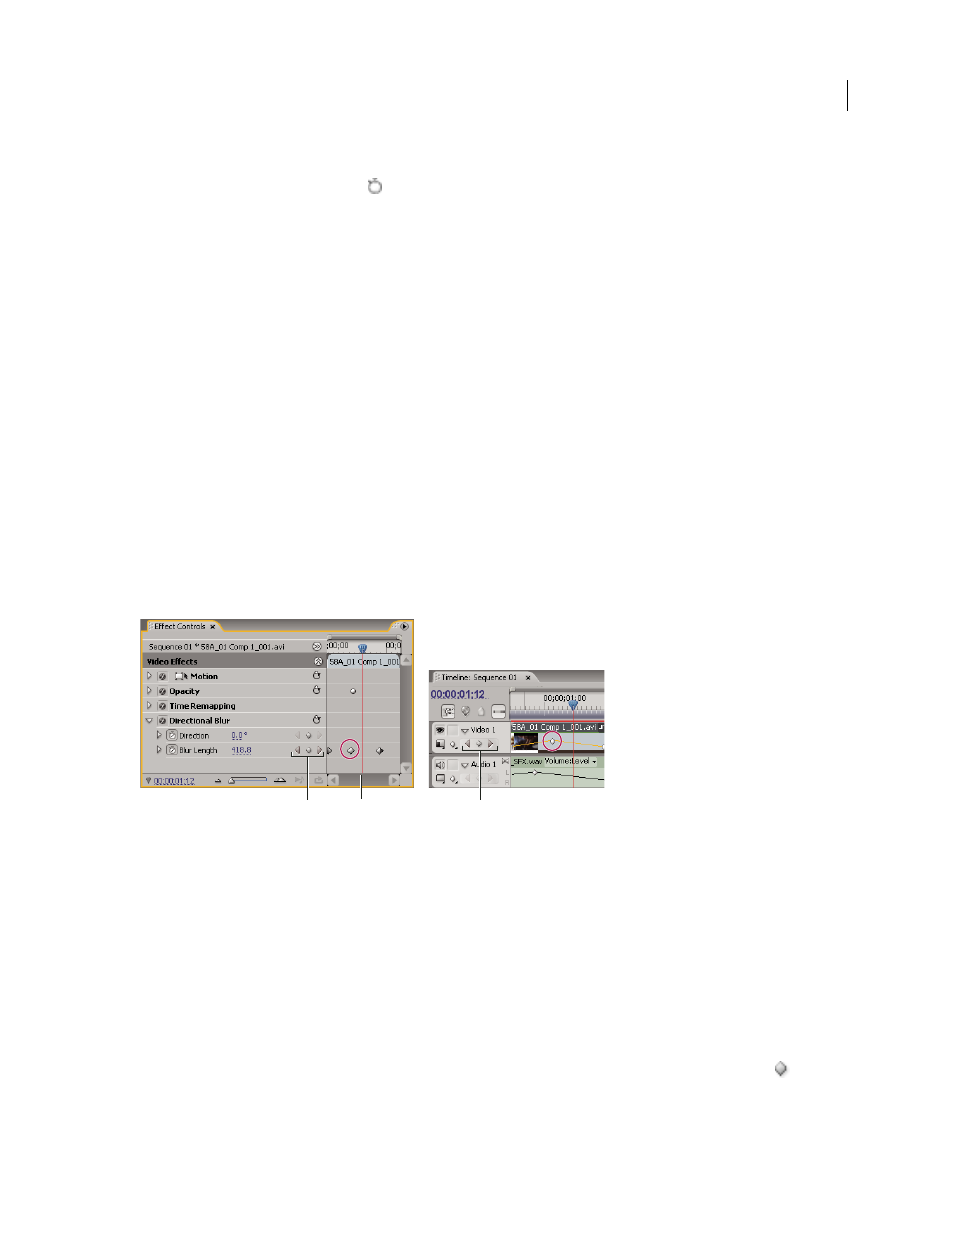
Both the Effect Controls and the Timeline panels have keyframe navigators, which have left and right arrows to
move the current-time indicator from one keyframe to the next. In the Timeline panel, the keyframe navigator is
enabled after you activate keyframes for an effect property.
❖
Do any of the following:
•
In the Timeline or Effect Controls panel, click a keyframe navigator arrow. The left-pointing arrow moves the
current-time indicator to the previous keyframe. The right-pointing arrow moves the current-time indicator to
the next keyframe.
•
(Effect Controls panel only) Shift-drag the current-time indicator to snap to a keyframe.
Keyframe navigator
A. Keyframe navigator in Effect Controls panel B. Current-time indicator C. Keyframe navigator in Timeline panel
Select keyframes
If you want to modify or copy a keyframe, first select it. Unselected keyframes appear hollow; selected keyframes
appear solid. You don’t need to select segments between keyframes because you can drag segments directly. Also,
segments automatically adjust when you change the keyframes that define their end points.
❖
Do any of the following:
•
To select a keyframe, use the Selection or the Pen tool to click the Keyframe icon.
•
To select multiple keyframes, Shift-click with the Selection tool or the Pen tool to select multiple contiguous or
noncontiguous keyframes.
Note: When you position the Selection or Pen tool over a keyframe, the pointer appears with a Keyframe icon
.
C
A
B
April 1, 2008
