Binding disk modules – Grass Valley K2 Storage System Instruction Manual v.3.3 User Manual
Page 394
394
K2 Storage System Instruction Manual
June 25, 2009
Chapter 8 Installing the Nearline 10 Storage System
9. In Storage Utility click
View | Refresh
. Continue with the next procedure
Binding disk modules
Use the following procedure to bind disk modules as required for the nearline 10
storage system.
Also refer to
“About RANKs and LUNs in Storage Utility” in the chapter
Overview
of K2 Storage Tools.
NOTE: Binding destroys all user data on the disks.
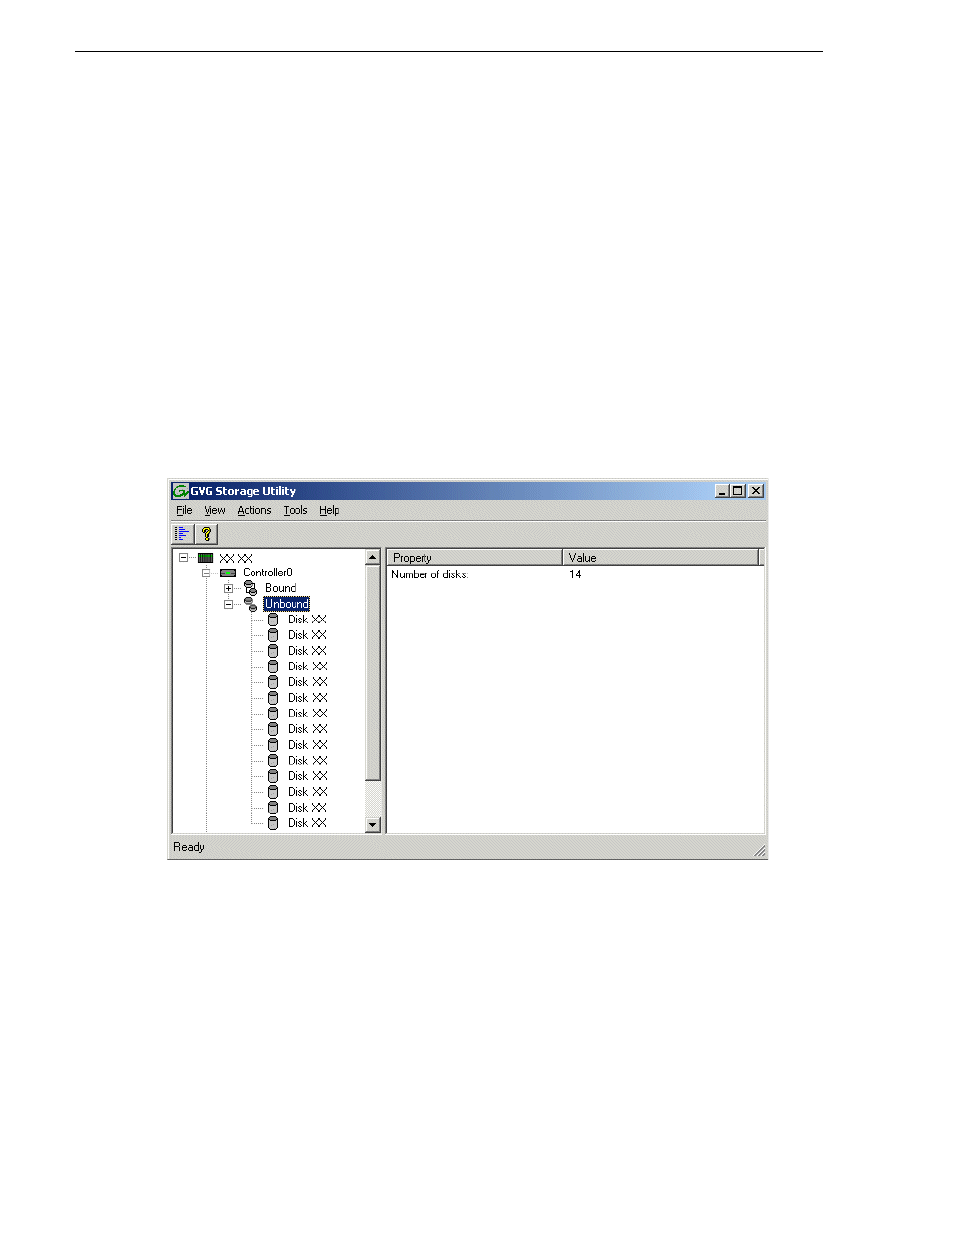
1. In the Storage Utility main window, identify bound RANKs and unbound disks by
their placement in the hierarchy of the tree view. In the following illustration, disk
numbers are represented by “XX”. Refer to
“Identifying disks” on page 544
for an
explanation of how disks are actually numbered in Storage Utility.
NL10 systems store media files across both the primary RAID chassis and the
optional Expansion chassis.
NL10R systems also store media files across both the primary RAID chassis and
the optional Expansion chassis. In addition, metadata files and journal files are
mixed in with the media files.
The RAID configuration is the same on all chassis. Each chassis contains SATA
disks, which are bound as RAID 6 in a RANK of twelve disks. One twelve disk
RANK fills one chassis.
2. To bind SATA disks for media file storage, do the following:
a. Right-click the
Unbound
node for a controller, then select
Bind
in the context