Configuring raid, Configuring raid network and snmp settings – Grass Valley K2 Storage System Instruction Manual v.3.3 User Manual
Page 218

218
K2 Storage System Instruction Manual
June 25, 2009
Chapter 5 Installing the Level 20R Storage System
3. Continue with the next procedure to use Storage Utility to configure the storage
and file system.
Leave the Configure K2 Server wizard open while you are using Storage Utility.
When you are done with Storage Utility, you continue with the wizard.
Configuring RAID
Use Storage Utility to complete the configuration of the L20R RAID chassis, as
explained in the following topics:
•
“Configuring RAID network and SNMP settings”
•
“Prerequisites for initial configuration” on page 213
to confirm that the
RAID storage is ready for configuration.
Configuring RAID network and SNMP settings
Use the Storage Utility to configure the following settings for the Level 20R RAID
controllers:
• IP address
• Subnet mask
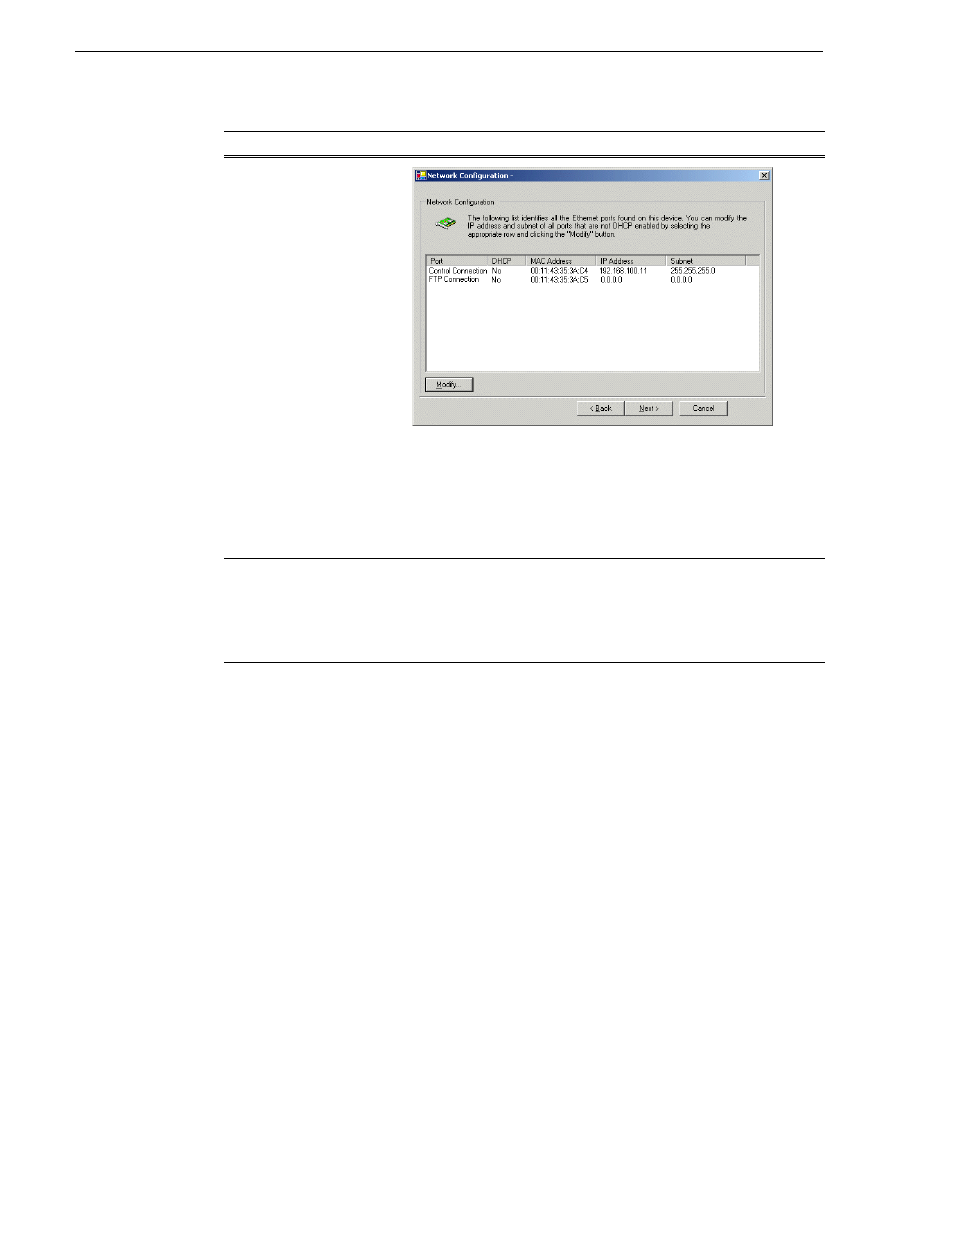
Network Configuration
This page displays the
control network Ethernet
port, and allows you to
configure the FTP/
Streaming network Ethernet
port.
NOTE: This page
does not configure
the iSCSI interface
(media network)
ports.
For systems with an optional
NH server, this server does
not take the role of FTP
server, so configuring the
second port here for the FTP/
streaming network is not
required.
The top port is the port over which the K2 System Configuration
application is communicating. If correctly configured, it is already
assigned the control network IP address, as displayed on this page.
If the server has the role of FTP server, select the other port and click
Modify
. A network configuration dialog box opens. Enter the FTP/
Streaming IP address and the subnet mask and click
Apply
.
Click
Next
.
File System Server
Configuration
Enter the name or IP address of the redundant K2 Media Server (server
B).
Do not yet click Next. Do not yet enter anything in the File System
Server #2 box.
Click
Launch Storage Manager
. Storage Utility opens.
On this page…
Do this…
