Using a security cable, Mounting the access point – Rockwell Automation 1783-WAPxxx Stratix 5100 Wireless Access Point User Manual User Manual
Page 41
Rockwell Automation Publication 1783-UM006A-EN-P - May 2014
41
Install the Stratix 5100 Wireless Access Point/Workgroup Bridge
Chapter 2
Using a Security Cable
You can secure the access point by installing a standard security cable (such as the
Kensington Notebook MicroSaver, model number 64068) into the access point
security cable slot. The security cable can be used with any of the mounting
methods described in this document.
Follow these steps to install the security cable.
1. Loop the security cable around a nearby immovable object.
2. Insert the key into the security cable lock.
3. Insert the security cable latch into the security cable slot on the access
point.
4. Rotate the key right or left to secure the security cable lock to the access
point.
5. Remove the key.
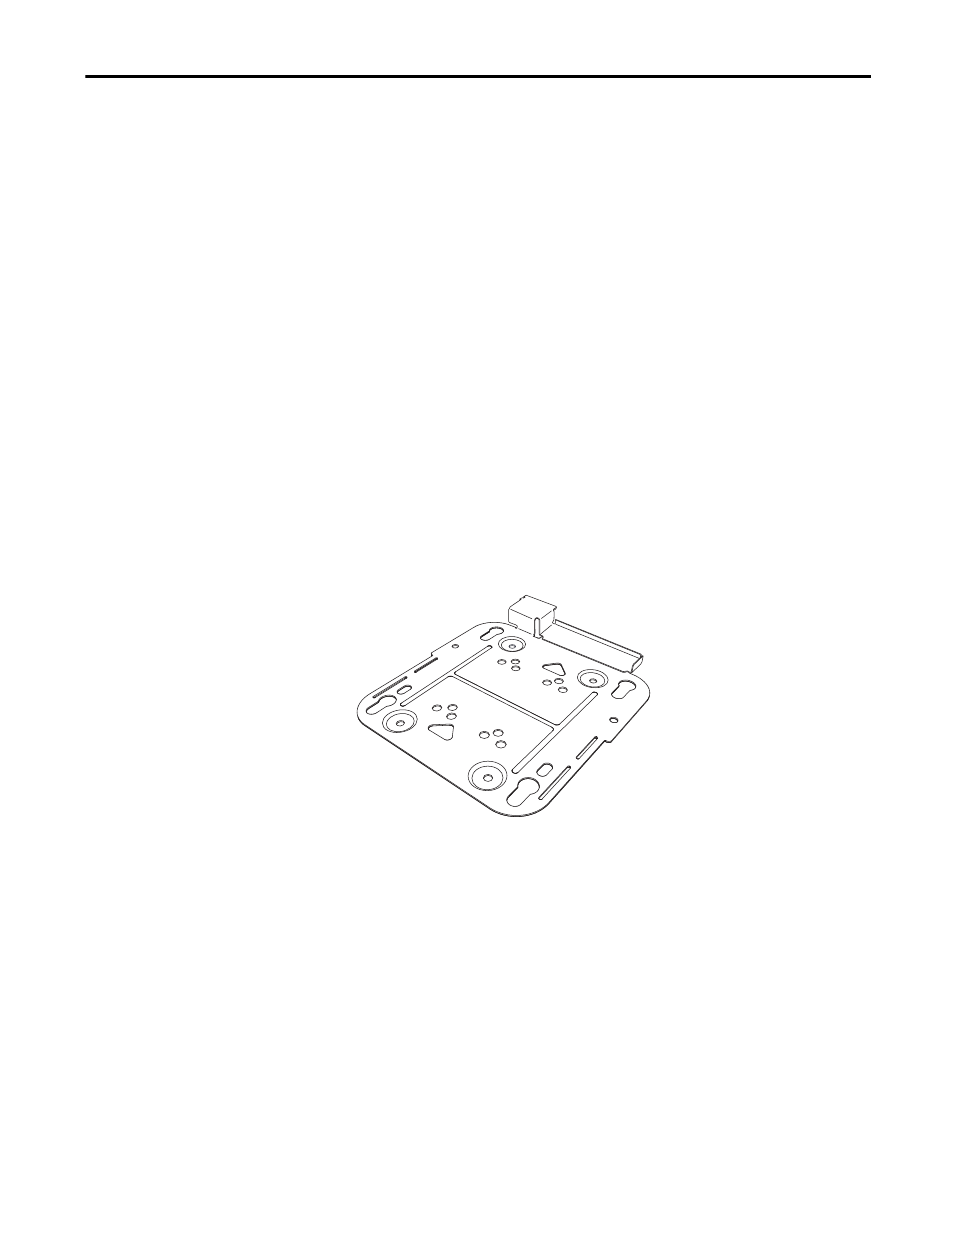
Mounting the Access Point
The Stratix 5100 WAP comes with a low-profile access point mounting bracket:
AIR-AP-BRACKET-1. This bracket can be mounted flush on a flat surface or
directly onto a ceiling, on grid-work.
This procedure describes the steps required to mount the access point with a the
mounting bracket (AIR-AP-BRACKET-1) on a ceiling constructed of 19.05 mm
(3/4-in.) or thicker plywood by using appropriate fasteners.
Follow these steps to mount the access point on a solid ceiling or wall.
1. Place the mounting bracket on the surface where you are going to mount
the access point.
2. Use the mounting bracket as a template to mark the locations of the
mounting holes (1) on the bracket.
TIP
Access points perform best when antennas are oriented vertically.
32473-M
AIR-AP-BRACKET-1
Low profile bracket