Zooming in on analyzed problems – Apple Soundtrack Pro 2 User Manual
Page 239
Chapter 6
Editing Audio Files
239
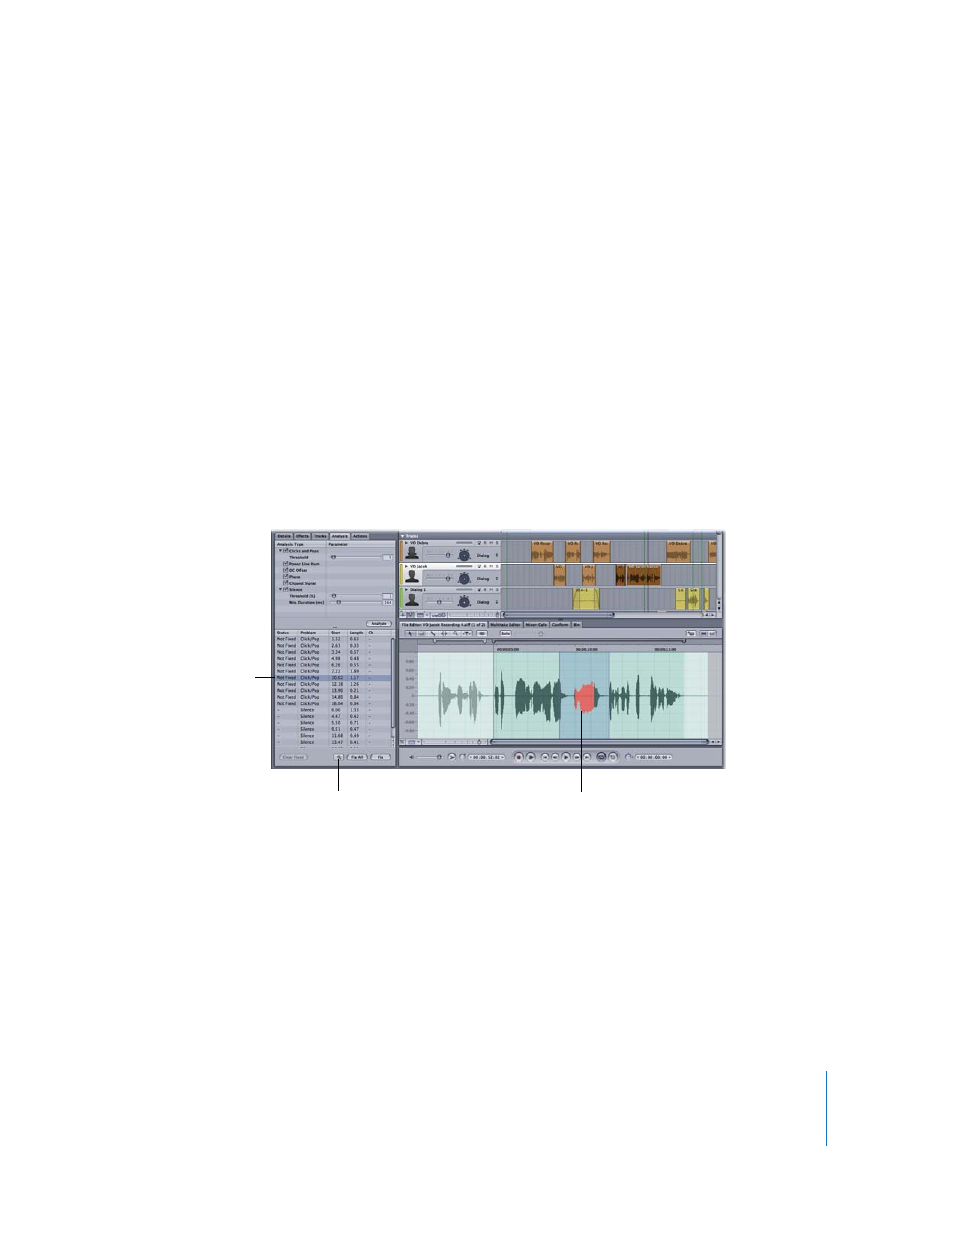
By default, the region shown in red in the waveform display includes some extra time
before the first sample with the problem and some extra time after the last sample
with the problem. This extra time is included so that when you play or loop the
problem area, you can hear the problem in context.
You can narrow the problem area to include only the samples identified as having the
problem, with no extra time.
To narrow the problem area to include only problem samples:
m
Option-click the item in the Analysis Results list.
Zooming In on Analyzed Problems
You can zoom in on an item in the Results list using the Magnify button, so you can see
the problem area of the audio file closely.
To zoom in on an item in the Results list:
1
In the Results list, select the item.
2
Press and hold the Magnify button, located at the bottom of the Results list.
The waveform display zooms in on the problem area for as long as you hold the
Magnify button.
To zoom in and stay at the new zoom level:
1
In the Results list, select the item.
2
Option-click the Magnify button.
The problem area is
highlighted in the File Editor.
Select an item in the
Results list, then press
and hold the Magnify
button.
Magnify button