Working with the cycle region, Working with the cycle, Region – Apple Soundtrack Pro 2 User Manual
Page 134
134
Chapter 5
Working in the Timeline
Working with the Cycle Region
You can create a cycle region in a project, an area that plays back repeatedly. This is
sometimes called cycling or looping playback. A project has only one cycle region, but
you can move and resize it as often as you want. Additionally, for selecting, marking,
and exporting purposes, the cycle region functions much like In and Out points in
Final Cut Pro.
You also use the cycle region when recording multiple takes. For information on
recording, see Chapter 13, “
Recording Audio in Soundtrack Pro
To set the cycle region, do one of the following:
m
Drag in the Time ruler from the beginning of where you want the cycle region to the end.
m
Position the playhead and press I to set the cycle region In point. Position the playhead
and press O to set the cycle region Out point.
m
Press X to set the cycle region In and Out points at the boundaries of the clip that
currently intersects the playhead. The clip on the uppermost track is used.
Note: For a complete list of Soundtrack Pro keyboard shortcuts, see Appendix A,
“
Soundtrack Pro Keyboard Shortcuts
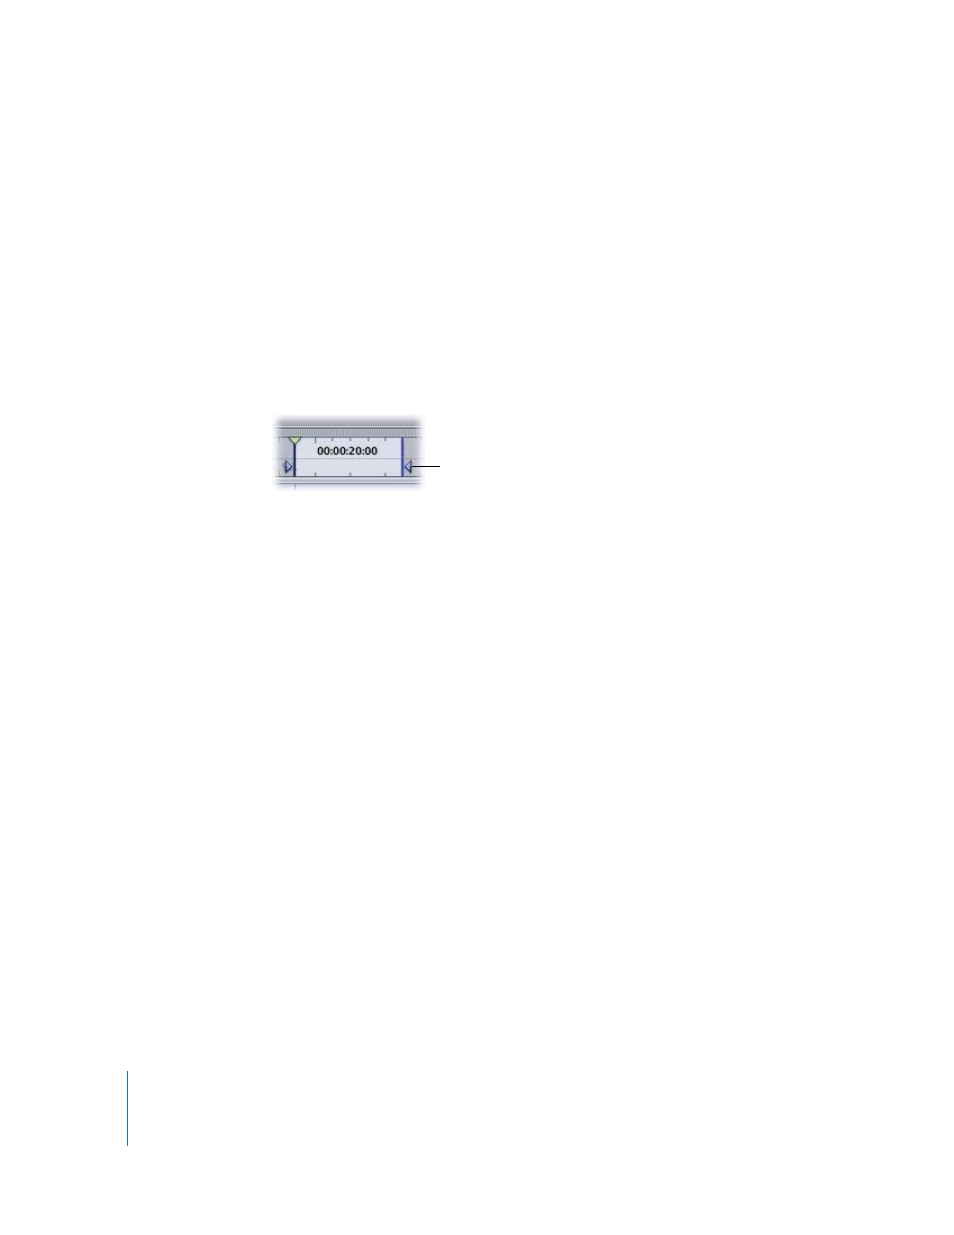
The cycle region is lighter in color than the rest of the Time ruler, with triangular
markers indicating its start and end points. If a cycle region already exists, you can drag
anywhere in the Time ruler outside of the current cycle region to set the cycle region to
a new position.
If cycling is turned off, you must turn it on for the cycle region to be active. The Cycle
button darkens to indicate that the cycle region is activated.
To activate or deactivate the cycle region, do one of the following:
m
Click the Cycle button in the transport controls.
m
Press C.
To move the cycle region:
m
Click in the bottom half of the cycle region and drag it to a new position in the Timeline.
Drag in the Time ruler to
set the cycle region.