Creating crossfades between audio clips – Apple Soundtrack Pro 2 User Manual
Page 160
160
Chapter 5
Working in the Timeline
Creating Crossfades Between Audio Clips
Crossfades let you create smooth transitions between one audio clip and the next and
avoid clicks or sudden changes in loudness that can result when placing audio files one
after another.
To create a crossfade between audio clips, you set the project to crossfade mode, then
drag an audio clip so that it overlaps another clip. A crossfade is created for the length
of the overlapped area.
To set the project to crossfade mode:
m
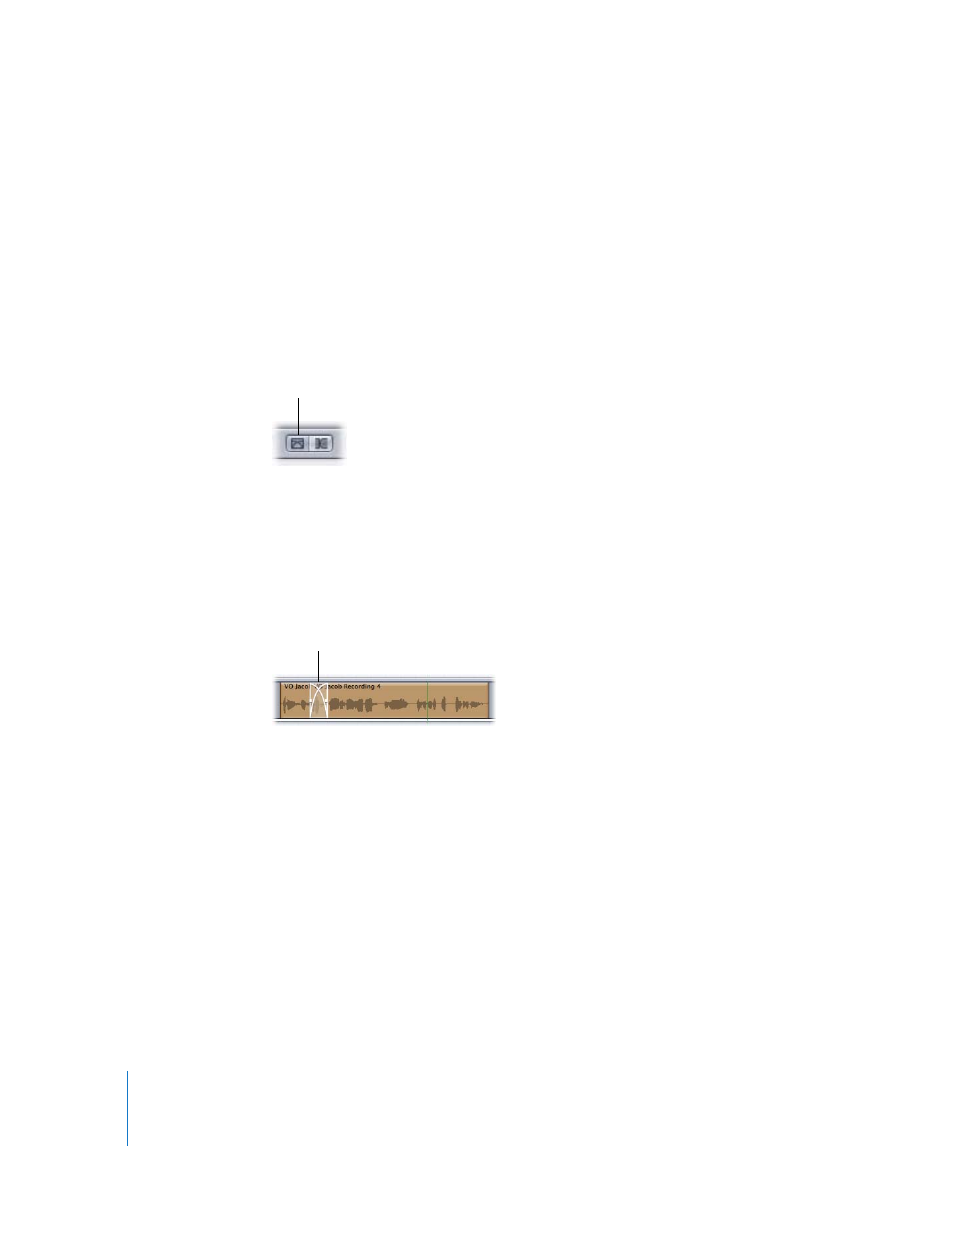
Click the Crossfade Mode button, located above the Global Timeline view.
In crossfade mode, when you drag an audio clip so that it partially overlaps another
audio clip in a track in the Timeline, a crossfade is created for the overlapped part of
the two audio files. You can adjust the boundaries of the crossfade in the Timeline.
To create a crossfade:
m
In the Timeline, drag an audio clip so that it overlaps another audio clip.
The crossfade appears in the overlapped area of the two clips.
You can adjust crossfades in several ways. You can change the edges of the crossfaded
clips or move the position of the crossfade without changing its length.
To adjust crossfade boundaries:
1
Move the pointer over the left or right edge of the crossfade.
The pointer becomes a crossfade pointer.
2
Drag the edge of the crossfade to adjust the crossfade boundary.
To move the crossfade without changing its length:
m
Drag the lower area of the crossfade left or right.
As with other edits you make in the Timeline, creating a crossfade between two audio
clips does not change the source audio files.
Crossfade Mode button
Crossfade