Using the lift and stamp tools – Apple Soundtrack Pro 2 User Manual
Page 179
Chapter 5
Working in the Timeline
179
Using the Lift and Stamp Tools
The Lift and Stamp tools provide a time-saving way to apply work you have done on
one clip to one or more other clips. Use the Lift tool to copy properties from selected
clips and create a processing template in the Sound Palette that can be applied to
other clips. Use the Stamp tool to apply those properties to the other clips.
You can use the Sound Palette to customize the processing template by enabling and
disabling various properties, naming the template, and saving it as a preset. You can also
add a thumbnail image to represent the preset. Presets are saved in the Sound Palette
so that you can select and edit them and apply them in multiple multitrack projects.
To lift properties from a clip in the Timeline:
1
Click the Lift tool at the top of the Timeline (or press UU).
The Sound Palette appears. As you move the pointer over clips in the Timeline, it
changes into the Lift pointer.
2
If you want to limit the type of properties lifted, deselect either of the two checkboxes
at the top of the Sound Palette:
 Lift Analysis Items: These include Clicks and Pops, Power Line Hum, DC Offset, Phase,
Clipped Signal, and Silence.
 Lift Process Items: These include processing effects in these categories: Dynamics,
Distortion, EQ and Filter, Modulation, Reverb/Delay, Miscellaneous, and Mac OS.
3
Click a clip in the Timeline whose properties you want to lift.
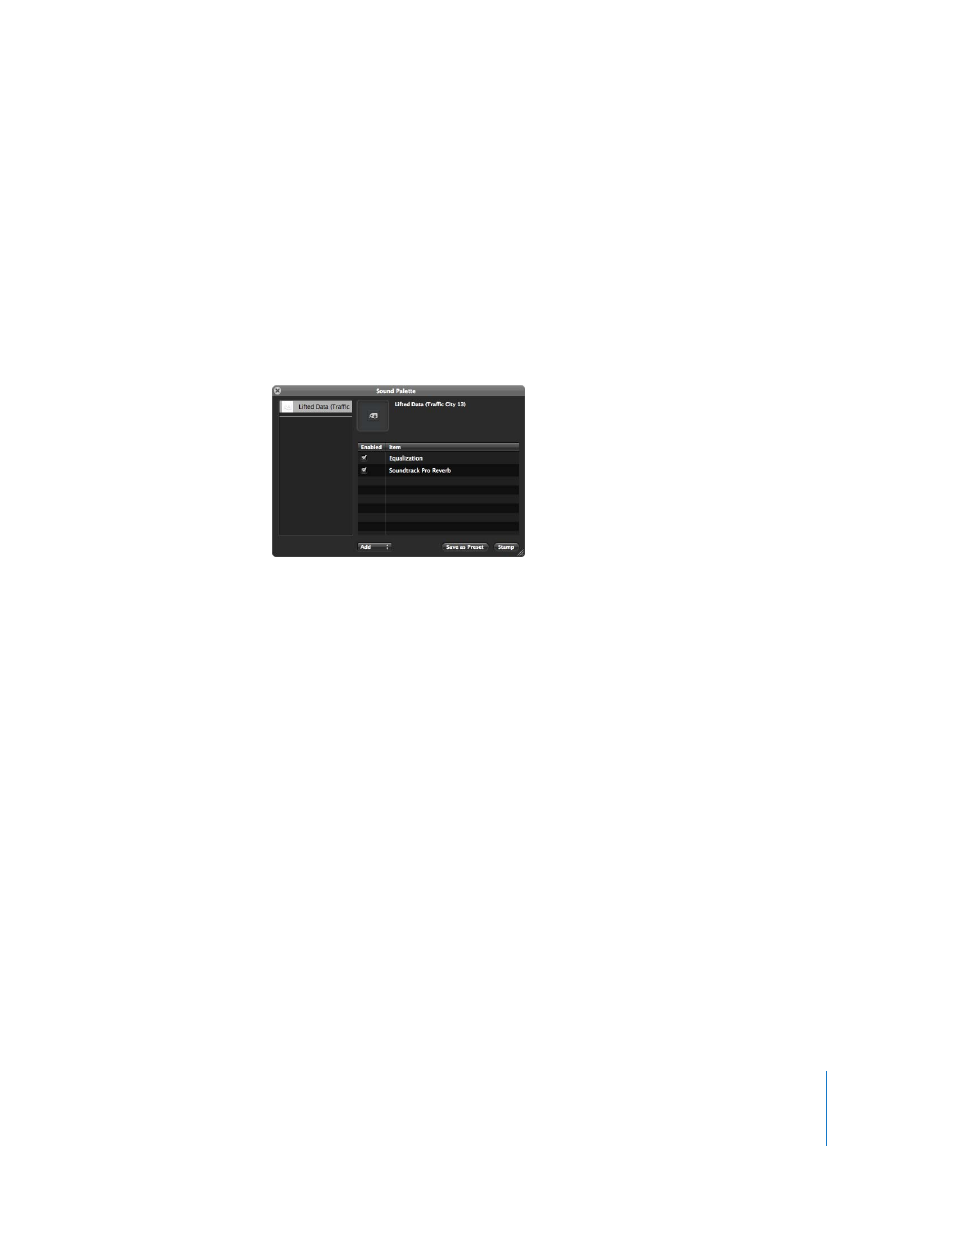
Soundtrack Pro creates a temporary template named Lifted Data (Track Name) with
Track Name being the track holding the source clip. The clip properties appear in the
list on the right of the Sound Palette HUD. The pointer immediately changes to the
Stamp pointer, ready for you to stamp the template of lifted properties to another clip.
The properties in the Sound Palette template appear in the same order they appear in
the Actions tab for the source clip.