Fujitsu Ricoh Fujitsu fi-7700 Document Scanner User Manual
Operator's guide
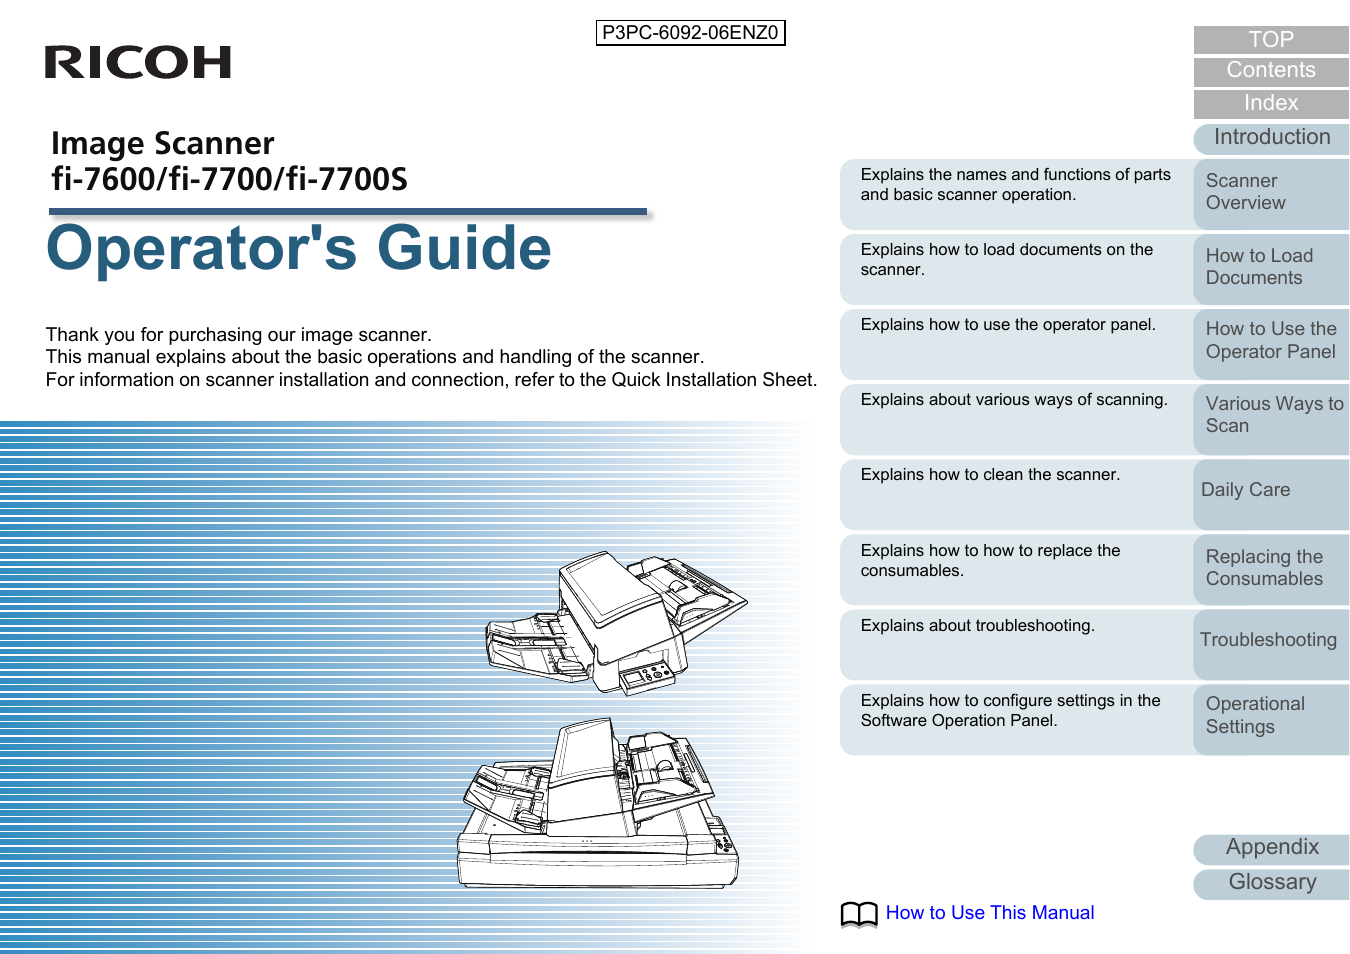
Table of contents
Document Outline
- How to Use This Manual
- Introduction
- Conventions
- Contents
- Chapter 1 Scanner Overview
- 1.1 Main Features
- 1.2 Parts and Functions
- 1.3 Turning the Power ON/OFF
- 1.4 Opening/Closing the ADF
- 1.5 Opening/Closing the Document Cover [fi-7700/fi-7700S]
- 1.6 Adjusting the Position of the ADF [fi-7700/fi-7700S]
- 1.7 Setting Up the ADF Paper Chute (Feeder)
- 1.8 Setting Up the Stacker
- 1.9 Power Saving Mode
- 1.10 Basic Flow of Scanning Operation
- 1.11 Bundled Software
- Chapter 2 How to Load Documents
- 2.1 Loading Documents in the ADF
- 2.2 Placing a Document on the Flatbed [fi-7700/fi-7700S]
- 2.3 Documents for Scanning
- Paper Size
- Paper Type
- Paper Weight (Thickness)
- Documents That Cannot Be Scanned Successfully
- Documents That Cannot Be Scanned
- Precautions
- Loading Capacity
- Area Not to Be Perforated
- How to Load Documents with a Tab or Non-Rectangular Documents
- Conditions for Multifeed Detection
- Conditions for Mixed Batch Scanning
- Conditions for Automatic Page Size Detection
- Chapter 3 How to Use the Operator Panel
- Chapter 4 Various Ways to Scan
- Chapter 5 Daily Care
- Chapter 6 Replacing the Consumables
- Chapter 7 Troubleshooting
- 7.1 Paper Jam
- 7.2 Error Indications on Operator Panel
- 7.3 Troubleshooting
- Scanner cannot be powered ON.
- The LCD or the [Power] button light or both switch OFF.
- Scanning does not start.
- Scanning takes a long time.
- Image quality is poor.
- Quality of scanned text or lines is unsatisfactory.
- Images are distorted or not clear.
- Vertical streaks appear on the scanned image.
- An error (error code "U0:10", "U4:40" or "U5:4A") is already displayed in the LCD after power-on.
- Multifeed error occurs frequently.
- Situation in which the document is not fed into the ADF occurs frequently.
- Paper protection is set off frequently.
- Paper jams/pick errors occur frequently.
- Scanned images turn out elongated.
- A shadow appears at the top or the bottom of the scanned image.
- There are black traces on the document.
- Cannot connect the scanner and a computer via a USB cable.
- 7.4 Before You Contact the Scanner Service Provider
- 7.5 Checking the Product Labels
- Chapter 8 Operational Settings
- 8.1 Starting Up the Software Operation Panel
- 8.2 Password Setting for the Software Operation Panel
- 8.3 Configuration Items
- 8.4 Settings Related to Sheet Counters
- 8.5 Settings Related to Scanning
- Adjusting the Position to Start the Scan [Offset Setting/Vertical magnification Adjustment]
- Removing Shadows/Streaks that Appear around the Scanned Image [Page Edge Filler (ADF)]/[Page Edge Filler (FB)] (fi-7700/fi-7700S)
- Removing a Color from the Scanned Image [Dropout color]
- Shortening the Scanning Intervals [Pre-Pick]
- Number of Paper Feeding Retries
- Document Feed Speed [Pick Speed]
- Cropping the Image Boundary [AutoCrop Boundary]
- Protecting the Documents from Being Damaged [Paper Protection]
- Specifying the Sensitivity Level for Paper Protection [Paper Protection Sensitivity]
- Scan Setting for Documents with Tabs or Non-Rectangular Documents [Scan Setting for Document with Tab (Automatic Page Size Detection)]
- Adjusting the Paper Picking Pressure [Pick Pressure]
- Adjusting the Output Result for Overscan [Overscan Control]
- Scanning at High Altitude [High Altitude Mode]
- Setting the Image Quality for Scanning [Image Quality Mode]
- Low-speed Scan at Lower Resolution [Low-speed Feed Mode]
- Specifying the Paper Ejecting Speed [Stacking Control]
- 8.6 Settings Related to Multifeed Detection
- 8.7 Settings Related to Waiting Time
- 8.8 Settings Related to Power ON/OFF
- 8.9 Settings Related to Scanner Maintenance
- Appendix
- Contact for Inquiries
- Glossary
- Index