Chapter 1 - drive start-up, Drive start-up checklist, Chapter 1 – Rockwell Automation 20D PowerFlex 700S AC Drives with Phase II Control Programming Manual User Manual
Page 13: Drive start-up, Chapter
Rockwell Automation Publication 20D-PM001C-EN-P - July 2013
13
Chapter
1
Drive Start-Up
This chapter provides the information necessary to start up the PowerFlex 700S
Phase II drive.
Drive Start-Up Checklist
❏ A Human Interface Module (HIM) is required to complete this Start-Up
procedure, which uses the Assisted Start routine. The Assisted Start routine
prompts you for information that is needed to start up a drive for most
applications, such as line and motor data, commonly adjusted parameters and
I/O settings. The Assisted Start routine also performs autotuning procedures.
See
for a flow chart of the Assisted Start routine.
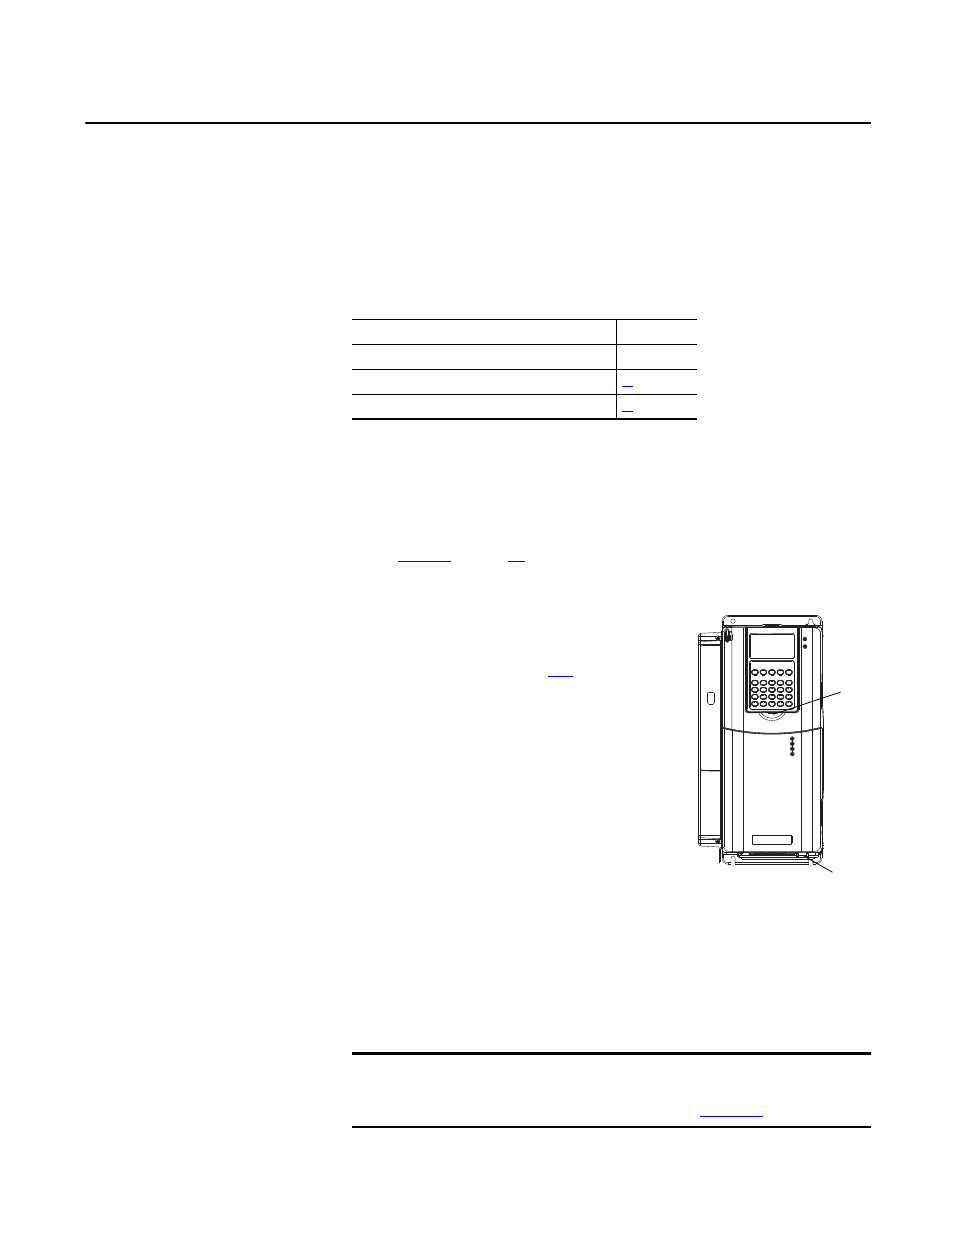
❏ A HIM must be installed in Drive Peripheral
Interface (DPI) Port 1 or 2. If a HIM is not
installed, a remote device should be used to
start-up the drive. Refer to Human Interface
Module Overview on page
for more
information on using the PowerFlex 7-Class
(DPI) HIM. Refer to the
Enhanced PowerFlex
7-Class HIM User Manual, publication
20HIM-UM001, for information on using the
Enhanced HIM (if installed).
❏ 3-wire control is the default (and
recommended) mode of use for the Assisted
Start routine. In this case, the drive will start
when the HIM “Start” key is pressed and stop
when the HIM “Stop” key is pressed. If the drive
is configured for 2-wire control, the HIM
installed on the drive will also act as a 2-wire device. In 2-wire mode, the drive
will start when the HIM “Start” key is pressed and stop when the HIM “Start”
key is released.
❏ Analog and Digital I/O parameter values may be modified when using the
Assisted Start routine.
Topic
Page
Below
Prepare for Initial Drive Start-Up
IMPORTANT
If you have a DriveLogix™ application, you must first connect the battery before
starting this section. Refer to the DriveLogix™ 5730 Controller for PowerFlex
700S Drives with Phase II Control, publication
, for details.
DPI Ports 1 and 2
1
2