Fairbanks X SERIES PR 5410 Process Indicator User Manual
Page 78

Section 4: Commissioning
10/08 78
51207 Revision 1
The calibration dialog provides an overview of all settings:
WP A/Calibration
Max
1000 d
1000 kg
Scale interval
1000 d
1 kg
Deadload at
500.00 kg
0.500000
Max at
1000.00 kg
1.000000
Calibrated at
1000.00 kg
1.000000
Sensitivity
2500.00
12.000000
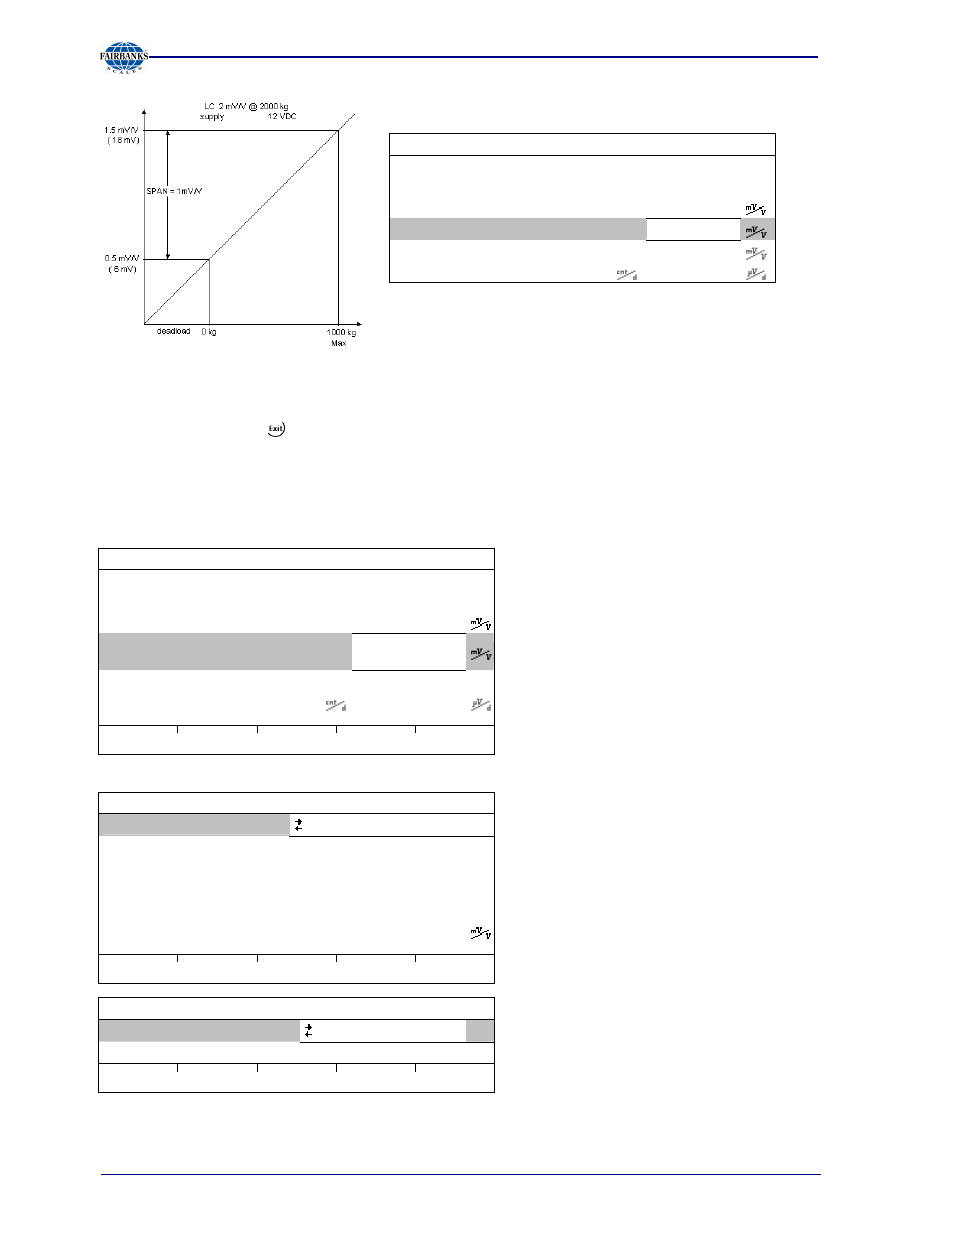
After selecting [mV/V], the values for the Max and for the dead load (if necessary) can be entered.
The next step is calculation of the test value with [Test] (see Chapter 0), and calibration is
completed by pressing
(see Chapter 4.5.12).
4.5.8 Calibration with Load Cell Data (“Smart Calibration“)
This is the simplest method for 'calibration without weights', as no calculation is necessary.
WP A/Calibration
Max
3000 d
3000 kg
Scale interval
3000 d
1 kg
Deadload at
3.00 kg
0.001000
Max at
3000.00
kg
0.000000
Not calibrated
Sensitivity
833.33
4.000000
by load
by mV/V
by data
Linear.
Test
Start by pressing [by data].
WP A/Calibration/Loadcell configuration
Number of loadcells
4
Nominal load
3000 kg
Gravity
9.81379 m/s²
Hysteresis error
not specified
Certified data
all LC same
LC sensitivity
1.000000
Enter
Calc
WP A/Calibration/Loadcell configuration
LC resistance
600.000 ¥
Enter
Calc
[Number of load cells]
Number of load cells connected in parallel (1, 2...<4>...9, 10)
