7 calibrating touch probes, Introduction, Calibrating the effective length – HEIDENHAIN iTNC 530 (60642x-04) User Manual
Page 601: Introduction calibrating the effective length

HEIDENHAIN iTNC 530
601
14.7 Calibr
a
ting t
ouc
h pr
obes
14.7 Calibrating touch probes
Introduction
In order to precisely specify the actual trigger point of a touch probe,
you must calibrate the touch probe, otherwise the TNC cannot provide
precise measuring results.
During calibration, the TNC finds the "effective" length of the stylus
and the "effective" radius of the ball tip. To calibrate the touch probe,
clamp a ring gauge of known height and known internal radius to the
machine table.
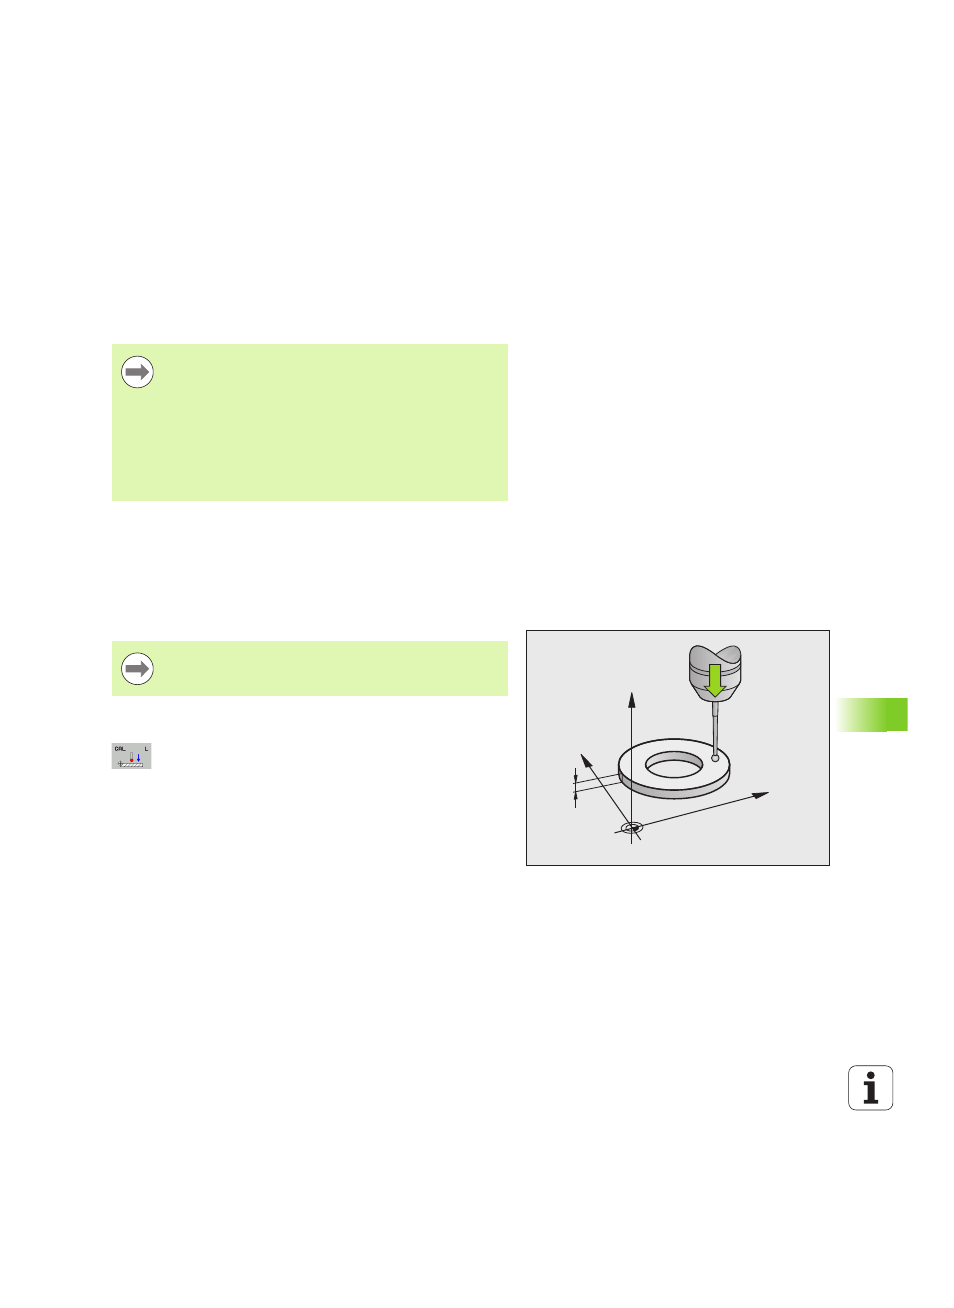
Calibrating the effective length
Set the datum in the spindle axis such that for the machine tool table
Z=0.
To select the calibration function for the touch probe
length, press the TOUCH PROBE and CAL. L soft
keys. The TNC then displays a menu window with
four input fields
Enter the tool axis (with the axis key)
Datum: Enter the height of the ring gauge
The menu items Effective ball radius and Effective
length do not require input
Move the touch probe to a position just above the ring
gauge
To change the traverse direction (if necessary), press
a soft key or an arrow key
To probe the upper surface, press the NC Start button
Always calibrate a touch probe in the following cases:
Initial configuration
Stylus breakage
Stylus exchange
Change in the probe feed rate
Irregularities caused, for example, when the machine
heats up
Change of active tool axis
5
Y
X
Z
The effective length of the touch probe is always
referenced to the tool datum. The machine tool builder
usually defines the spindle tip as the tool datum.
