1 how to upload a custom logo, 5 establishing an ssl vpn connection, Figure 273 example logo graphic display – ZyXEL Communications 200 Series User Manual
Page 392
Chapter 21 SSL VPN
ZyWALL USG 100/200 Series User’s Guide
392
21.4.1 How to Upload a Custom Logo
Follow the steps below to upload a custom logo to display on the remote user SSL VPN
screens.
1 Click VPN > SSL VPN and click the Global Setting tab to display the configuration
screen.
2 Click Browse to locate the logo graphic. Make sure the file is in GIF, JPG, or PNG
format.
3 Click Apply to start the file transfer process.
4 Log in as a user to verify that the new logo displays properly.
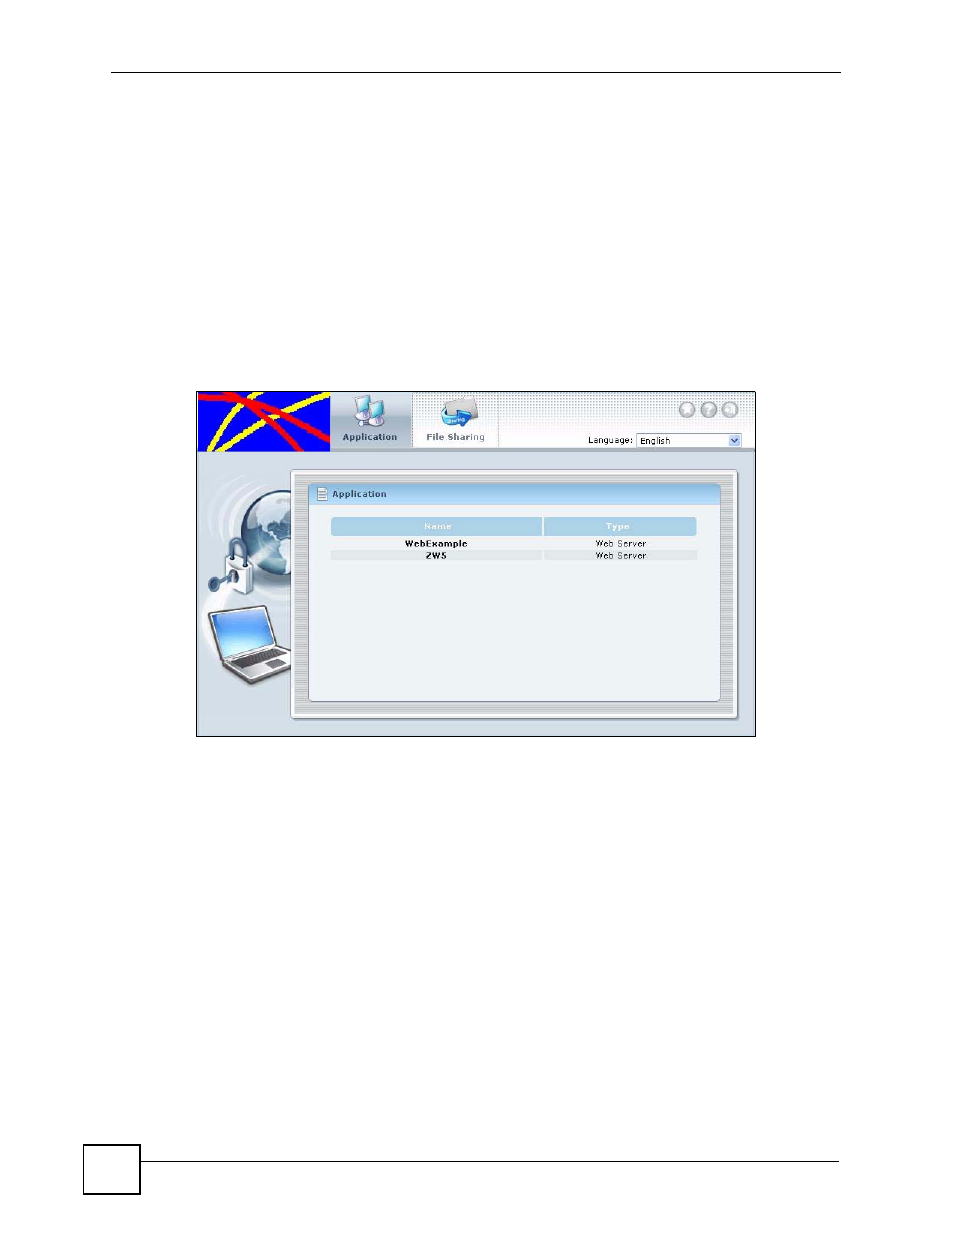
The following shows an example logo on the remote user screen.
Figure 273 Example Logo Graphic Display
21.5 Establishing an SSL VPN Connection
After you have configured the SSL VPN settings on the ZyWALL, follow the steps below to
establish an SSL VPN connection.
1 Display the login screen and enter your user account information (the user name and
password).
2 Select Login to SSL VPN.
3 Click Login.
4 SSL VPN connection starts. This may take several minutes depending on your network
connection. Once the connection is up, you should see the client portal screen. The
following shows an example.