Adjusting the zone settings, 6, adjusting the, Zone settings – Native Instruments MASCHINE MIKRO MK3 Groove Production Studio (Black) User Manual
Page 767: For more information, 6, adjusting, The zone settings, 6, adjusting the zone settings, For a detailed description, See section, 6 adjusting the zone settings

If a loop has been defined in the Sample, it is also indicated on the waveform. You can then
adjust the loop by dragging its borders, and move the entire loop by dragging its title bar.
Loops can be created and adjusted in the
LOOP
section of the Zone settings, under the wave-
form display (see section
17.5.6, Adjusting the Zone Settings
). Note that the loop will always
stay within the play range. Therefore, when moving the Sample’s start and end points closer to
each other (see above), keep in mind that it might also shrink the loop!
17.5.6 Adjusting the Zone Settings
At the bottom of the
Zone
page, the Zone settings allow you to adjust how each Zone should be
played back.
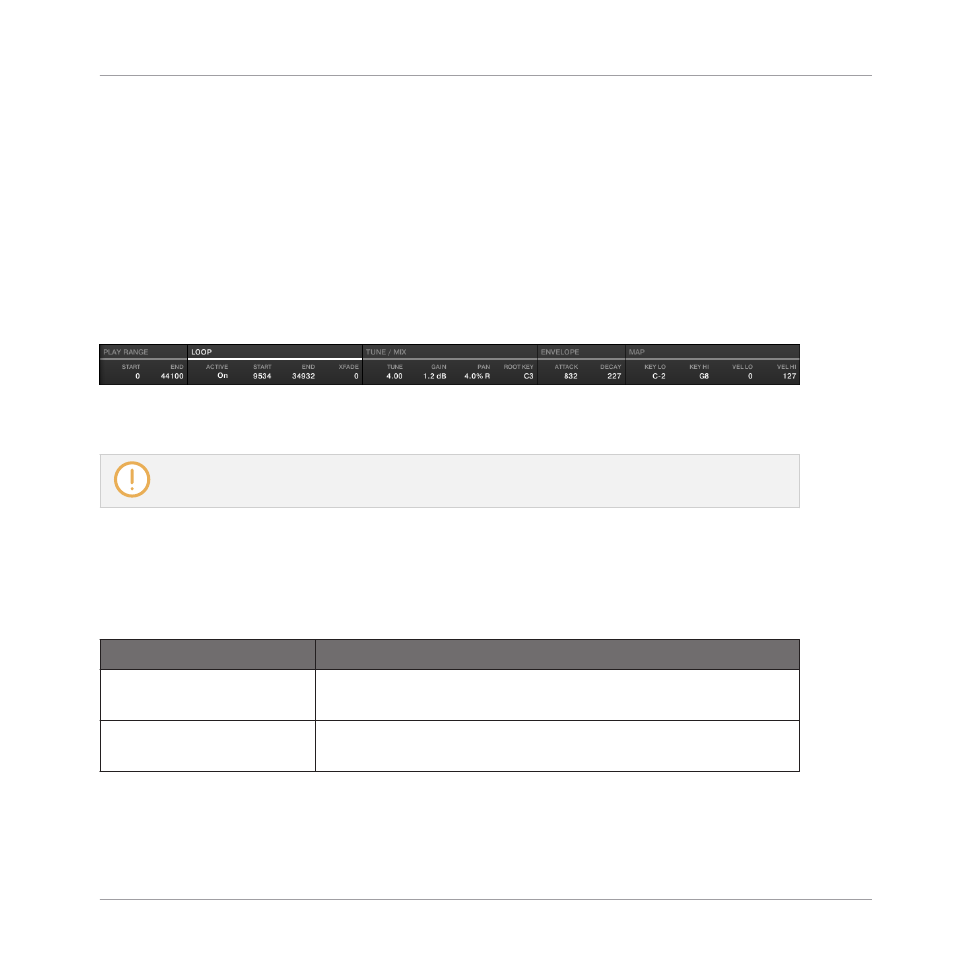
The Zone settings in the software.
The various sections always display the values for the focused Zone.
If the MASCHINE window is not wide enough to display all Zone settings at once, a horizontal bar
appears underneath to scroll to the desired section of parameters.
Following parameters are available:
(1) PLAY RANGE section
The parameters in the
PLAY RANGE
section allow you to adjust the portion of Sample that will
be played back when the Zone is triggered.
Parameter
Description
START
Adjusts the playback’s start point in the Sample of the focused
Zone.
END
Adjusts the playback’s end point in the Sample of the focused
Zone.
(2) LOOP section
The parameters in the
LOOP
section allow you to define and adjust a portion that will play in
loop while the note is held.
Sampling and Sample Mapping
Mapping Samples to Zones
MASCHINE MIKRO - Manual - 767
