Looping, Setting the loop range in the software, 15 looping – Native Instruments MASCHINE MIKRO MK3 Groove Production Studio (Black) User Manual
Page 714: 1 setting the loop range in the software
To enable Auto Length for a Section using your controller:
1.
Press
SHIFT
+
SCENE
(
Section
) to enter Song view.
2.
Press the corresponding pad to select a Section.
3.
Press the Arrow buttons to select
Length
.
4.
Turn the Encoder to select
Auto
.
→
The selected Section is automatically resized to fit the content of the Patterns within the
assigned Scene.
16.3.15 Looping
Activate a Loop to repeatedly play a section of the Arrangement. Once a loop is activated the
Sections within the range of the Loop play until the loop is deactivated. You can use the range
to repeatedly play a particular part of a song. This can be good for composing, practicing a part
before recording, recording multiple takes, etc. The loop range is permanently visible, (even
when it is deactivate) and the range of the loop can be altered at any time using the left and
right end points.
16.3.15.1 Setting the Loop Range in the Software
Set the start, end and position of the loop using the dedicated Loop range in the Timeline. The
value set in the Arrange Grid is used for Loop range increments and movement of the loop
range itself.
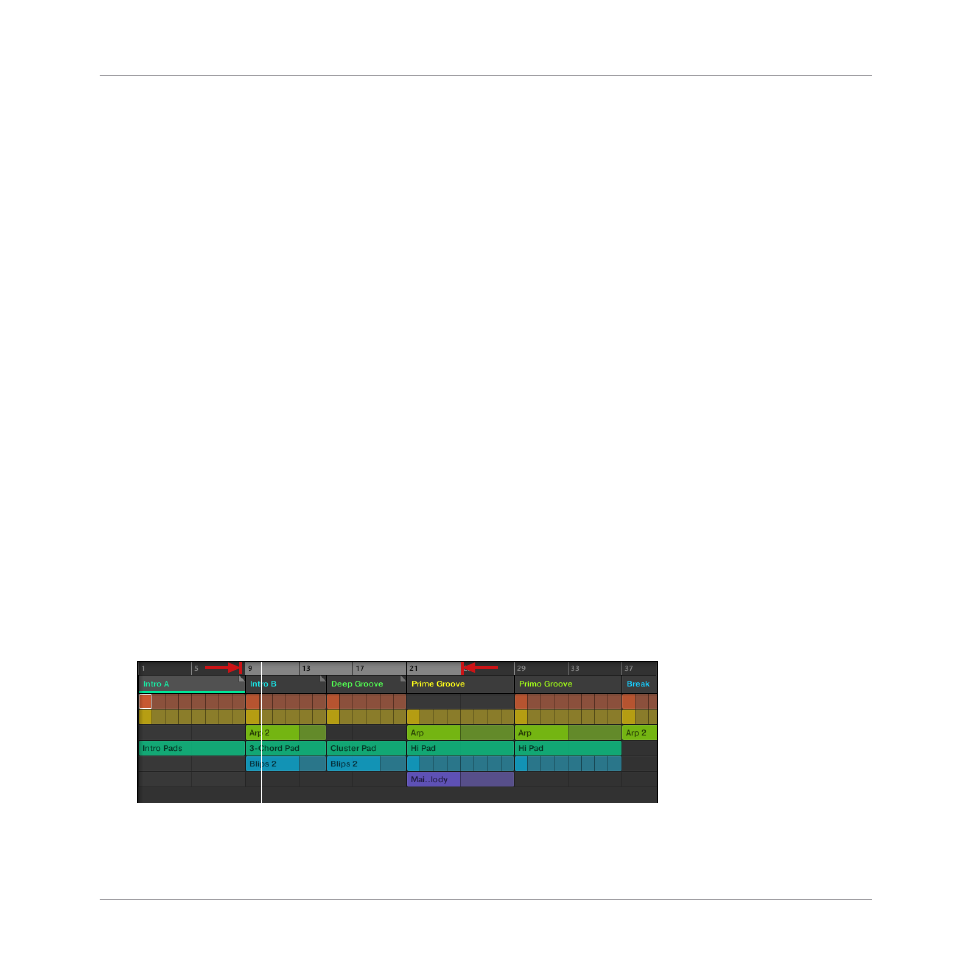
To adjust the Loop range using the software:
►
Drag the left or right end of the Loop marker to make it longer.
→
The Loop range is elongated.
Working with the Arranger
Using Song View
MASCHINE MIKRO - Manual - 714