Konica Minolta Printgroove User Manual
Page 88
Printgroove POD Queue Tools
5
Printgroove POD Queue
5-17
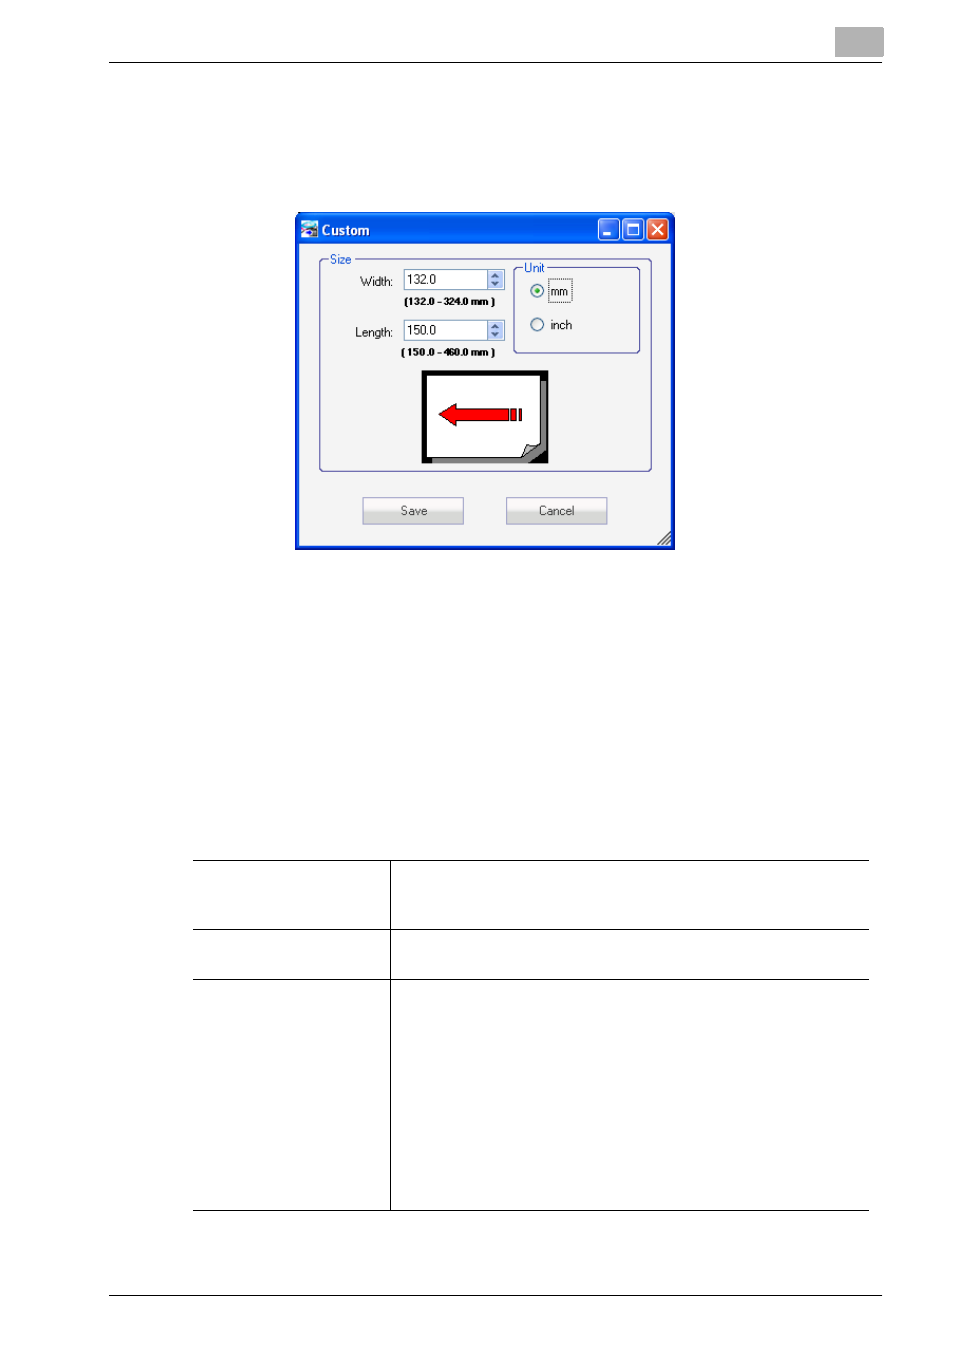
To enter a Custom paper size, follow these steps:
1
Select [Custom ...] from the Paper Size drop-down menu. The Custom
screen opens.
–
If a Custom size has not been specified and you select Custom, the
Custom screen noted above will open. If this happens, continue as
follows.
2
Select mm or inch and then specify the Width and Length values.
3
When finished, click the [Save] button. The setting is noted internally.
4
Select [Custom] from the [Paper Size] drop-down to apply this setting
to the print job.
Paper Type
The [Paper Type] selected for the print job appears in the drop-
down menu. All available options are selectable from the drop-
down menu. You may change the selection.
Paper Source
Available trays appear in the drop-down menu. [Auto] is the de-
fault selection. You may change the selection.
Paper Weight
Different printers have different methods for identifying [Paper
Weight]. This field provides the flexibility to specify a value that
most printers can identify. The default value of this field is [No Val-
ue Set]. If a numeric value has been specified, it will appear in this
field. The accepted values are between 40 and 350 g/m
2
. To spec-
ify a value, follow these steps.
1.
Select [Enter Value...] from the drop-down menu. The Enter
Value popup screen opens:
2.
Select the [Paper Weight] radio button.
3.
Specify a numeric value.
4.
Click the [Save] button. The Enter Value pop-up closes and
the numeric value appears in the [Paper Weight] field.