Creating sketches and mosaics, Create a sketch using the scribble effect, Create a sketch – Adobe Illustrator CS3 User Manual
Page 370: 364, “round the c

ILLUSTRATOR CS3
User Guide
364
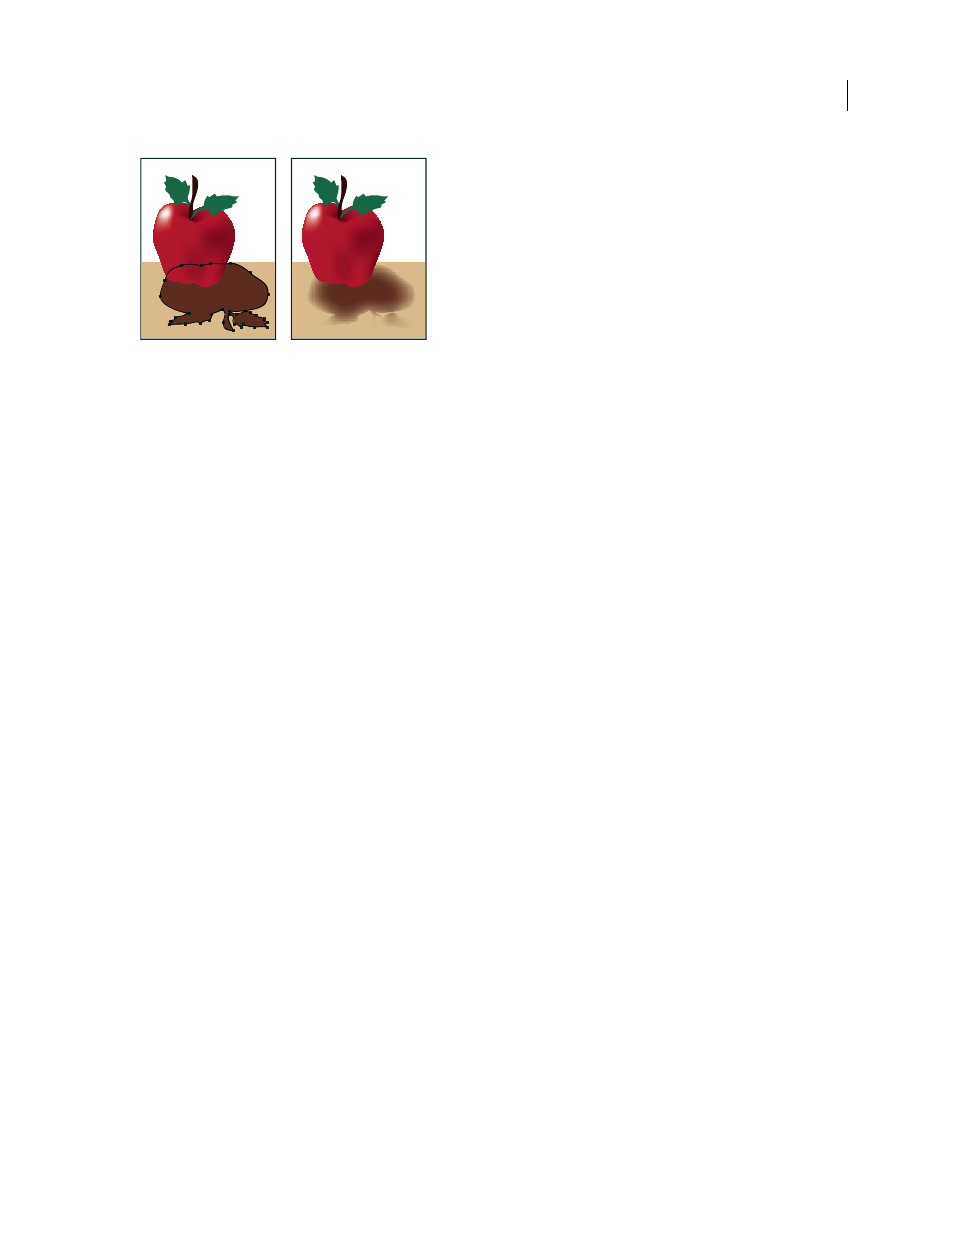
Original object selected (left) and using feather effect (right)
See also
“About effects and filters” on page 350
“Targeting items for appearance attributes” on page 347
“About raster effects” on page 352
“Selecting objects” on page 193
Creating sketches and mosaics
Create a sketch using the Scribble effect
1
Do one of the following:
•
Select the object or group (or target a layer in the Layers panel).
•
To apply the effect to a specific object attribute, such as a stroke or fill, select the object, and then select the
attribute in the Appearance panel.
•
To apply the effect to a graphic style, select a graphic style in the Graphic Styles panel.
2
Choose Effect > Stylize > Scribble.
3
Do one of the following:
•
To use a preset scribble effect, choose one from the Settings menu.
•
To create a custom scribble effect, begin with any preset, and then adjust the Scribble options.
4
If creating a custom scribble, adjust any of the following Scribble options and click OK:
Angle
Controls the direction of the scribble lines. You can click any point on the angle icon, drag the angle line
around the angle icon, or enter a value between –179 and 180 in the box. (If you enter a value that’s outside that range,
the value is translated to its equivalent in-range value.)
Path Overlap
Controls the amount the scribble lines stay within or extend beyond the path boundaries. A negative
value constrains the scribble lines within the path boundary and a positive value extends the scribble lines beyond
the path boundary.
Variation (for Path Overlap)
Controls the lengths of the difference in scribble line lengths relative to each other.
Stroke Width
Controls the width of the scribble lines.
Curviness
Controls the amount the scribble lines curve before they reverse direction.
