Change the blending mode of artwork – Adobe Illustrator CS3 User Manual
Page 187
ILLUSTRATOR CS3
User Guide
181
Luminosity
Creates a resulting color with the hue and saturation of the base color and the luminance of the blend
color. This mode creates an inverse effect from that of the Color mode.
Note: The Difference, Exclusion, Hue, Saturation, Color, and Luminosity modes do not blend spot colors—and with
most blending modes, a black designated as 100% K knocks out the color on the underlying layer. Instead of 100% black,
specify a rich black using CMYK values.
Change the blending mode of artwork
1
Select an object or group (or target a layer in the Layers panel).
If you want to change the blending mode of a fill or stroke, select the object, and then select the fill or stroke in the
Appearance panel.
2
In the Transparency panel, choose a blending mode from the pop-up menu.
You can isolate the blending mode to a targeted layer or group in order to leave objects beneath unaffected. To do
this, select the target icon to the right of a group or layer in the Layers panel that contains an object using a blending
mode. In the Transparency panel, select Isolate Blending. (If the Isolate Blending option isn’t visible, select Show
Options from the Transparency panel menu.)
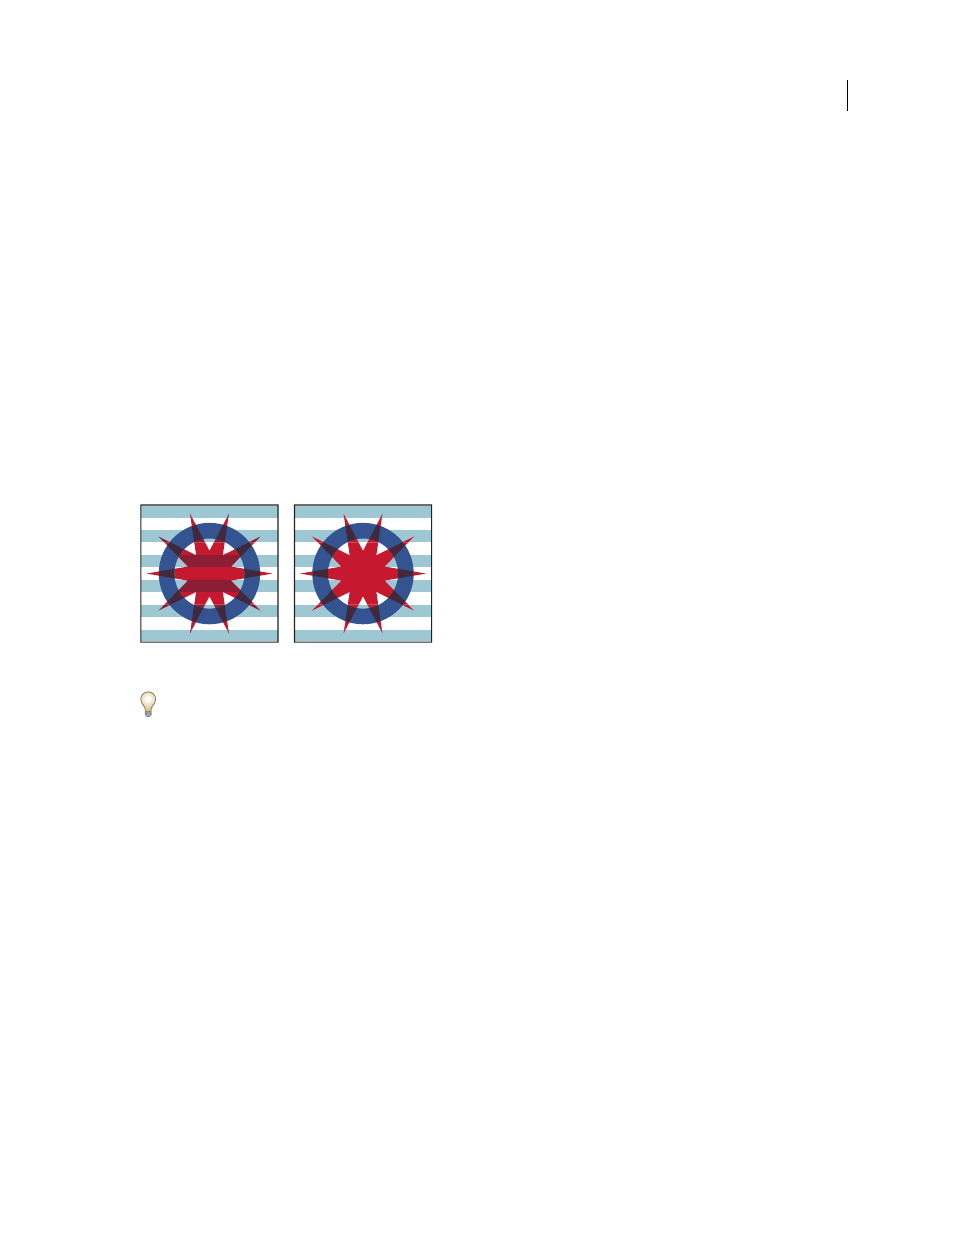
Group (star and circle) with Isolate Blending option deselected
(left) compared to selected (right)
To select all objects that use the same blending mode, select an object with that blending mode, or deselect everything
and choose the blending mode in the Transparency panel. Then choose Select > Same > Blending Mode.
For a video on working with blending modes, se
See also
“Transparency panel overview” on page 173
“Appearance panel overview” on page 346