Adobe Illustrator CS3 User Manual
Page 296

ILLUSTRATOR CS3
User Guide
290
See also
“Import text files into artwork” on page 291
“Threading text between objects” on page 295
“Working with area type” on page 292
“Working with type on a path” on page 297
Enter text at a point
1
Select the Type tool
or the Vertical Type tool
.
The pointer changes to an I-beam within a dotted box. The small horizontal line near the bottom of the I-beam
marks the position of the baseline, on which the text rests.
2
(Optional) Set text-formatting options in the Control panel, Character panel, or Paragraph panel.
3
Click where you want the line of text to begin.
Important: Be sure not to click an existing object, because doing so converts the type object into area type or type on a
path. If an existing object is located where you want to enter text, lock or hide the object.
4
Enter the text. Press Enter or Return to
begin a new line of text within the same type object.
5
When you finish entering text, click the Selection tool
to select the type object. Alternatively, Ctrl-click
(Windows) or Command-click (Mac OS) the text.
Enter text in an area
1
Define the bounding area:
•
Select the Type tool
or
the
Vertical
Type
tool
, and drag diagonally to define a rectangular bounding area.
•
Draw the object you want to use as the bounding area. (It doesn’t matter if the object has stroke or fill attributes,
because Illustrator automatically removes them.) Then select the Type tool
, the Vertical Type tool ,
the
Area Type tool
, or the Vertical Area Type tool
and click anywhere on the object’s path.
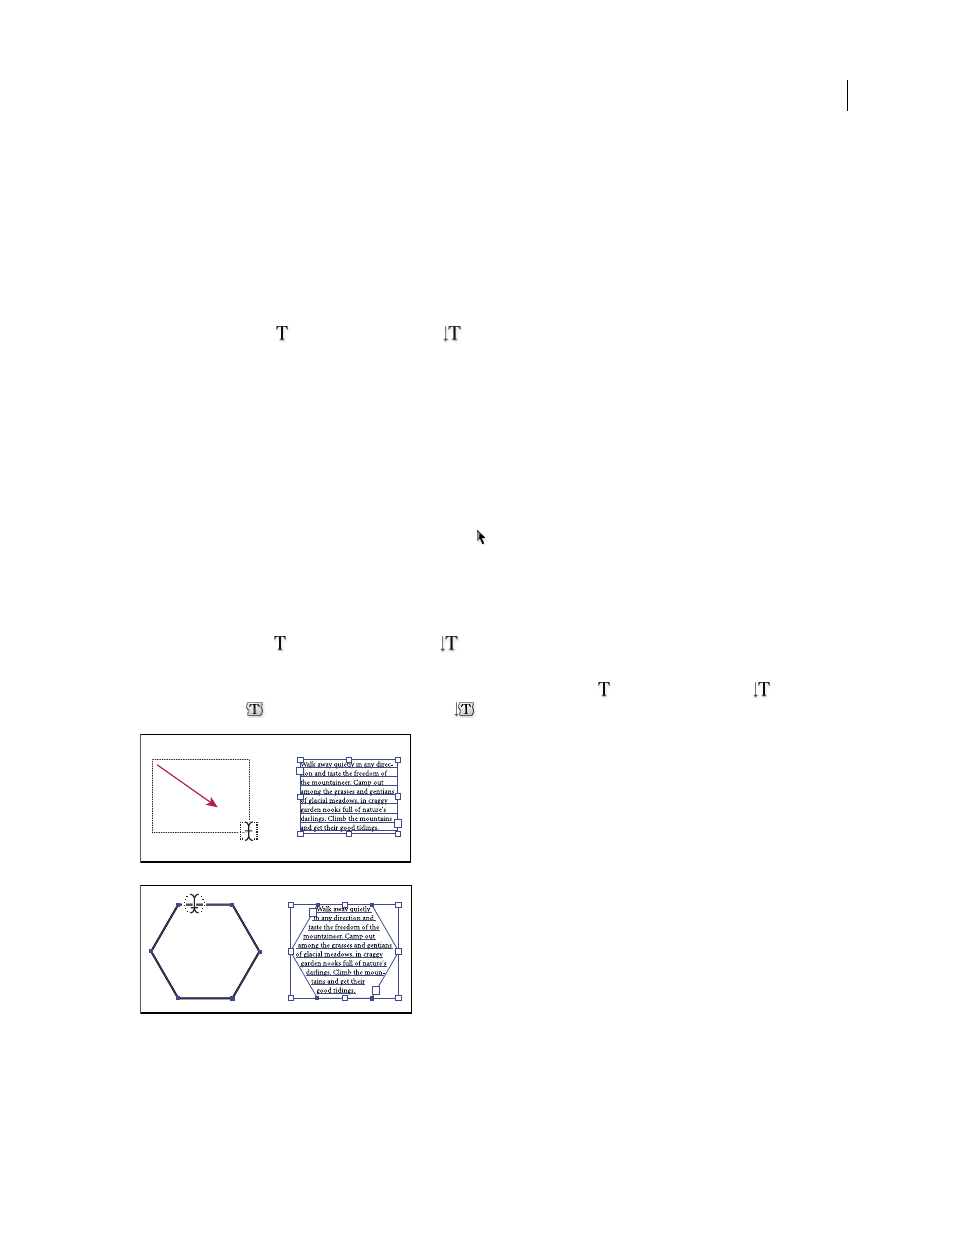
Creating a type area by dragging (top) compared to converting an existing shape to a type area (bottom)
Note: If the object is an open path, you must use the Area Type tool to define the bounding area. Illustrator draws an
imaginary line between the endpoints of the path to define the boundaries.
