Clipping masks, About clipping masks – Adobe Illustrator CS3 User Manual
Page 243

ILLUSTRATOR CS3
User Guide
237
2
Choose Object > Path
> Split Into Grid.
3
Enter the number of rows and columns you want.
4
(Optional) Do any of the following:
•
To set the size of each row and column, enter values for Height and Width.
•
To set the amount of space that separates rows from one another and columns from one another, enter values for
Gutter.
•
To change the dimensions of the entire grid of objects, enter values for Total.
•
To add guides along the row and column edges, select Add Guides.
5
Click
OK.
See also
Clipping masks
About clipping masks
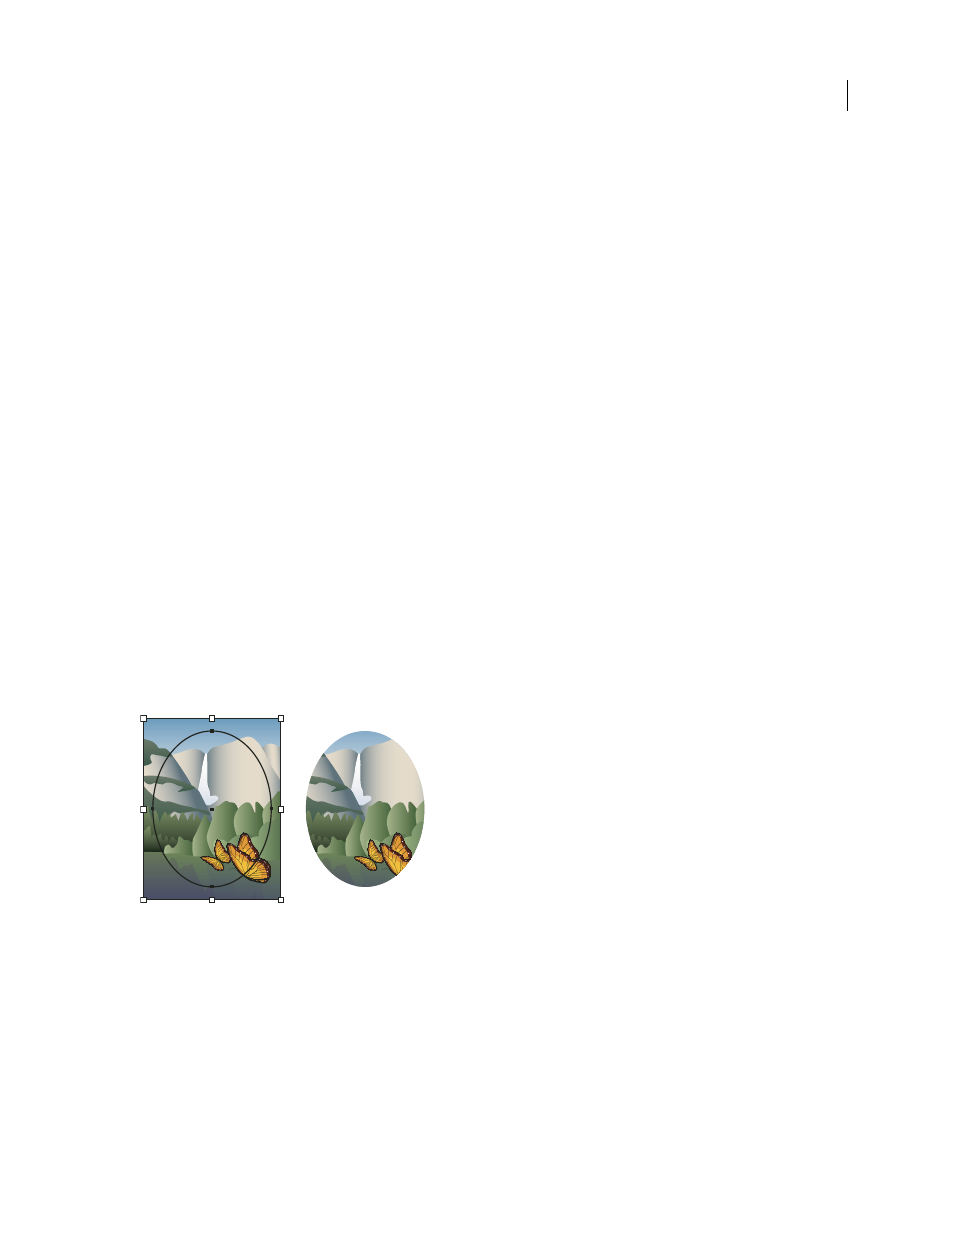
A clipping mask is an object whose shape masks other artwork so that only areas that lie within the shape are visible—
in effect, clipping the artwork to the shape of the mask. The clipping mask and the objects that are masked are called
a clipping set and are marked with a dotted line in the Layers panel. You can make a clipping set from a selection of
two or more objects or from all objects in a group or layer.
For a video on using Pathfinder effects and clipping masks and how to import clipping masks into Flash, see
.
Before masking (left) compared to after masking (right)
The following guidelines apply to creating clipping masks:
•
The objects that you mask are moved into the clipping mask’s group in the Layers panel if they don’t already reside
there.
•
Only vector objects can be clipping masks; however, any artwork can be masked.
•
If you use a layer or group to create a clipping mask, the first object in the layer or group masks everything that is
a subset of the layer or group.
