Set 3d rotation position options, Ee “set 3d rotation position – Adobe Illustrator CS3 User Manual
Page 252
ILLUSTRATOR CS3
User Guide
246
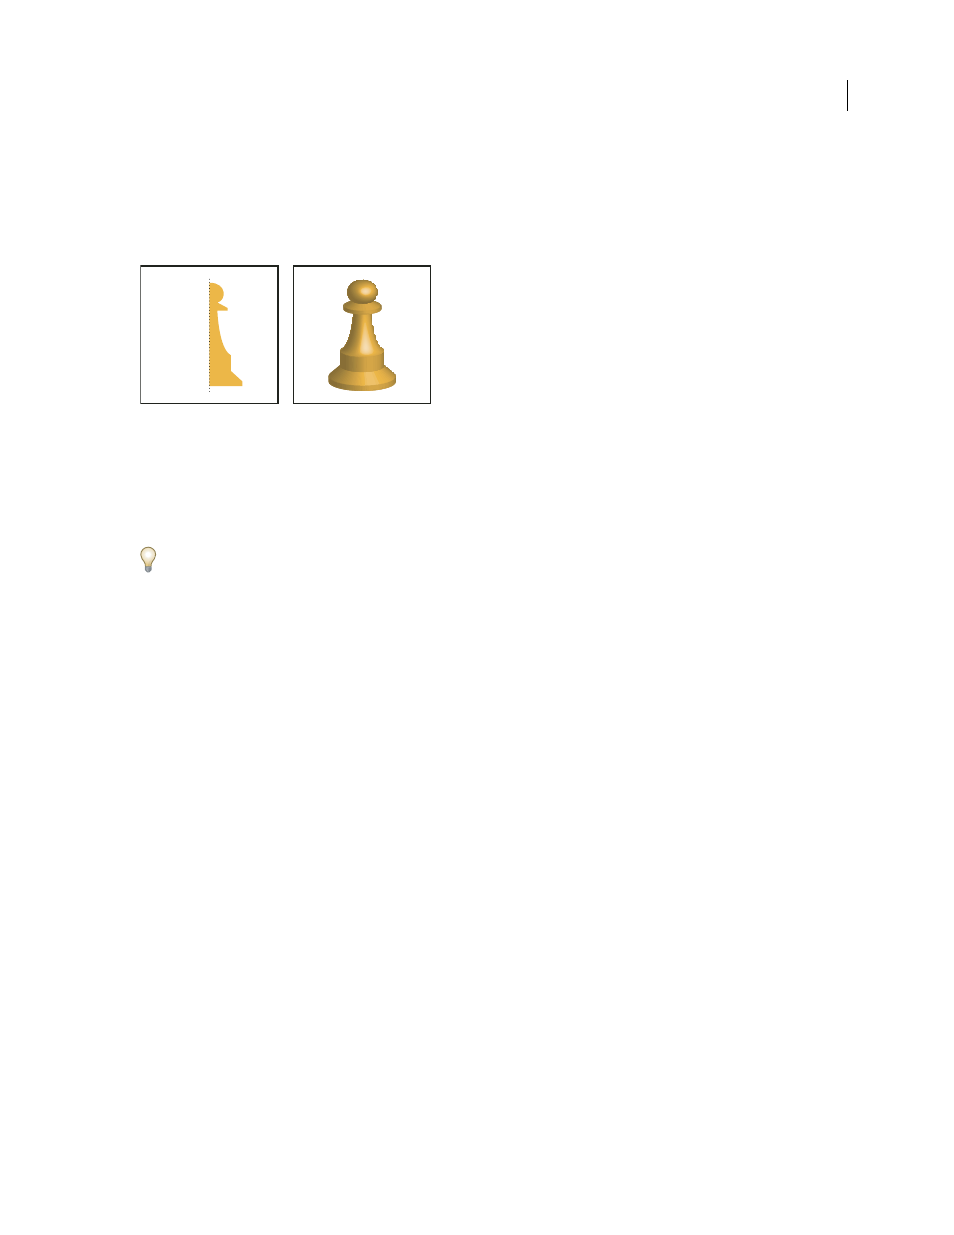
Create a 3D object by revolving
Revolving sweeps a path or profile in a circular direction around the global y axis (revolve axis) to create a 3D object.
Because the revolve axis is vertically fixed, the open or closed path that you revolve typically needs to depict half of
the desired 3D object’s profile in a vertical and front-facing position; you can then rotate the 3D object’s position in
the effect’s dialog box.
Revolving an object
1
Select the object.
Note: Applying the 3D Revolve effect to one or more objects simultaneously revolves each object around its own axis.
Each object resides in its own 3D space and can’t intersect other 3D objects. Applying the Revolve effect to a targeted
group or layer, on the other hand, revolves the objects around a single axis.
Revolving a filled path with no stroke is much faster than revolving a stroked path.
2
Choose Effect > 3D
>
Revolve.
3
Select Preview to preview the effect in the document window.
4
Click More Options to view the complete list of options, or Fewer Options to hide the extra options.
Position
Sets how the object is rotated and the perspective from which you view it. (See “Set 3D rotation position
Revolve
Determines how to sweep the path around the object to turn it into three dimensions. (See “Revolve
Surface
Creates a wide variety of surfaces, from dull and unshaded matte surfaces to glossy and highlighted surfaces
that look like plastic. (See “Surface shading options” on page 248.)
Lighting
Adds one or more lights, varies the light intensity, changes the object’s shading color, and moves lights
around the object, for dramatic effects. (See “Lighting options” on page 249.)
Map
Maps artwork onto the surfaces of a 3D object. (See “Map artwork to a 3D object” on page 251.)
5
Click
OK.
Set 3D rotation position options
❖
Do any of the following:
•
Choose a preset position from the Position menu.
•
For unconstrained rotation, drag a track cube face. The front of the object is represented by the track cube’s blue
face, the object’s top and bottom faces are light gray, the sides are medium gray, and the back face is dark gray.
•
To constrain the rotation along a global axis, hold down Shift while dragging horizontally (global y axis) or vertically
(global x axis). To rotate the object around the global z axis, drag in the blue band that surrounds the track cube.