Adobe Photoshop CS4 User Manual
Page 83
76
USING PHOTOSHOP CS4
Opening and importing images
Last updated 1/10/2010
Local Adaptation
Adjusts the tonality in the HDR image by calculating the amount of correction necessary for local
brightness regions throughout the image.
3
(Optional) Click the arrow to display the toning curve and histogram. The histogram shows the luminance values
in the original HDR image. The red tick marks along the horizontal axis are in 1 EV (approximately 1 f-stop)
increments. The toning curve is active only for the Local Adaptation method.
4
Do any of the following:
•
If you chose Exposure and Gamma, move the Exposure slider to adjust the gain and move the Gamma slider to
adjust the contrast.
•
If you chose Local Adaptation, move the Radius slider to specify the size of the local brightness regions. Move the
Threshold slider to specify how far apart two pixels’ tonal values must be before they’re no longer part of the same
brightness region. You can also use the Toning Curve and Histogram to make adjustments.
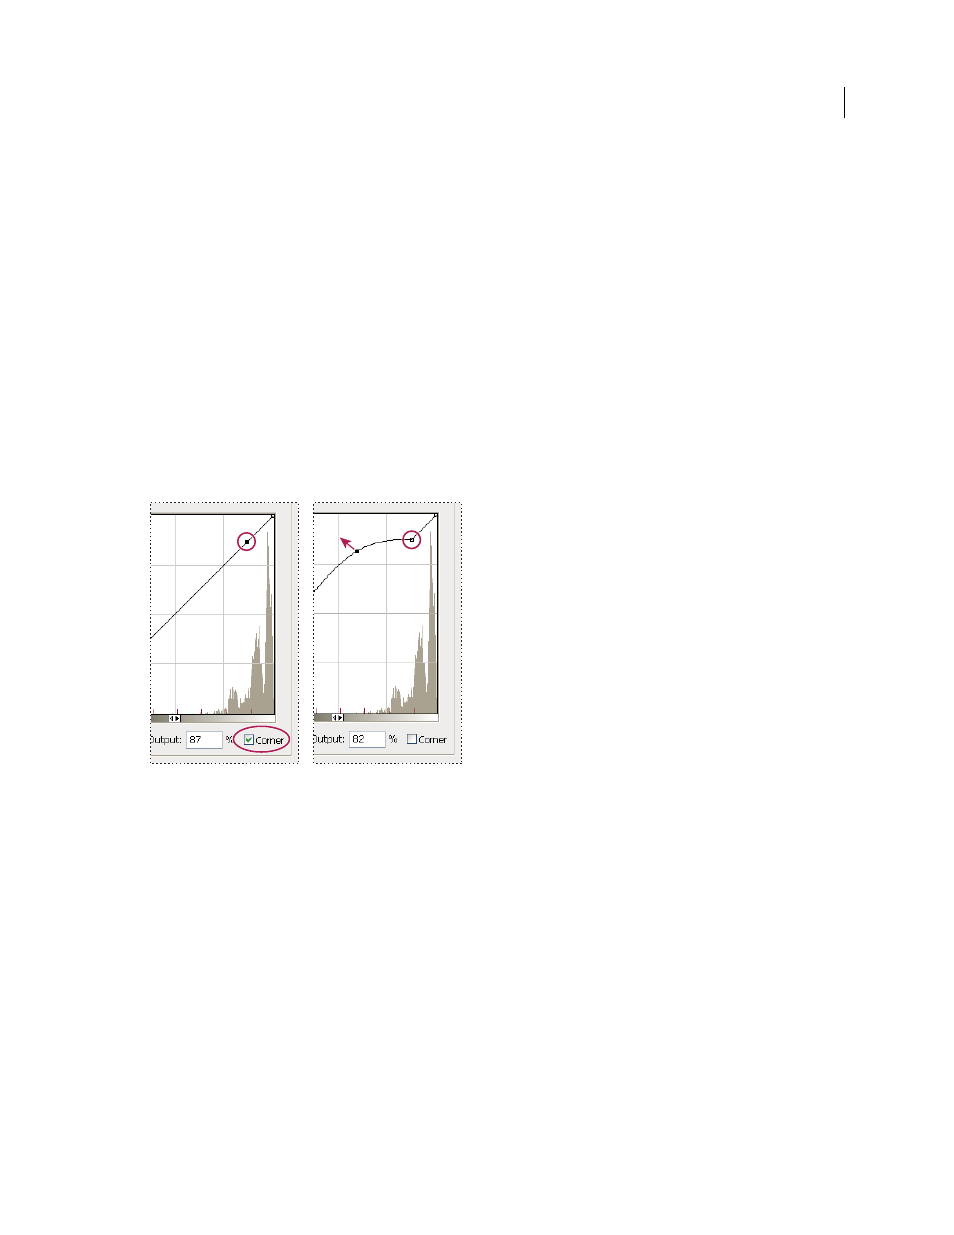
Note: The Toning Curve and Histogram usually lets you make limited changes from point to point and attempts to
equalize your changes across the points. If you select the Corner option after inserting a point on the curve, the limit is
removed and no equalization is performed when you insert and move a second point. You’ll notice that the curve becomes
angular at a point with the Corner option applied.
Toning Curve and Histogram adjustment using the Corner option
A. Inserting a point and selecting the Corner option. B. Adjusting new point makes the curve angular at the point where the Corner option is
used.
5
(Optional) To save your 32-bit toning options as a file, click Save. Type a name for the file in the Save dialog box
and click Save.
You can reuse the saved 32-bit toning option file. Click Load to convert another 32-bpc image to an 8- or 16-bpc image.
6
Click OK to convert the 32-bpc image.
More Help topics
A B