Extract an object from its background – Adobe Photoshop CS4 User Manual
Page 657
650
USING PHOTOSHOP CS4
Optional plug-ins
Last updated 1/10/2010
Extract an object from its background
To more effectively extract objects from backgrounds, use the Refine Edges option for selection tools. (See “
262.) If you prefer the optional Extract plug-in described below, download it for
or
The Extract filter provides a sophisticated way to isolate a foreground object and erase its background on a layer. Even
objects with wispy, intricate, or undefinable edges may be clipped from their backgrounds with a minimum of manual
work. You use tools in the Extract dialog box to specify which part of the image to extract.
For simpler cases, try using the Background Eraser tool.
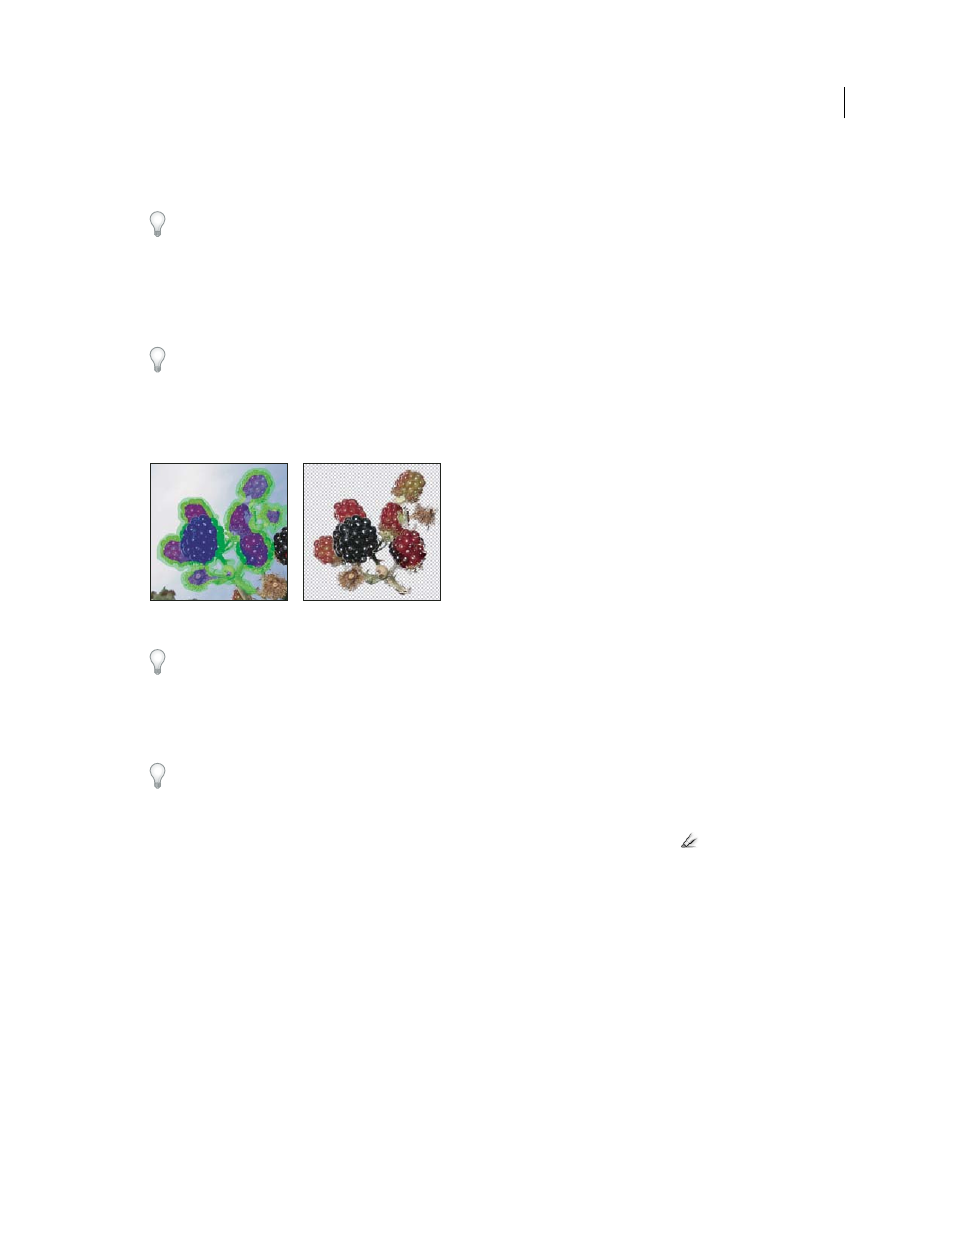
When you extract the object, Photoshop erases its background to transparency. Pixels on the edge of the object lose
the color components derived from the background, so they can blend with a new background without producing a
color halo.
Selected area highlighted and filled, and extracted object
You can add back opacity to the background and create other effects using the Edit > Fade Extract command after an
extraction.
1
In the Layers palette, select the layer containing the object you want to extract. If you select a background layer, it
becomes a normal layer after the extraction. If the layer contains a selection, the extraction erases the background
only in the selected area.
To avoid losing the original image information, duplicate the layer or make a snapshot of the original image state.
2
Choose Filter
> Extract, and then specify tool options:
Brush Size
Enter a value, or drag the slider to specify the width of the Edge Highlighter tool
. You also use the Brush
Size option to specify the width of the Eraser, Cleanup, and Edge Touchup tools.
Highlight
Choose a preset color option for the highlight that appears around objects when you use the Edge
Highlighter tool, or choose Other to pick a custom color for the highlight.
Fill
Choose a preset color option, or choose Other to pick a custom color for the area covered by the Fill tool.
Smart Highlighting
Select this option if you are highlighting a well-defined edge. The option helps you keep the highlight
on the edge, and applies a highlight that is just wide enough to cover the edge, regardless of the current brush size.
Note: If you use Smart Highlighting to mark an object edge that’s near another edge, decrease the brush size if conflicting
edges pull the highlight off the object edge. If the object edge has a uniform color on one side and high-contrast edges on
the other side, keep the object edge within the brush area but center the brush on the uniform color.
Specify Extraction options:
Textured Image
Select this option if the foreground or background of your image contains a lot of texture.