Specify the clone source offset, Retouch with the healing brush tool – Adobe Photoshop CS4 User Manual
Page 211

204
USING PHOTOSHOP CS4
Retouching and transforming
Last updated 1/10/2010
Specify the clone source offset
When using the Clone Stamp tool or Healing Brush tool, you can paint with the sampled source anywhere in the target
image. The overlay options will help you visualize where you want to paint. However, if you need to paint in a very
specific location relative to the sampling point, you can specify the x and y pixel offset.
❖
In the Clone Source panel, select the source you want to use and enter the x and y pixel values for the Offset option.
Retouch with the Healing Brush tool
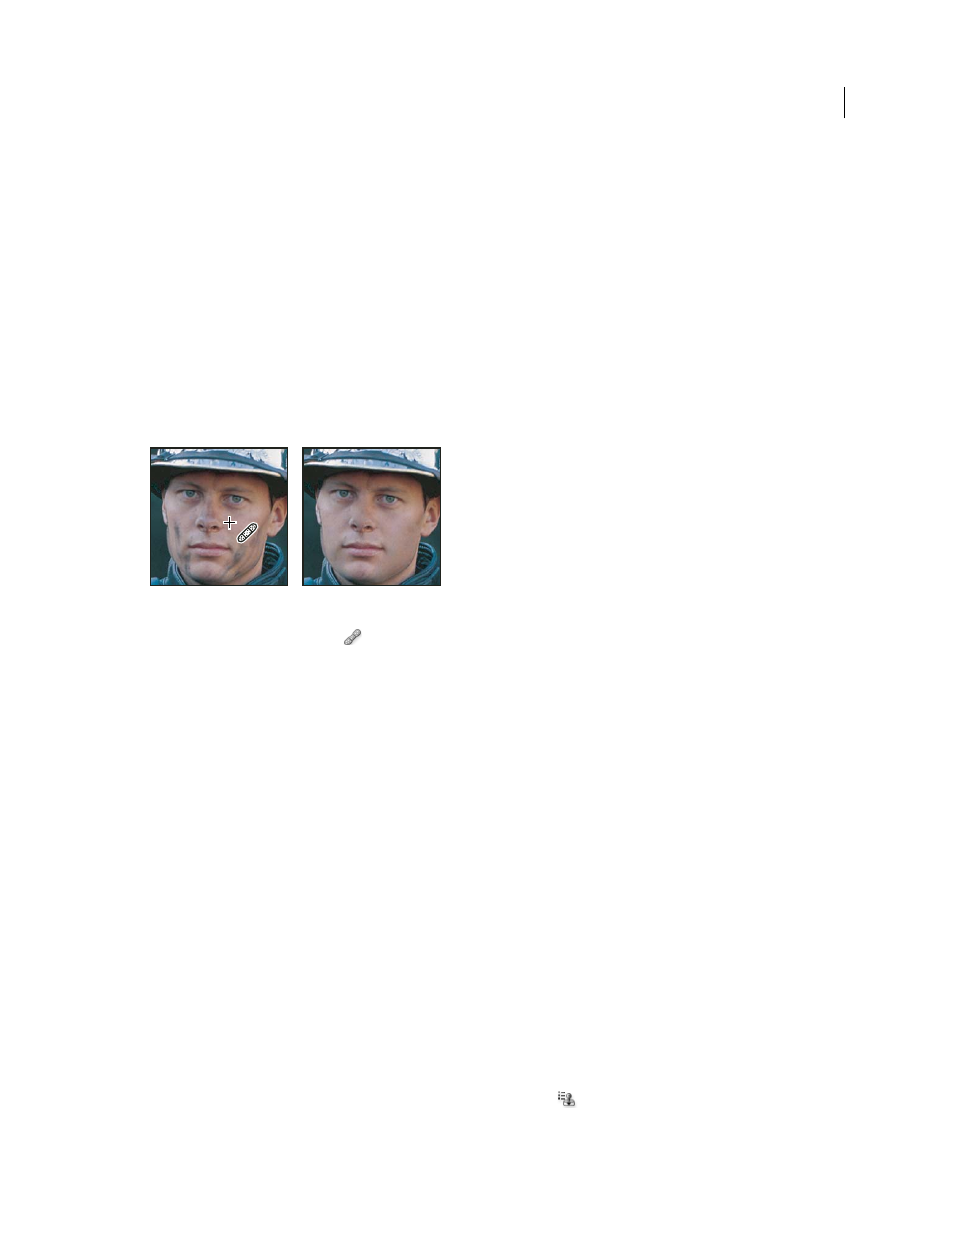
The Healing Brush tool lets you correct imperfections, causing them to disappear into the surrounding image. Like the
cloning tools, you use the Healing Brush tool to paint with sampled pixels from an image or pattern. However, the
Healing Brush tool also matches the texture, lighting, transparency, and shading of the sampled pixels to the pixels
being healed. As a result, the repaired pixels blend seamlessly into the rest of the image.
(Photoshop Extended) The Healing Brush tool can be applied to video or animation frames.
Sampled pixels and healed image
1
Select the Healing Brush tool
.
2
Click the brush sample in the options bar and set brush options in the pop-up panel:
Note: If you’re using a pressure-sensitive digitizing tablet, choose an option from the Size menu to vary the size of the
healing brush over the course of a stroke. Choose Pen Pressure to base the variation on the pen pressure. Choose Stylus
Wheel to base the variation on the position of the pen thumbwheel. Choose Off if you don’t want to vary the size.
Mode
Specifies the blending mode. Choose Replace to preserve noise, film grain, and texture at the edges of the brush
stroke when using a soft-edge brush.
Source
Specifies the source to use for repairing pixels. Sampled to use pixels from the current image, or Pattern to use
pixels from a pattern. If you chose Pattern, select a pattern from the Pattern pop-up panel.
Aligned
Samples pixels continuously, without losing the current sampling point, even if you release the mouse button.
Deselect Aligned to continue to use the sampled pixels from the initial sampling point each time you stop and resume
painting.
Sample
Samples data from the layers you specify. To sample from the active layer and visible layers below it, choose
Current And Below. To sample only from the active layer, choose Current Layer. To sample from all visible layers,
choose All Layers. To sample from all visible layers except adjustment layers, choose All Layers and click the Ignore
Adjustment Layers icon to the right of the Sample pop-up menu.
3
Set the sampling point by positioning the pointer over an area of the image and Alt-clicking (Windows) or Option-
clicking (Mac
OS).
Note: If you are sampling from one image and applying to another, both images must be in the same color mode unless
one of the images is in Grayscale mode.
4
(Optional) In the Clone Source panel, click a clone source button
and set an additional sampling point.
