Render grids to photoshop, Create panoramic images with photomerge, About photomerge – Adobe Photoshop CS4 User Manual
Page 254: Take pictures for use with photomerge, You click ok. for detailed information, see
247
USING PHOTOSHOP CS4
Retouching and transforming
Last updated 1/10/2010
2
In the Export DXF or Export 3DS dialog box, select a location for the saved file and click Save.
Render grids to Photoshop
By default, the Vanishing Point grids are invisible when viewing an image in the Photoshop document window, even
though the grids are preserved in the image and appear whenever you launch Vanishing Point. Grids can be rendered
so when you finish working in Vanishing Point, they’re visible in the Photoshop document window. The rendered
grids are raster not vector.
❖
Open the Vanishing Point menu and choose Render Grids To Photoshop.
The Render Grids To Photoshop command must be chosen for each Vanishing Point session.
Create a new layer for your Vanishing Point results if you plan to render the grids to Photoshop. This keeps the grids
on a separate layer from the main image.
Create panoramic images with Photomerge
About Photomerge
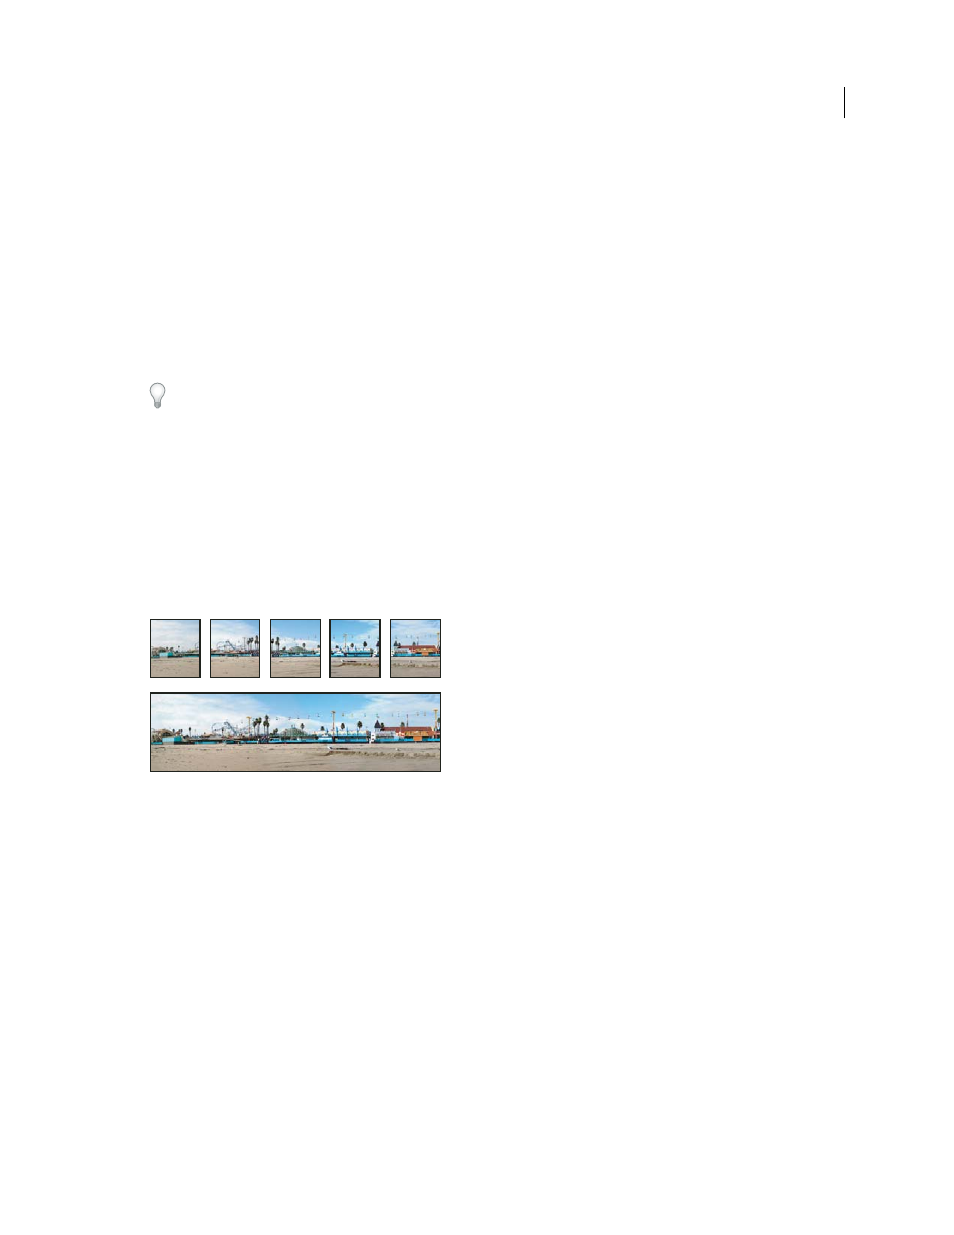
The Photomerge™ command combines several photographs into one continuous image. For example, you can take five
overlapping photographs of a city skyline, and then merge them into a panorama. The Photomerge command can
assemble photos that are tiled horizontally as well as vertically.
Source images (top), and completed Photomerge composition (bottom)
To create Photomerge compositions, choose File
> Automate > Photomerge and then choose your source files and
then specify layout and blending options. Your option choice depends on how you photographed the panorama. For
example, if you’ve photographed images for a 360 degree panorama, the Spherical layout option is recommended. This
option stitches the images and transforms them as if they were mapped to the inside of a sphere, which simulates the
experience of viewing a 360 degree panorama.
For video overview of Photomerge, see
Take pictures for use with Photomerge
Your source photographs play a large role in panoramic compositions. To avoid problems, follow these guidelines
when taking pictures for use with Photomerge:
Overlap images sufficiently
Images should overlap by approximately 40%. If the overlap is less, Photomerge may not
be able to automatically assemble the panorama. However, keep in mind that the images shouldn’t overlap too much.