Adjust tonal range using levels – Adobe Photoshop CS4 User Manual
Page 173
166
USING PHOTOSHOP CS4
Color and tonal adjustments
Last updated 1/10/2010
Adjust tonal range using Levels
The outer two Input Levels sliders map the black point and white point to the settings of the Output sliders. By default,
the Output sliders are at level 0, where the pixels are black, and level 255, where the pixels are white. With the Output
sliders in the default positions, moving the black input slider maps the pixel value to level 0 and moving the white point
slider maps the pixel value to level 255. The remaining levels are redistributed between levels 0 and 255. This
redistribution increases the tonal range of the image, in effect increasing the overall contrast of the image.
Note: When shadows are clipped, the pixels are black, with no detail. When highlights are clipped, the pixels are white,
with no detail.
The middle Input slider adjusts the gamma in the image. It moves the midtone (level 128) and changes the intensity
values of the middle range of gray tones without dramatically altering the highlights and shadows.
1
Do one of the following:
•
Click the Levels icon
or a Levels preset in the Adjustments panel, or choose Levels from the panel menu.
•
Choose Layer
> New Adjustment Layer
> Levels. Click
OK in the New Layer dialog box.
•
Choose Image > Adjustments
> Levels.
Note: Choosing Image
> Adjustments
> Levels makes direct adjustments to the image layer and discards image
information.
2
(Optional) To adjust tones for a specific color channel, choose an option from the Channel menu.
3
(Optional) To edit a combination of color channels at the same time, Shift-select the channels in the Channels panel
before choosing the Levels command. The Channel menu then displays the abbreviations for the target channels—
for example, CM for cyan and magenta. The menu also contains the individual channels for the selected
combination. Edit spot channels and alpha channels individually.
Note: This method does not work in a Levels adjustment layer.
4
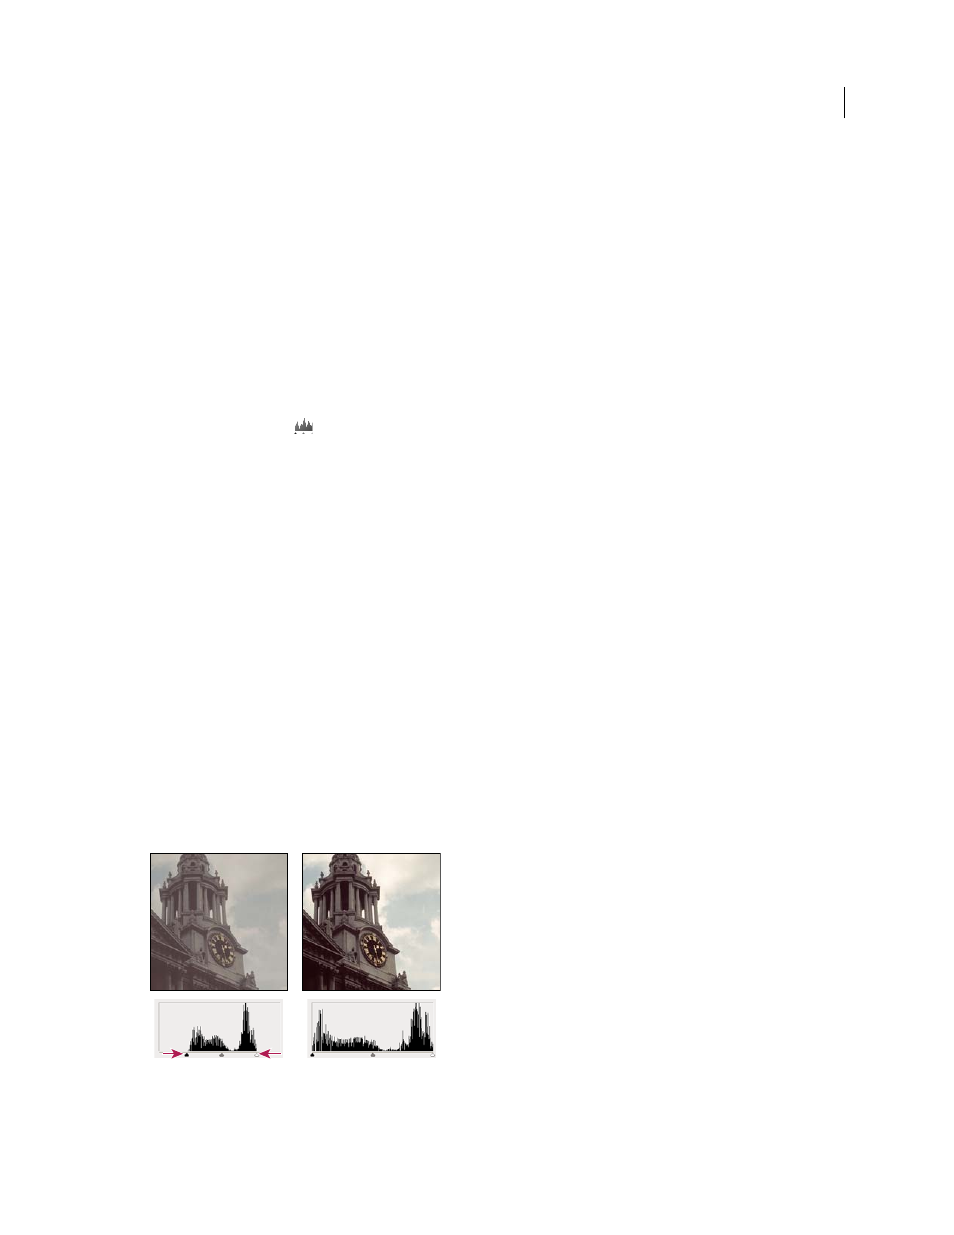
To adjust the shadows and highlights manually, drag the black and white Input Levels sliders to the edge of the first
group of pixels at either end of the histogram.
For example, if you move the black point slider to the right at level 5, Photoshop maps all the pixels at level 5 and lower
to level 0. Similarly, if you move the white point slider to the left at level 243, Photoshop maps all pixels at level 243
and higher to level 255. The mapping affects the darkest and lightest pixels in each channel. The corresponding pixels
in the other channels are adjusted proportionately to avoid altering the color balance.
Note: You can also enter values directly into the first and third Input Levels text boxes.
Adjusting black and white points with Levels Input sliders