Create a contact sheet – Adobe Photoshop CS4 User Manual
Page 649
642
USING PHOTOSHOP CS4
Optional plug-ins
Last updated 1/10/2010
Create a contact sheet
To create more effective contact sheets, use the Adobe Output Module in Adobe Bridge. For more information, see
download it for
.
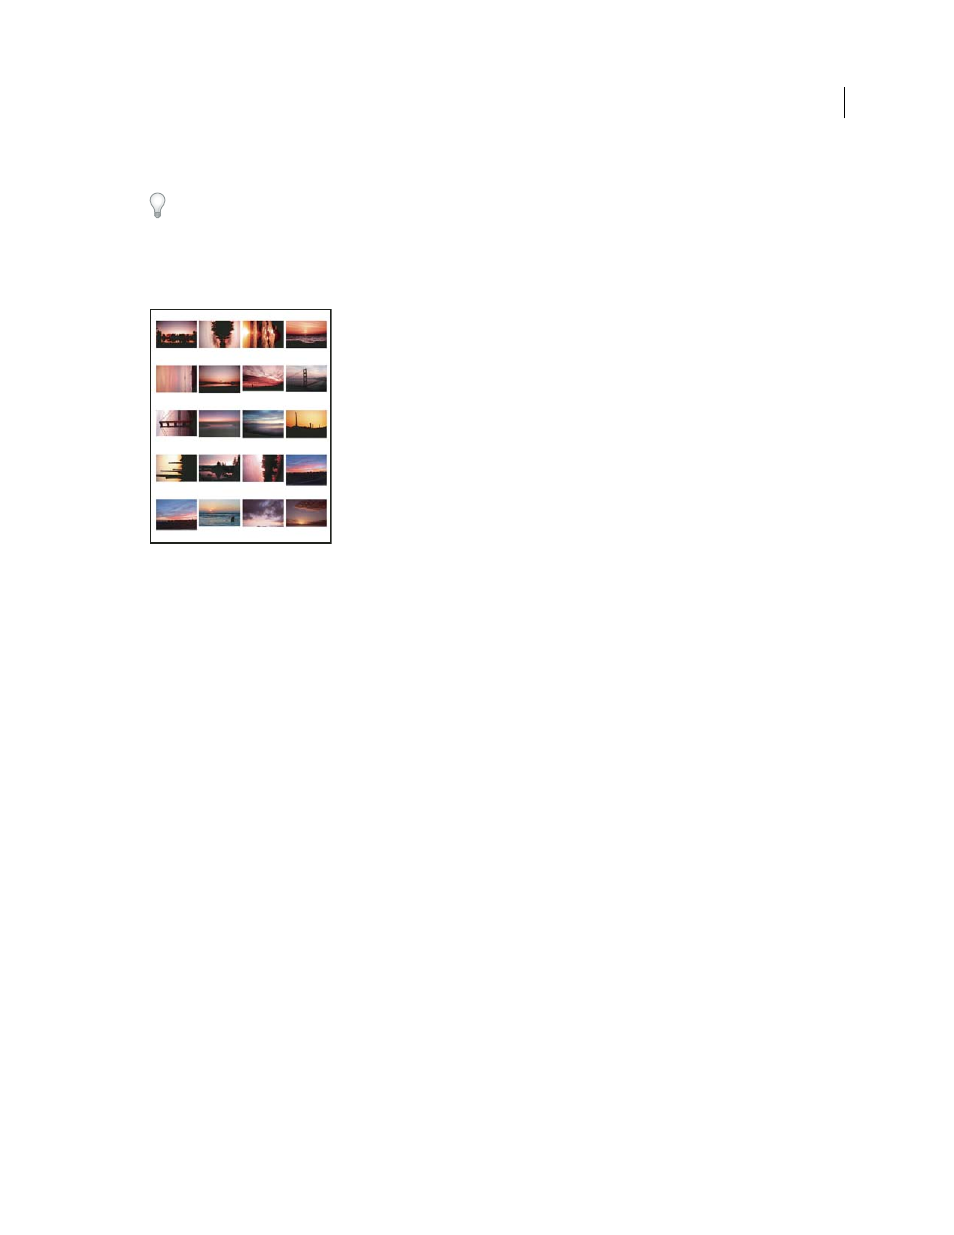
Contact sheets let you easily preview and catalog groups of images by displaying a series of thumbnails on a single page.
You can automatically create and place thumbnails on a page using the Contact Sheet II command.
A contact sheet
1
Do one of the following:
•
(Photoshop) Choose File
> Automate > Contact Sheet II.
•
(Bridge) Select a folder of images or specific image files. From the Bridge menu, choose Tools > Photoshop
>
Contact Sheet II. Unless you select specific images, the contact sheet will include all the images currently displayed
in Adobe Bridge. You can select a different image folder or select other currently open images after the Contact
Sheet II dialog box opens.
Note: Click to select an image in Bridge. Shift-click to select a series of images. Ctrl-click (Windows) or Command-click
(Mac OS) to select noncontiguous images.
2
In the Contact Sheet II dialog box, specify the images to use by choosing one of the following from the Use menu
in the Source Images area:
Current Open Documents
Uses any image that is currently open in Photoshop.
Folder
Lets you click Browse (Windows) or Choose (Mac
OS) to specify the folder containing the images you want to
use. Select Include All Subfolders to include images inside any subfolders.
Selected Images From Bridge
Uses images displayed in Bridge. All images in Bridge are used unless you select specific
images before choosing the Contact Sheet II command. Images in subfolders are not included.
3
In the Document area, specify the dimensions, resolution, and color mode for the contact sheet. Select Flatten All
Layers to create a contact sheet with all images and text on a single layer. Deselect Flatten All Layers to create a
contact sheet in which each image is on a separate layer and each caption is on a separate text layer.
4
In the Thumbnails area, specify layout options for the thumbnail previews.
•
For Place, choose whether to arrange thumbnails across first (from left to right, then top to bottom) or down first
(from top to bottom, then
left to right).
•
Enter the number of columns and rows that you want per contact sheet. The maximum dimensions for each
thumbnail are displayed to the right, along with a visual preview of the specified layout.