Edit a texture in 2d format, Display or hide a texture – Adobe Photoshop CS4 User Manual
Page 598
591
USING PHOTOSHOP CS4
3D and technical imaging
Last updated 1/10/2010
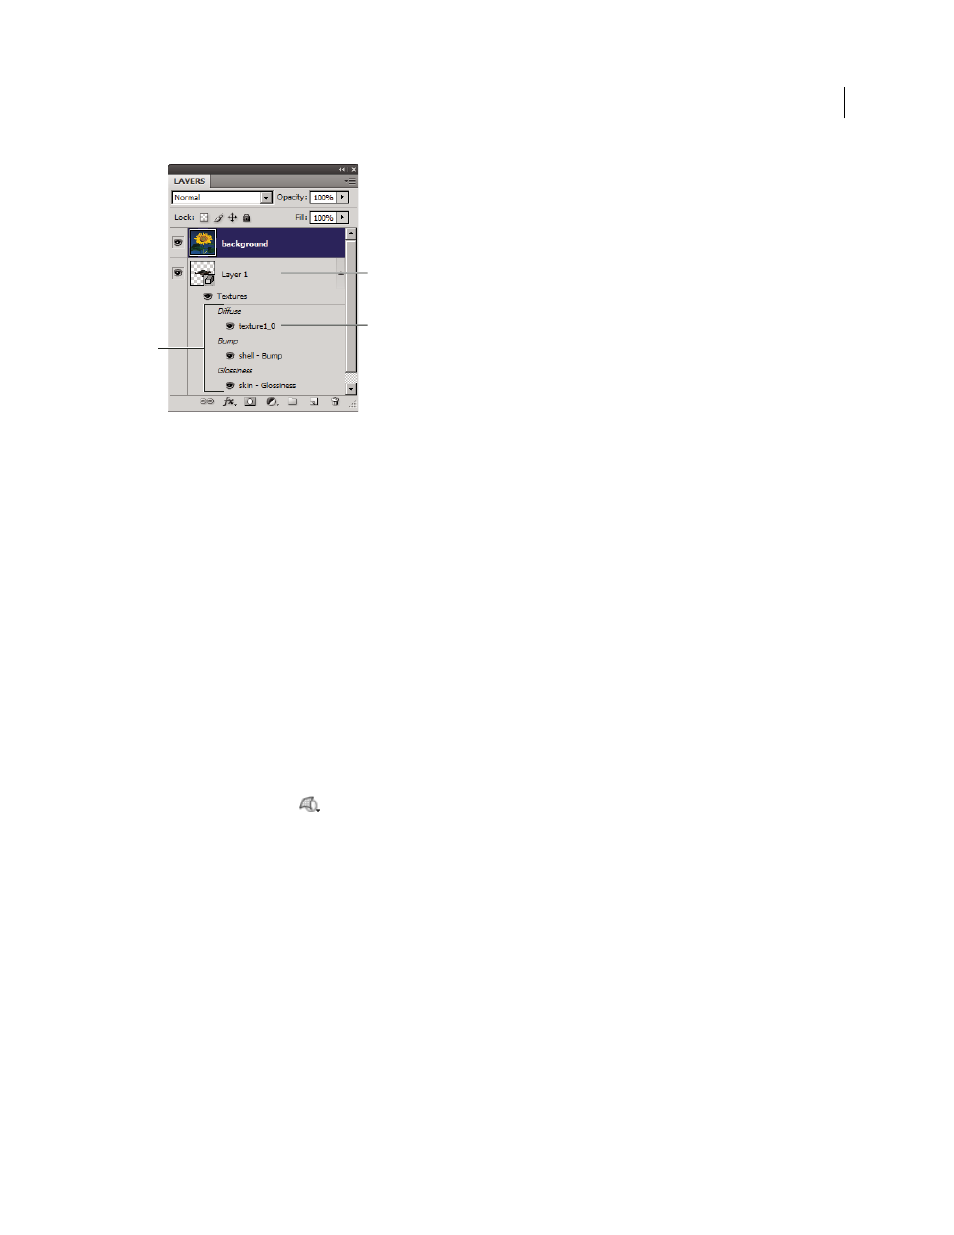
Layers panel showing 3D textures, grouped by texture map type
A. 3D layer B. Texture map types C. Texture map filename
Note: Texture maps used by a particular material also appear in the lower section of the 3D panel when a material is
selected. See “
3D Materials settings (Photoshop Extended)
585.
To edit 3D textures in Photoshop, do either of the following:
•
Open the texture as a 2D file for editing in its own document window. Textures open as Smart Objects.
•
Edit a texture directly on the model. If necessary you can temporarily cut away model surfaces to access areas to
paint on. See “
Paint on 3D models (Photoshop Extended)
More Help topics
Paint with the Brush tool or Pencil tool
Edit a texture in 2D format
1
Do one of the following:
•
Double-click the texture in the Layers panel.
•
In the Materials panel, select the material that contains the texture. In the bottom section of the panel, click the
texture menu icon
for the texture you want to edit, and choose Open Texture.
The texture opens as a Smart Object in a separate document window.
2
Use any Photoshop tool to paint on or edit the texture.
3
Make the window containing the 3D model active to see the updated texture applied to the model.
4
Close the Smart Object window and save changes to the texture.
Display or hide a texture
You can display and hide a texture to help identify what area of the model the texture is applied to.
❖
Click the eye icon next to the Texture layer. To hide or display all textures, click the eye icon next to the top-level
Texture layer.
B
A
C