Make selections in vanishing point – Adobe Photoshop CS4 User Manual
Page 247

240
USING PHOTOSHOP CS4
Retouching and transforming
Last updated 1/10/2010
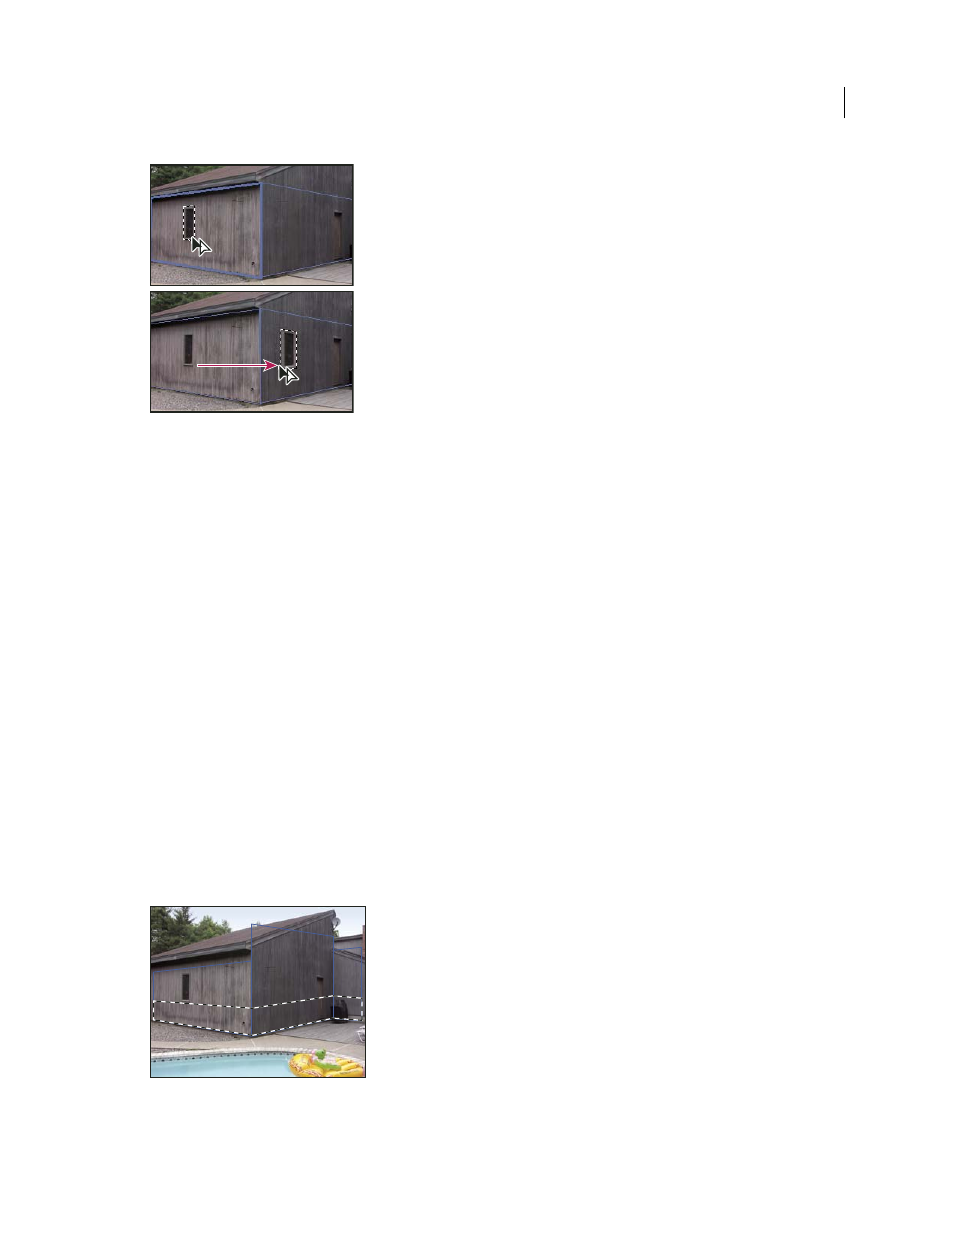
Copying a selection and moving a selection from one perspective plane to another
More Help topics
Fill selections with another area of an image
Copy selections in Vanishing Point
Define and adjust perspective planes in Vanishing Point
Make selections in Vanishing Point
1
Select the Marquee tool.
2
(Optional) In the tool options area, enter values for any of the following settings before making the selection:
Feather
Specifies how much to blur the edges of the selection.
Opacity
Specify this value if you plan to use the selection to move image content. This option determines how much
the moved pixels obscure or reveal the image underneath.
Heal menu
Choose a blending mode if you plan to use a selection to move image content. This option determines how
the moved pixels blend with the surrounding image:
•
Choose Off so the selection doesn’t blend with the colors, shadows, and textures of the surrounding pixels.
•
Choose Luminance to blend the selection with the lighting of the surrounding pixels.
•
Choose On to blend the selection with the color, lighting, and shading of surrounding pixels.
3
Drag the tool in a plane. You can make a selection that spans more than one plane. Hold the Shift key to constrain
the selection to a square that’s in perspective.
Selection spanning more than one plane
