Dsmc2 helium operation guide, Input external timecode, Required cable – RED DIGITAL CINEMA DSMC2 BRAIN with HELIUM 8K S35 Sensor (2018 Unified DSMC2 Lineup) User Manual
Page 174
INPUT EXTERNAL TIMECODE
NOTE:
This procedure requires a DSMC2 Base Expander, DSMC2 V-Lock I/O Expander, DSMC2 Jetpack Expander,
DSMC2 Jetpack-SDI Expander, DSMC2 REDVOLT Expander, or DSMC2 Production Module. For more information,
go to
"Input/Output Connectors" on page 218
.
To input timecode generated by an external device, follow the instructions below:
1. Connect the external timecode generator to the camera:
DSMC2 Base Expander, DSMC2 V-Lock I/O Expander, DSMC2 Jetpack Expander, or DSMC2 Jetpack-
SDI Expander
: Connect the
SYNC
port (4-Pin 00B) on the expander to the device (yellow BNC) using a 3BNC-
to-00 Sync Cable.
DSMC2 REDVOLT Expander or DSMC2 Production Module
: Connect the
TIMECODE
port on the expander
or module to the device using a 75 ohm BNC cable.
2. Go to
Menu
>
Settings
>
Project
>
Timecode
.
3. Select the desired
Timecode Display
Mode.
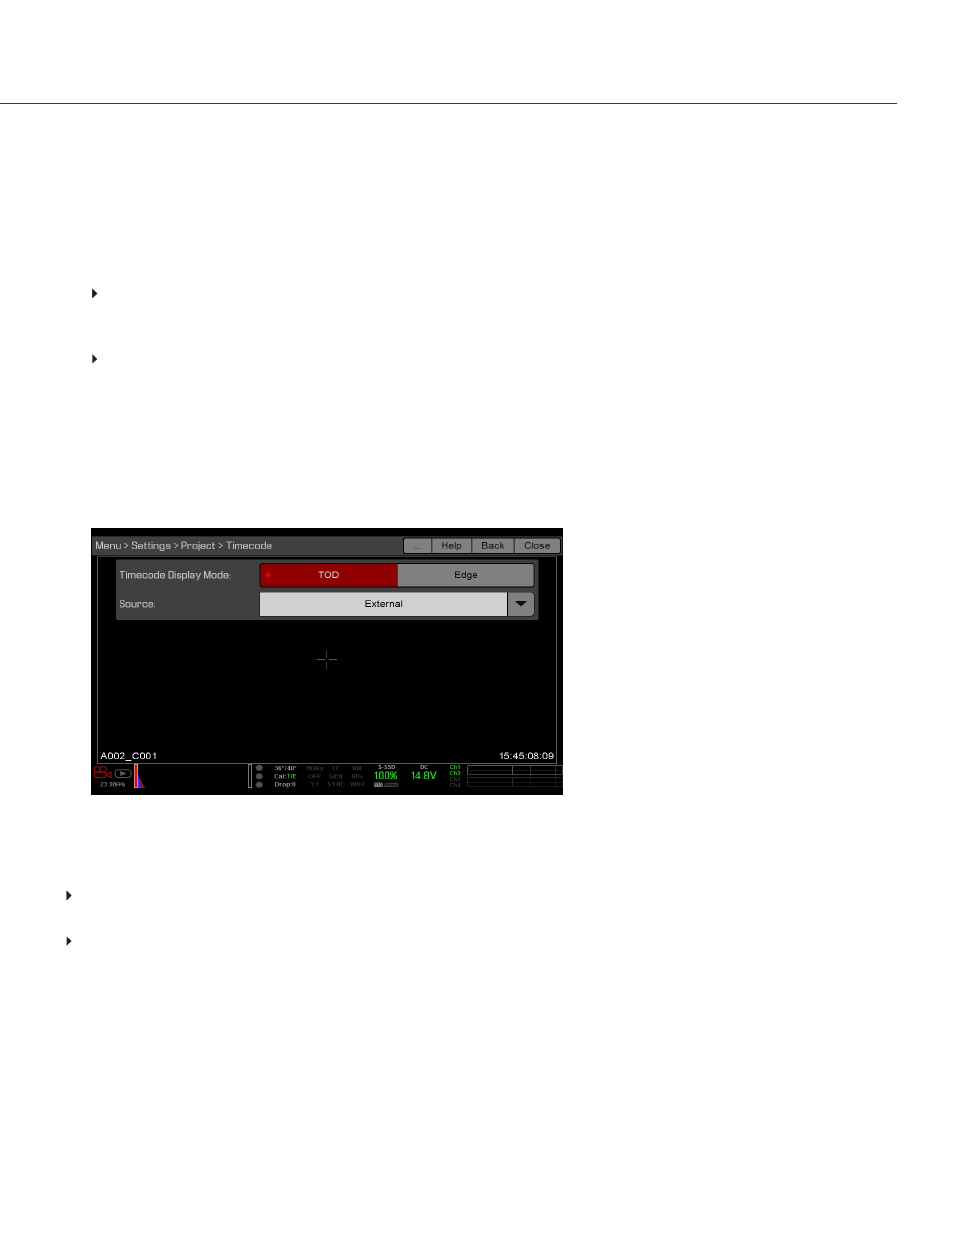
4. Set
Source
to
External
.
The
TC
indicator in the Lower Status Row turns green when an external timecode source is locked.
NOTE:
When an external source is selected but not present, timecode displays User Provided settings.
Figure: Source: External
REQUIRED CABLE
DSMC2 Base Expander, DSMC2 V-Lock I/O Expander, DSMC2 Jetpack Expander, or DSMC2 Jetpack-SDI
Expander
: 790-0154, 790-0643, 3BNC-to-00
DSMC2 REDVOLT Expander or DSMC2 Production Module
: 790-0212, PRO I/O TIMECODE CABLE (3')
C O PYR I G HT © 2 0 1 9 R ED.C O M , LLC
9 5 5 - 0 1 6 8 _V 7 .1 , R EV - M
|
1 7 4
DSMC2 HELIUM OPERATION GUIDE