Using cue points for playback – Grass Valley K2 Media Client User Manual v3.3 User Manual
Page 78
78
K2 Media Client User Manual
June 5, 2009
Chapter 5 Playing and editing clips
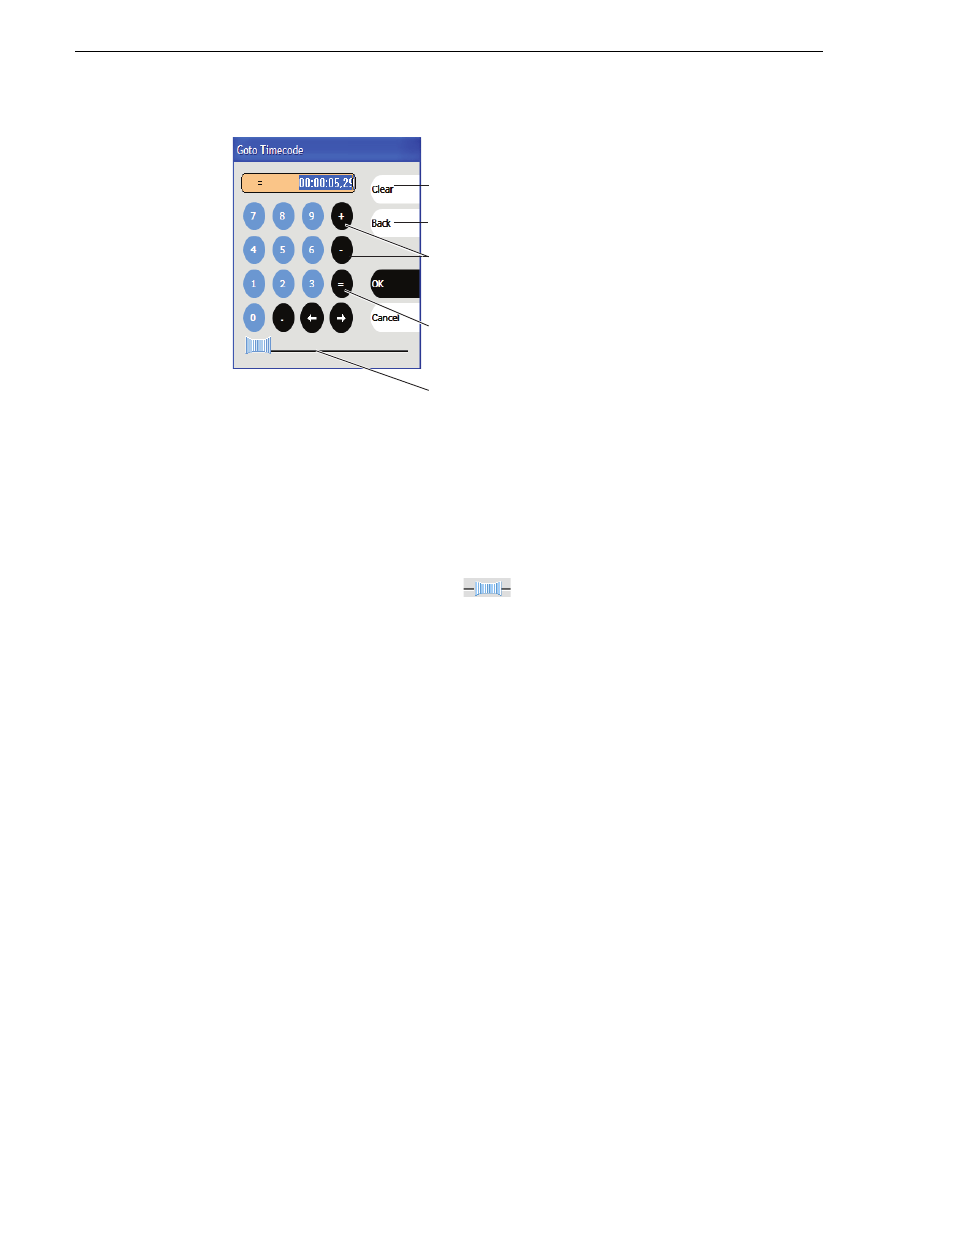
2. Perform one of the following:
• Enter a relative timecode value, select the ‘+’ or ‘-’ key, enter timecode, then
click
OK
.
• Enter an absolute timecode value, select the ‘=’ key, enter timecode, then click
OK
.
• Click and drag the scrub bar
to cue the desired frame.
Related topics:
• “Loading clips from the clips pane” on page 75
• “Loading a clip from the Player application” on page 76
Using cue points for playback
Cue view allows you to add cue points to a clip. You can use cue points to manage
clip play out or create subclips. The following sections describe how to work with cue
points.
Topics included here:
• “About using cue points” on page 79
• “Viewing the cue list” on page 79
• “Adding a cue point” on page 79
• “Removing a cue point” on page 80
• “Jump to the selected cue point” on page 80
• ““Jump to the next cue point” on page 80
• “Renaming a cue point” on page 80
Clear
(Select to clear entry)
Back Space
Relative
(Select to enter a
relative timecode)
Absolute
(Select to enter an
absolute timecode)
Scrub bar
(Click and drag to
cue the desired frame)