Erasing a clip's unused media – Grass Valley K2 Media Client User Manual v3.3 User Manual
Page 134
134
K2 Media Client User Manual
June 5, 2009
Chapter 7 Managing clip media
To delete an asset:
1. Select the asset or assets in the Asset List.
2. Select
Delete
using one of the following:
• Select
Clips | Delete
, or
• Select
Delete
in the asset context menu, or
• Click the
Delete
button in the Clips pane.
If the Delete button is not displayed in the Clips pane, refer to assignable buttons
See “Guide to using the Clips pane” on page 120
A progress dialog box appears when deleting multiple assets. If the selected asset
is contained in the Recycle Bin, it is permanently removed; otherwise, it is moved
from its original bin into the Recycle Bin. If an item of the same name is already in
the Recycle Bin, the new item is automatically renamed. (See also
the Recycle Bin when deleting” on page 139
.)
NOTE: Assets that are locked or currently being recorded cannot be deleted.
Erasing a clip's unused media
After editing a clip by moving the mark-in/mark-out points, the remaining portion of
media outside the marks can be erased to free media storage space. If the media
outside the clip marks is referenced by a subclip, program, or event from a playlist,
that media is not erased. The effect of field dominance on trimming media is
discussed in
“Understanding field dominance” on page 137
.
NOTE: Subclips and playlist events retain an extra 1 second of media before and
after their mark points to allow some trimming.
If you attempt to erase unused media from a subclip, make sure that you have first
deleted the source clip. Otherwise, since they both reference the same media, the
material is not erased. The following diagrams illustrate how the Erase Unused Media
option works with source clips and subclips.
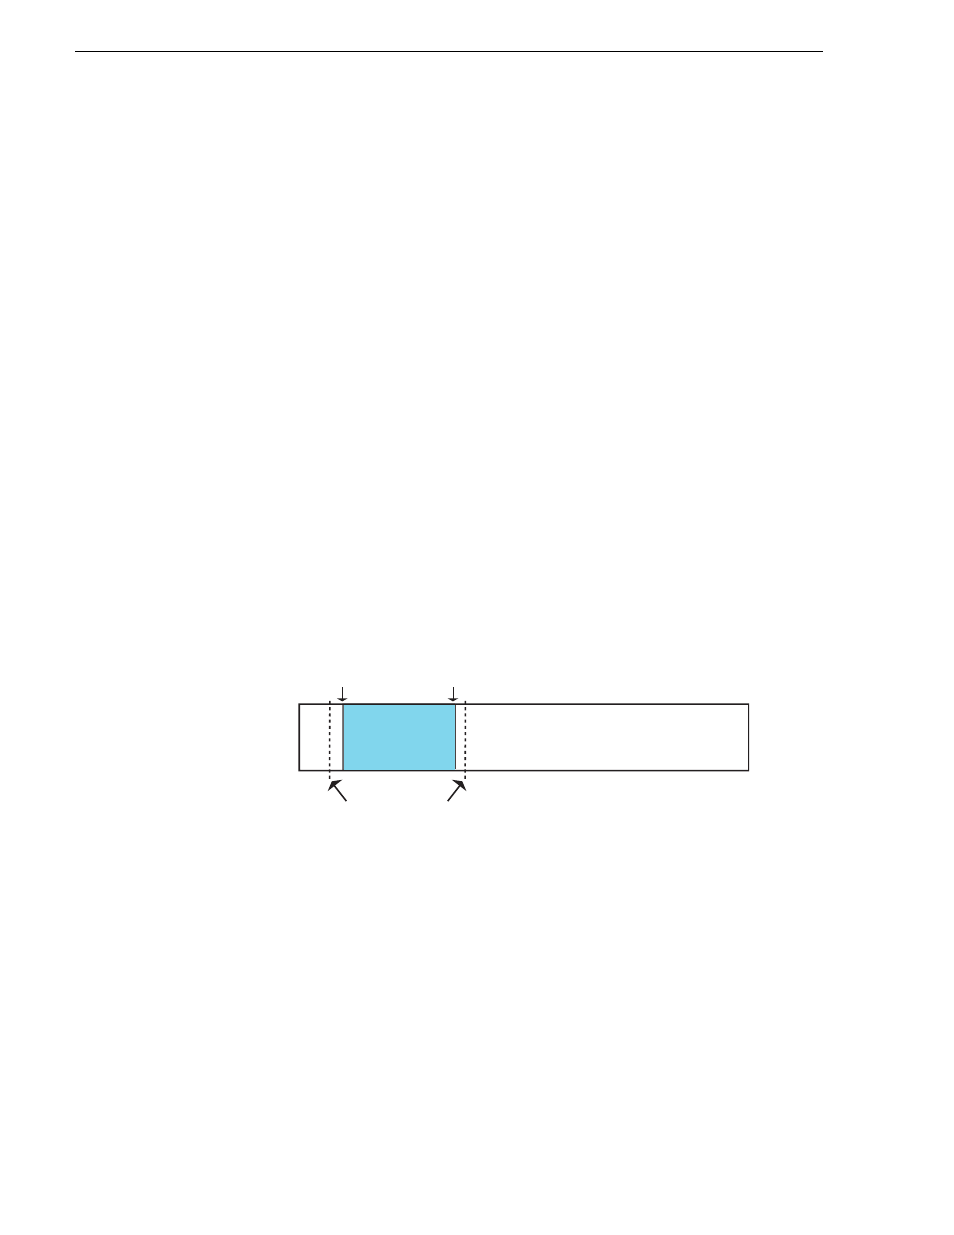
Subclip
Clip_1-1
in point out point
One extra second is retained before and after the clip for trimming