Exporting streaming media – Grass Valley K2 Media Client User Manual v3.3 User Manual
Page 168
168
K2 Media Client User Manual
June 5, 2009
Chapter 8 Importing and Exporting Media
3. Click
Stream
.
4. In the Source section, browse to locate and select the source clip. (For some
cross-product transfers, depending on software versions, you might need to specify
the volume, bin, and media asset name. Refer to release notes for specifications.)
The
Look in
label shows the current location. The list under the
Look in
label
displays the contents of the current location. You can select items in the list such
as machine,
disk volume
or a bin, to explore its contents.
Clicking the up-arrow button
moves up one directory level in the storage
hierarchy.
The
Look in
drop-down list allows you to choose from one of the most recent source
locations visited (history).
5. In the Destination section,
Bin Name
displays the name of the current bin which
specifies the destination bin.
6. Specify a clip name, if desired, by clicking the
Clip Name
edit control.
7. Click
Import
to start the transfer.
NOTE: Import is a background task and can be monitored using the Transfer
Monitor.
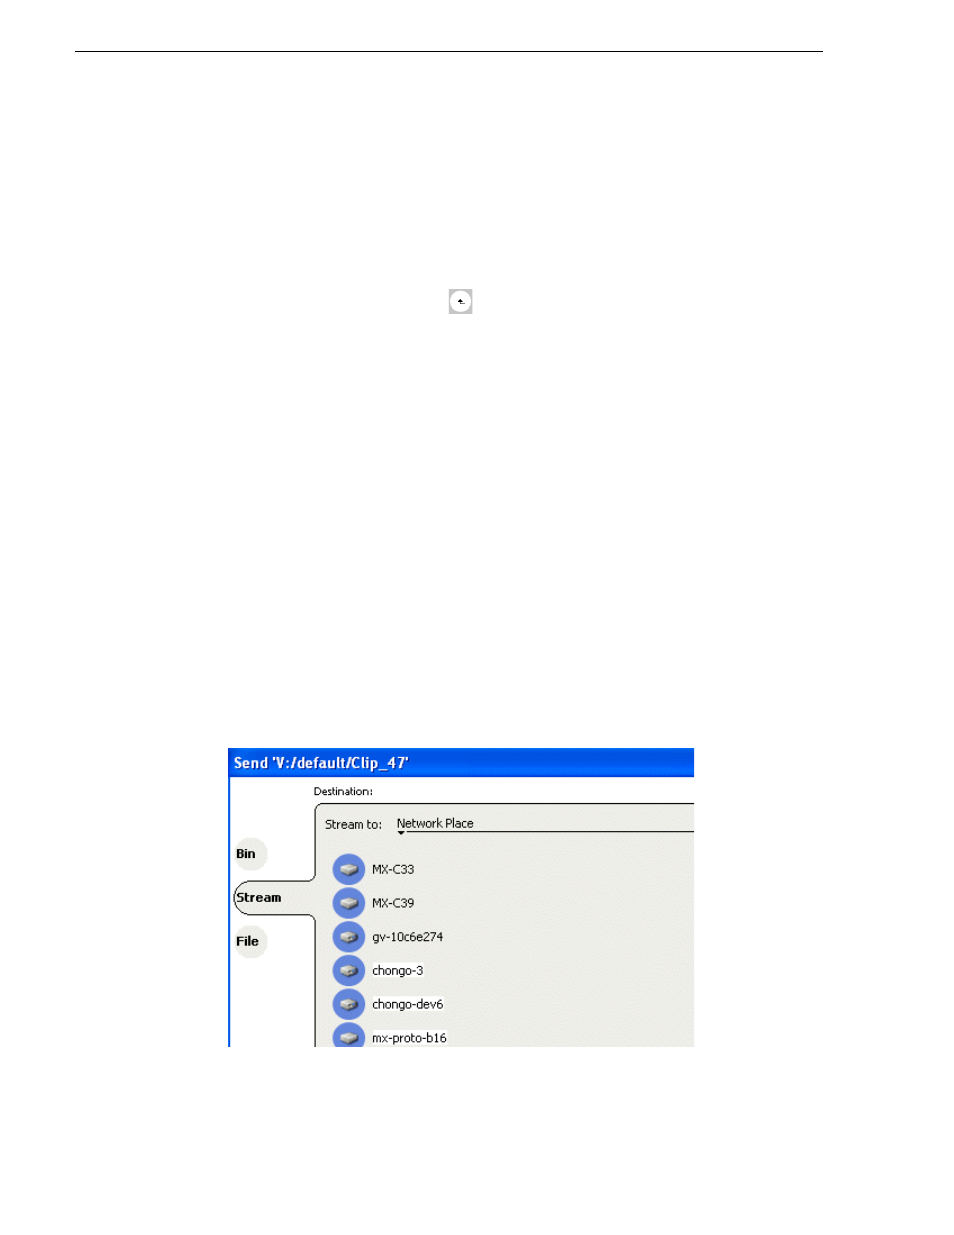
Exporting streaming media
1. In the Clips Pane, select the asset(s) you want to transfer.
2. Open the Send to dialog box using one of the following steps:
• Select
Clips | Send to
, or
• Right-click the clip and select
Send to
.
The Send to dialog box appears.
3. Click
Stream,
then locate and select the stream destination.
The
Stream to
label shows the current destination. The list under the
Stream to
label