Deleting an asset – Grass Valley K2 Media Client User Manual v3.3 User Manual
Page 133
June 5, 2009
K2 Media Client User Manual
133
Working with assets
4. Paste the asset(s) from the clipboard to the current bin.
The Paste operation is accessed in the same way as Copy.
NOTE: If an asset is locked or currently being recorded, it remains in the existing
bin, while the remaining assets are moved to a new bin with the specified name.
Using Send To
1. Select the asset(s) in the Asset List.
2. To open the Send To dialog box using do one of following:
• Select
Clips | Send To
, or
• Select
Send To
in the asset context menu, or
• Select the
Send To
button in the Clips pane.
If the Send To button is not displayed in the Clips pane, refer to assignable
buttons in
“Guide to using the Clips pane” on page 120
.
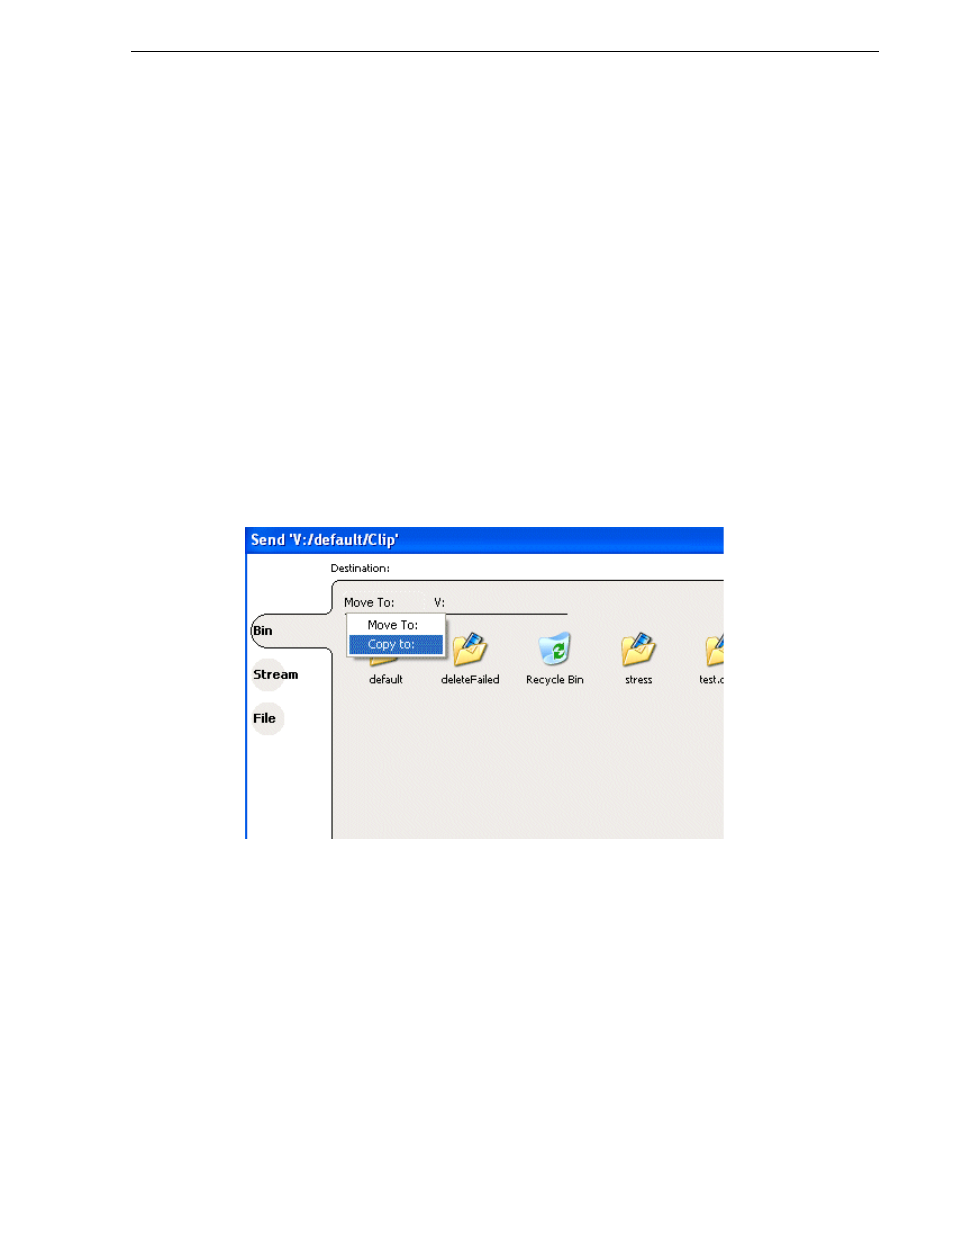
The Send dialog box appears.
3. In the Send dialog box, click
Bin
, then
Copy
to
in the left-hand drop-list.
4. Select the target bin name.
5. Click the
Send
button to close the Send dialog box and copy the file.
Deleting an asset
You can delete assets to free storage space. You can safely delete a clip without
harming the subclips, playlists, and programs created from it. The media referenced
by subclips, playlists, and programs is preserved when the clip is deleted. Once the
source clip is deleted, subclips and playlist events retain an extra 1 second of media
before and after their mark points to allow some trimming.
Deleted assets are moved to the Recycle Bin unless the bypass Recycle Bin option is
used. (
See “Bypassing the Recycle Bin when deleting” on page 139
.) You must empty
the Recycle Bin to free storage space.