About the asset context menu, Chapter 7 managing clip media – Grass Valley K2 Media Client User Manual v3.3 User Manual
Page 124
124
K2 Media Client User Manual
June 5, 2009
Chapter 7 Managing clip media
About the asset context menu
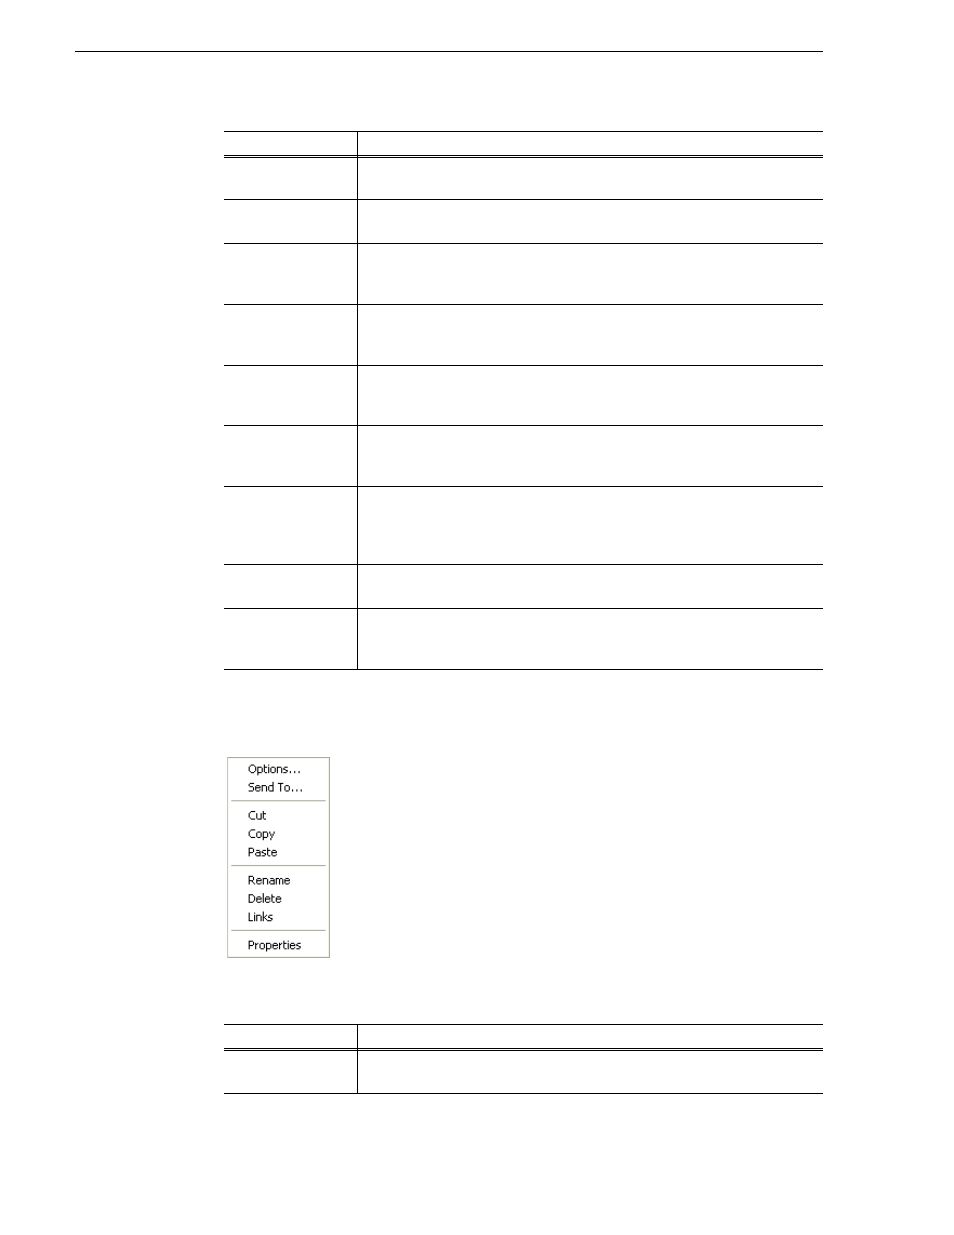
To open the asset context menu, right-click the asset.
Rename
Opens the Rename dialog box for the selected asset.
See “Renaming a bin” on page 130
“Renaming an asset” on page 130
.
Delete
Deletes the selected asset.
See “Deleting a bin” on page 129
“Deleting an asset” on page 133
Select All
Selects all items in the asset list. Operations available for Select All include:
delete, send to, and copy.
See “Selecting multiple assets” on page 131
.
Search
Opens the Search dialog box, which is used to perform basic or advanced
searches.
See “Locating assets” on page 139
Links
Opens the Links dialog box allowing you to locate other assets that are linked to
the selected asset. For example, a subclip is linked to the source clip.
See “Locating assets” on page 139
Send To
Opens the Send To dialog box, which is used to send assets to a different
location– another bin, disk volume, or another K2 Media Client. Send To is also
used to export clips or programs to local windows drives or networked devices.
Import
Opens the Import dialog box, which is used to import assets from the following
sources:
– Media streams from another K2 Media Client.
– Other media file formats from a local drive or over the network.
Properties
Opens the Properties dialog box for the selected asset.
See “Viewing clip properties” on page 151
Options
Opens the Options dialog box, which allows you to change the way assets are
displayed in the asset list.
See “Modifying the asset list view” on page 125
.
Menu Item
Description
Options
Opens the Options dialog box which allows you to change the way assets are
displayed in the asset list.
See “Modifying the asset list view” on page 125
.
Menu Item
Description