Creating a new bin, Deleting a bin, See “deleting a bin” on – Grass Valley K2 Media Client User Manual v3.3 User Manual
Page 129
June 5, 2009
K2 Media Client User Manual
129
Working with bins
3. Close the Organize Bins dialog box.
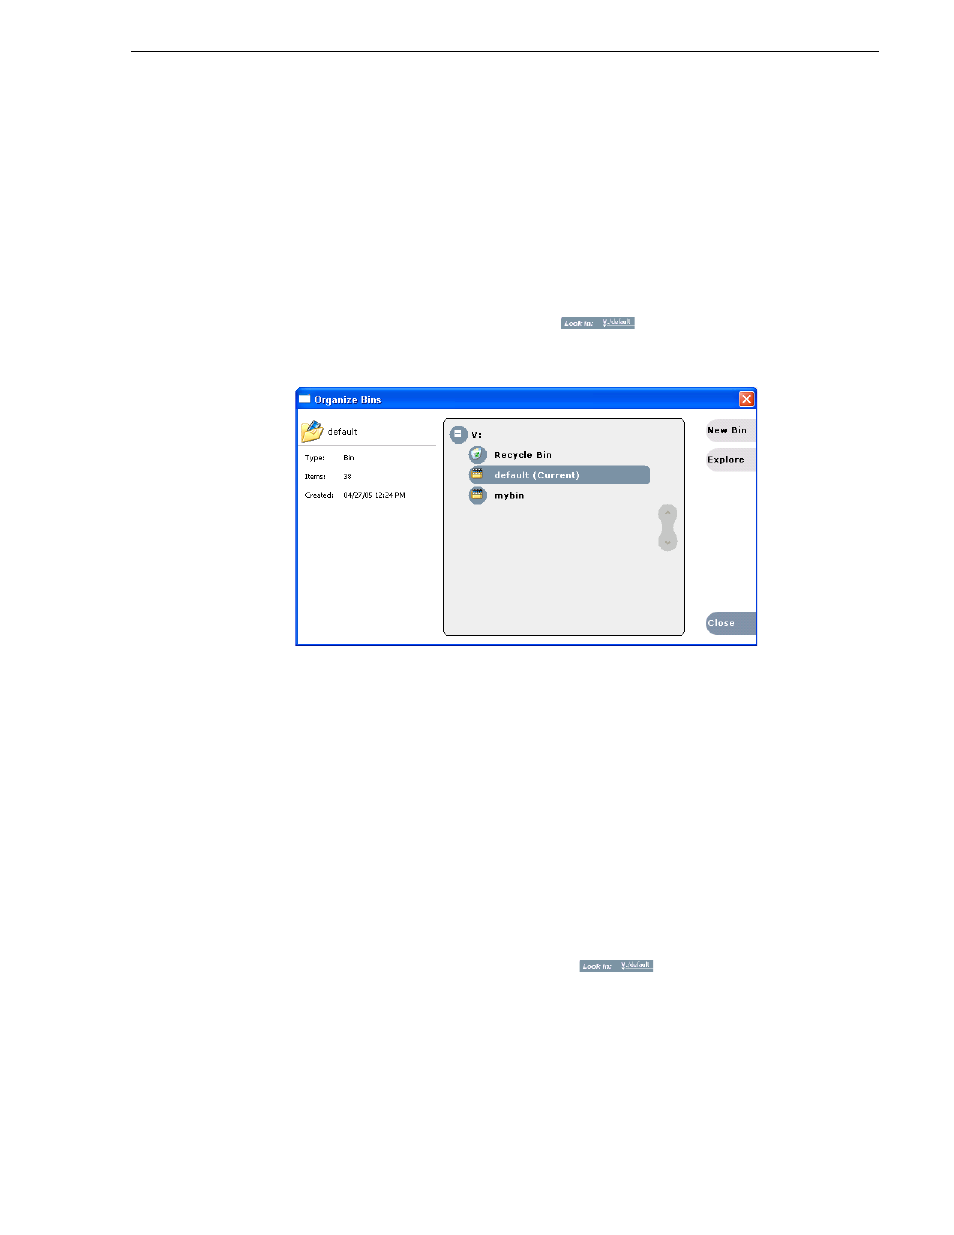
Creating a new bin
1. Open the Organize Bin dialog box using one of the following methods:
• Select
Clips | New Bin
.
• Click the
New Bin
button in the clips pane.
• In the Clips pane:
- Select the Current Bin drop-down list
, then
select
Organize Bins
.
- In the Organize Bins dialog box, select a
disk volume, then click
New Bin
.
2. Enter the new bin name, then click
OK
.
The new bin appears in the Organize Bins dialog box. Note that there are additional
buttons displayed, which permit you to rename or delete the bin.
3. Close the Organize Bins dialog box.
Once you have created a bin, you may assign or deny permissions to access or modify
the bin. These permissions apply to users and groups. For more information on
permissions, see
“Using security with bins” on page 127
Deleting a bin
NOTE: Even with the appropriate permissions, you cannot delete a bin containing
assets that are locked or in use. However, the unlocked assets in the bin can be
deleted.
1. In the Clips pane, select the Current Bin label
, then
select
Organize
Bins
.
2. In the Organize Bins dialog box, choose the bin you want to delete.
3. Click the
Delete
button.
Deleted bins and assets are moved to the Recycle Bin unless the “Remove items
immediately when deleted.” option is set for the Recycle Bin (see