Removing a video or audio track, Re-arranging the order of the tracks – Grass Valley K2 Media Client User Manual v3.3 User Manual
Page 245
June 5, 2009
K2 Media Client User Manual
245
Using track mapping
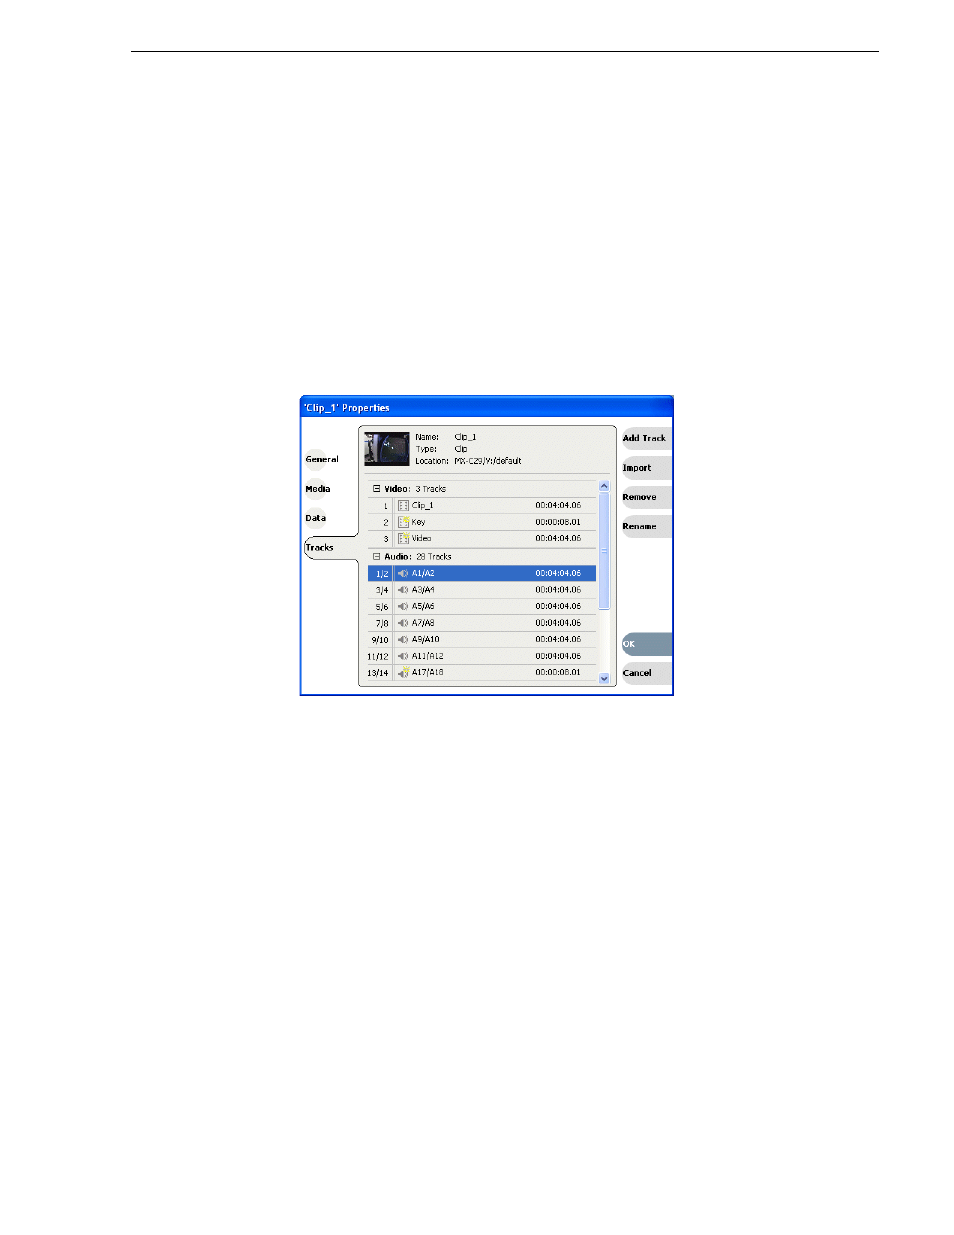
To add a video or audio track, follow these steps:
1. In the Clips Properties dialog box, select the Tracks tab.
2. Click the
Add Track
button. The Select Asset dialog box displays.
3. Browse to the asset that has the tracks you want to add. Click
OK
. The Select Tracks
dialog box displays.
4. You can select a track by checking the box next to the track or, within the audio or
video sections, by highlighting the track you want to add, right-clicking with the
mouse, and then checking the box. When you have selected the tracks, click
OK
.
The Clip Properties dialog box shows yellow sunbursts next to the track icons of
the newly added tracks.
5. To accept the changes, click
OK
.
Removing a video or audio track
To remove a video or audio track, follow these steps:
1. Open the Clip Properties dialog box and select the Tracks tab.
2. Highlight the track and perform one of the following actions:
• Click the
Remove
button.
—or—
• Right-click with the mouse and select Remove.
—or—
• Press the Delete key on the keyboard.
Re-arranging the order of the tracks
You can change the order of the tracks, by using the mouse to drag and drop tracks
within the video and audio sections. Grass Valley recommends grouping tracks with
the same label together. Grouping like tracks together can be helpful if you have