IPitomy IP1100+ PBX Administrator Guide User Manual
Page 98
IPitomy IP PBX Admin Guide
2011 Copyright IPitomy Communication, LLC
80
v4.0.1
www.ipitomy.com
Auto Provisioning Phone Settings from Actual Device
The remainder of the configuration is done via the Phone interface, and will only work with IPitomy
phones.
STEPS:
1
Create an extension, setting the Device to either IP550 or IP120, depending on what
IPitomy phone you intend to register to the extension.
!
IMPORTANT:
To configure the phone using the auto provisioning,
make sure that the “Auto-Provisioning” parameter is RUNNING. This
can be done in PBX Setup
General option of the system.
2
From your phone, select the Menu button to start Auto-Provisioning then select Option 7:
SIP Settings (you can do this without using the scroll keys by just pressing Menu then 7).
3
It will prompt you for the Admin password. Enter the default password “1234” then press
the Enter softkey (IP550) or the OK button (IP120)
4
Select Option 8: Auto Prov.
5
Select “YES” when the Autosearch PBX prompt appears.
6
Enter either the extension number of the extension that has been created.
7
Press the Done softkey (IP550) or the OK button (IP120) and the phone will run through
the process of downloading its configuration file, updated firmware file, etc.
Edit Phone Settings
The settings for each individual device (phone) can be configured in the IP PBX system. The following outlines
the steps to modify the phone settings from the IP PBX system.
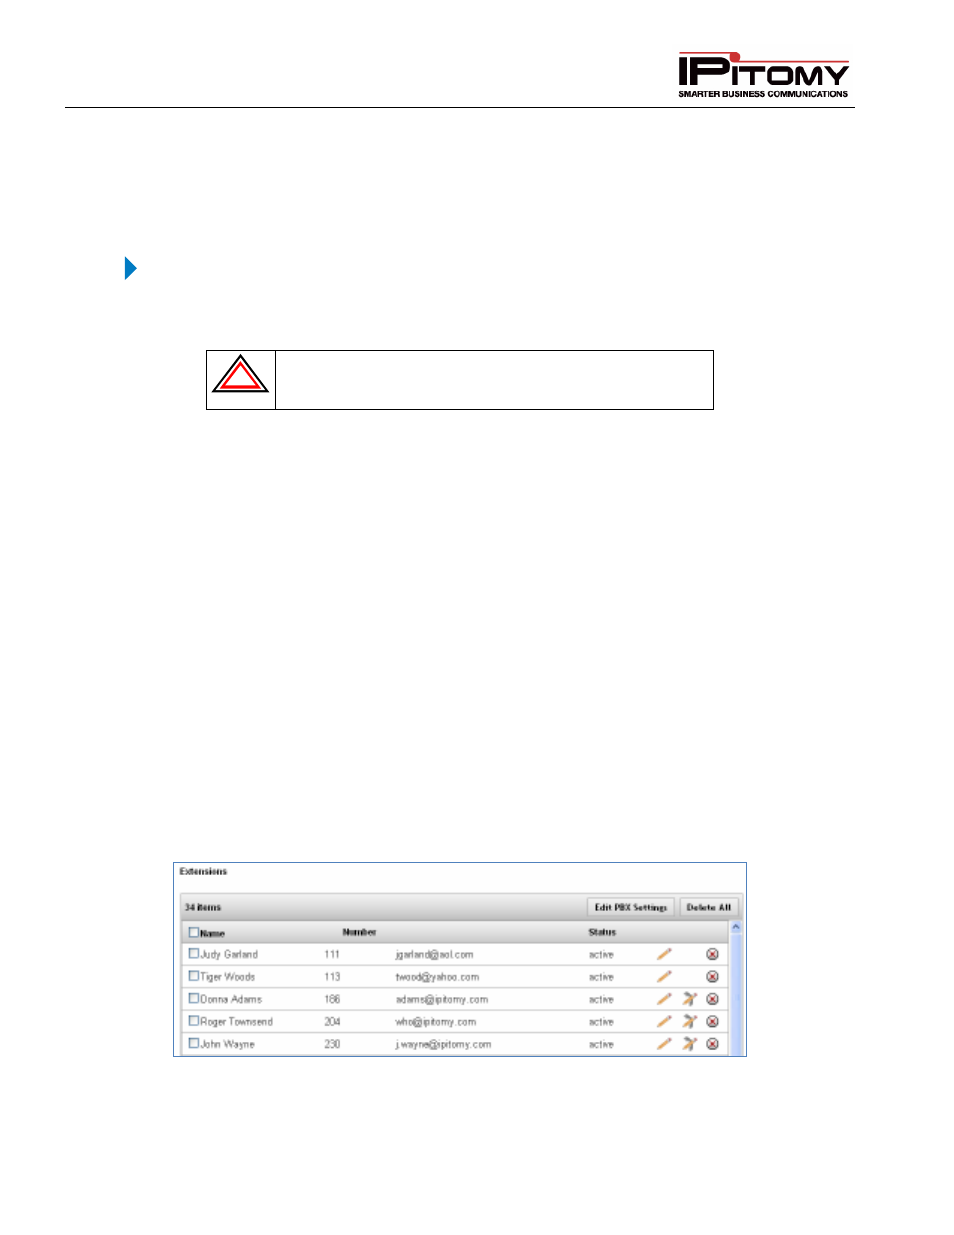
View Phone Settings
Figure 47 – Extension Listing