IPitomy IP1100+ PBX Administrator Guide User Manual
Page 156
IPitomy IP PBX Admin Guide
2011 Copyright IPitomy Communication, LLC
138
v4.0.1
www.ipitomy.com
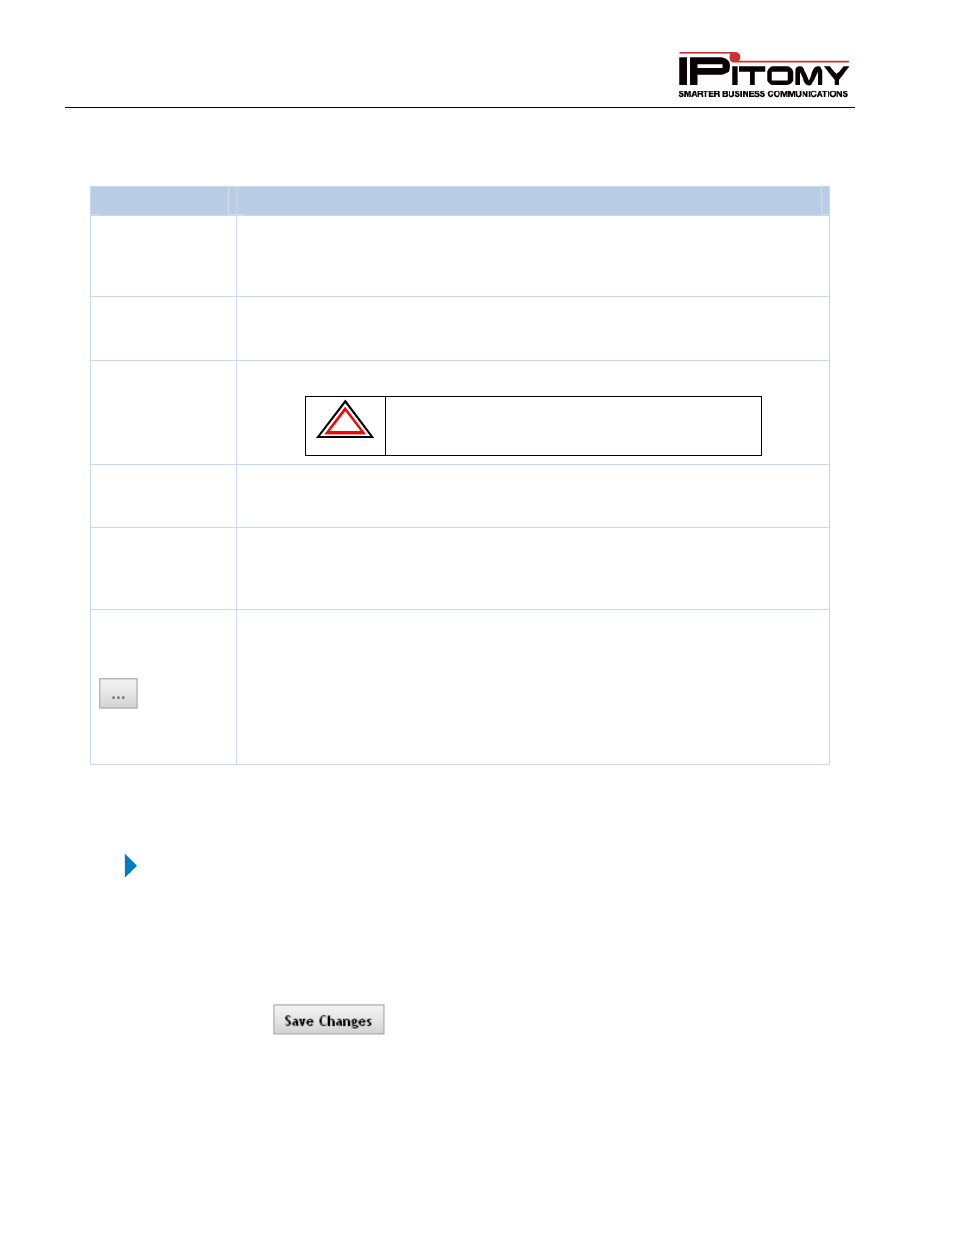
This table describes the parameters that can be set for incoming calls. Calls can be routed to destinations
and you can also enable (set) the time parameter when the calls will get sent to their defined route.
Sections/Fields
Description
Disable
Day/Night Mode
Button
The PBX system defaults to Day/Night Mode Disabled. To toggle between
Enabled/Disabled settings for the Day/Night Mode setting. When enabled the
Edit Night and Hours button will appear which will allow you to configure the night
destinations and hour parameters.
Edit Night/Day
Button
Toggles between Day/Night Mode settings. When selected, it will change the
Displaying field to either “Day Mode” or “Night Mode”, allowing you to configure
the destination for calls when in and out of hours.
Edit Hours
Allows you to edit the hours for the incoming calls to routing.
!
IMPORTANT: If you enable day night mode service you must
populate the system hours schedule otherwise all calls will
be routed to the night destinations.
Edit DID Caller ID
Allows you to edit CID information for incoming calls based on DID. If you wish to
retain the original CID information as well as display the override info, be sure to
check the box for Prepend.
Providers
Each provider will display in a gray box. DIDs for each provider will display
beneath the gray box in white. If a DID destination is set to None, it will follow the
settings for the provider itself. If a provider destination is set to None, calls will
route to the Default Incoming Destination.
This button allows for configuration of destination specific settings.
Groups: Allows you to define a priority, increasing or decreasing the calls
importance in the queue. The higher the number, the higher the priority.
Extension: Allows you to define a group of numbers that will be dialed once the call
has been answered. Typically used when connecting an extension to a fax server
that routes faxes to people based on the digits read at the time of answering the
call.
Table 50 – Incoming Call Routing Settings and Descriptions
Set Default Incoming Destination
STEPS:
1
From the Call Routing
Incoming Routing page, go to the Default Incoming
Destination section.
2
Select the desired Destination category from the first drop-down list, then select the
specific destination from the second drop-down list.
3
Click the
button to save the changes.
4
Click the Apply Changes link located at the top right hand corner of the page, to commit
the changes to the database.