Grass Valley Xmedia Server Vertigo Suite v.5.0 User Manual
Page 214
XMS Configuration Guide
18-17
Propagating assets to other Xmedia Servers
Configuring an Xmedia Server as the hub propagation server
The Vertigo Suite’s hub and spoke propagation model allows hub server categories to
propagate their assets to various Xmedia Servers that are designated as spoke propagation
servers. The instructions below describe how to designate an XMS Server as the hub
propagation server by creating and setting the propagation flag key in the Xmedia Server’s
Registry. Then the spoke server(s) must be added to the hub server’s Xmedia Server
Control Panel P
ROPAGATION
L
OCATION
page as a propagation node. We also recommend
that before using distributed work orders that you override the spoke server’s workflow and
synchronize the user lists between the servers.
Create and set the propagation flag key on the hub server
1.
Launch the R
EGISTRY
E
DITOR
on the Xmedia Server that is to be designated as the hub
server by typing regedit in the R
UN
prompt (Start>Run).
2.
Navigate through the Registry Editor to the Xmedia Server’s parameter folder using the
following path:
HKEY_LOCAL_MACHINE\SYSTEM\CurrentControlSet\Services\XmediaServer\Parameters
3.
Add a new DWORD value called PropagFlags by right-clicking in the Registry Editor’s
right-panel and selecting the N
EW
>DWORD V
ALUE
command and typing
PropagFlags
as its name.
4.
Double-click the newly created PropagFlags registry key and the E
DIT
DWORD
V
ALUE
dialog box appears.
5.
Set the V
ALUE
DATA
setting to 1 and then click OK.
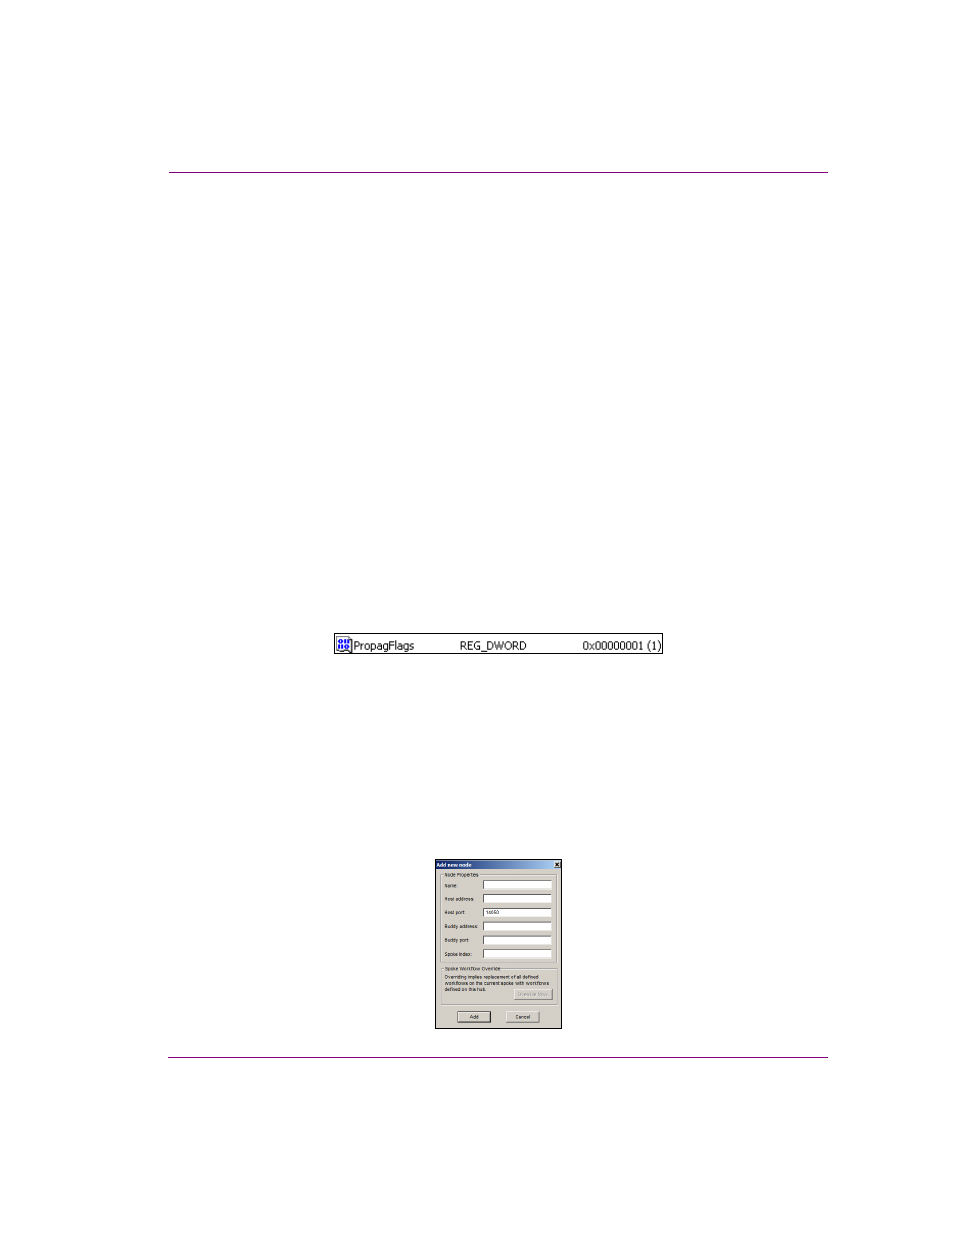
The resulting registry key should appear similar to the picture below.
6.
On the Xmedia Server that is to be designated as the hub server, open the X
MEDIA
S
ERVER
C
ONTROL
P
ANEL
.
7.
Select the S
ERVICE
C
ONTROL
tab and click the S
TOP
button to stop the XMS Service.
8.
Wait a couple of seconds and then click the S
TART
button to start the XMS Service.
Add the spoke server as a propagation node on the hub server
1.
Select the P
ROPAGATION
tab on the Xmedia Server Control Panel.
2.
In the P
ROPAGATION
OPTION
drop-down list, select P
ROPAGATION
L
OCATIONS
.
3.
Click the N
EW
button at the bottom of the P
ROPAGATION
L
OCATIONS
section.
The A
DD
NEW
NODE
window appears.